Instagram, like it or not, has turned into one of the biggest social media platforms out there. Almost everybody who is somebody has an account and anybody who wants to become somebody is trying to grow there!
As you already know, Instagram insists mostly on scrolling down. Since you generally scroll in the portrait mode, aspect ratios should change based on that. As a result, Instagram, while still supports 16:9, has made 1.91:1, 1:1, and 4:5 as its preferred aspect ratios.
Weird Aspect Ratios!
That 1.91:1 is so close to being a 2:1, or as mobile manufacturers like to call it, 18:9, but no, they didn’t feel like giving us a number easy to remember or even pronounce. Add to that the fact that Instagram videos do not support 4k! The maximum supported square resolution on Instagram reels is 1080×1920. So all this makes Instagram is one hell of a platform to record and export videos for. Let’s see how it works.
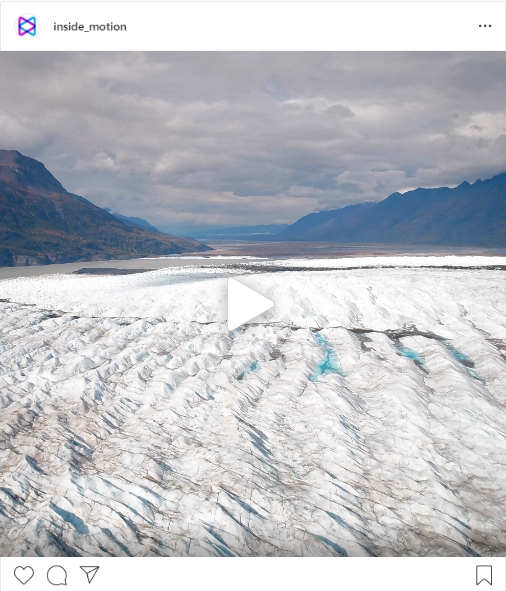
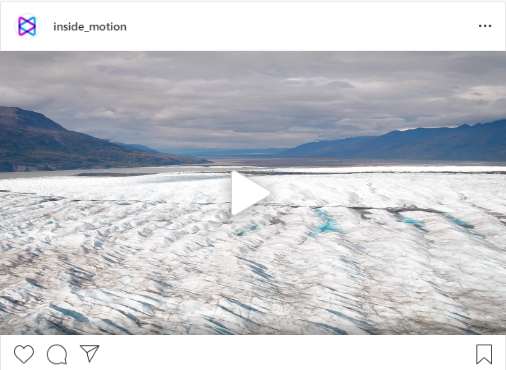
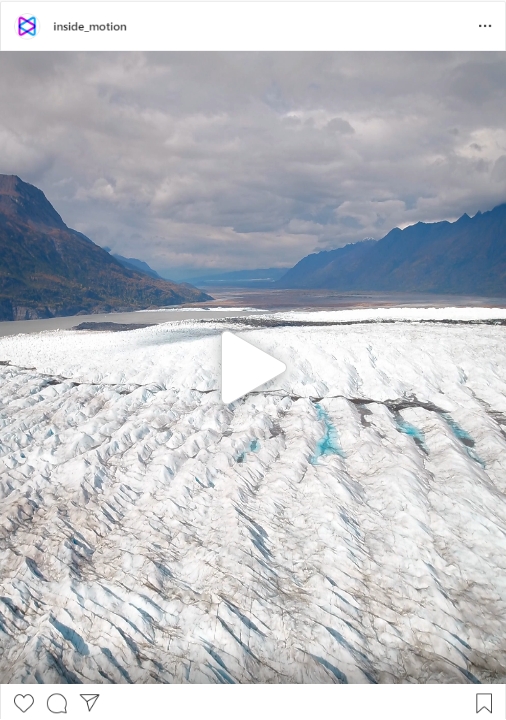
Creating a Sequence, suggested sizes
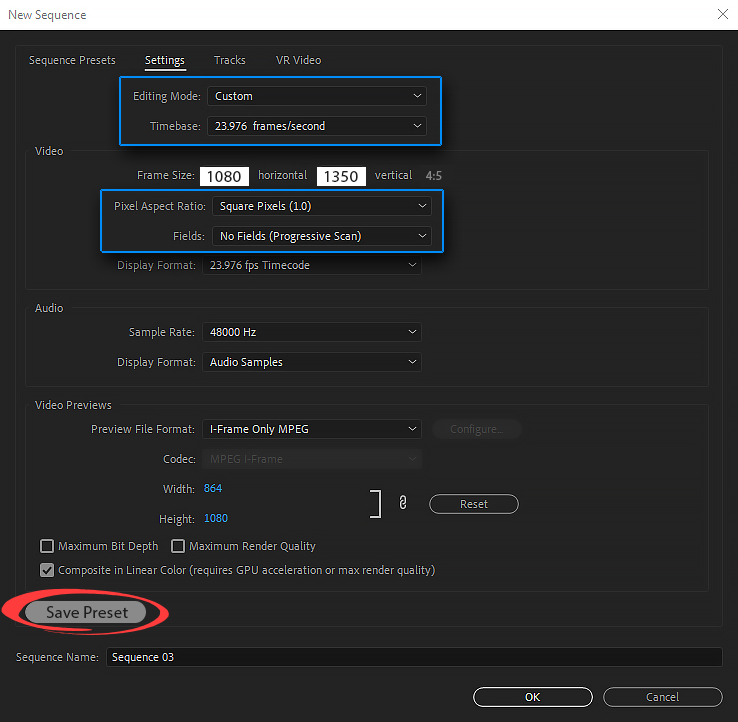
The first thing we have to do is creating a new sequence. In premiere pro go to: File ~> New ~> Sequence.
Now you should go to the settings tab and in editing mode, choose Custom.
The time base will be 23.976. For the resolution, I highly suggest using 1080×1350 which is a 4:5 aspect ratio. This aspect ratio not only will fill the phone screen as much as possible but will also give us more real estate to work with.
Also, if you are trying to make content for your Insta Stories or Reels, you can go for 1080×1920 which is a rotated Full HD video with the aspect ratio of 9:16.
OK, Pixel will be square and For Fields, choose no fields. The rest information is fine and needs no change. For more convenience, you can save this as a preset for future use. Remember to give it a name that will be easy to search and remember in the future.
Let’s read our another blog about “Converting 24 fps Footage to 30 fps in Premiere Pro for YouTube“.
Begin Editing!
-
You will see the aspect is automatically set to 4:5. You can now import a video into your timeline. If you are going to upload this video as a post on your Instagram page, then it can not be longer than 60 seconds.
-
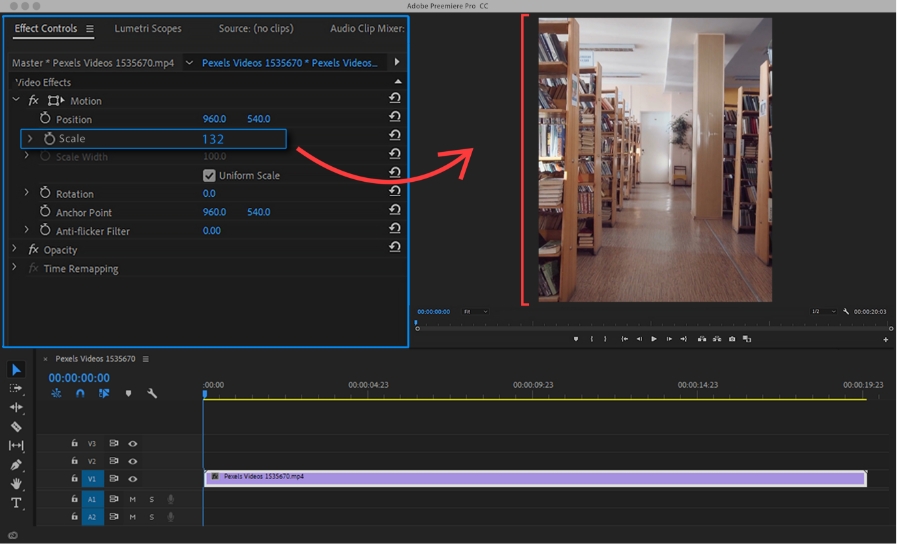
You will see there are black bars on the top and bottom of the screen. One way to solve this is by going to the Effects Control panel and changing the scale to fill in the black parts. That can work for videos where there is not much important stuff in the margins of the video.
-
The method I prefer to use is like this. I am going to make a copy of the video in the timeline and stack them on top of each other.
-
I will choose the bottom one and scale it up inside the Effects Control to fill in the background.
-
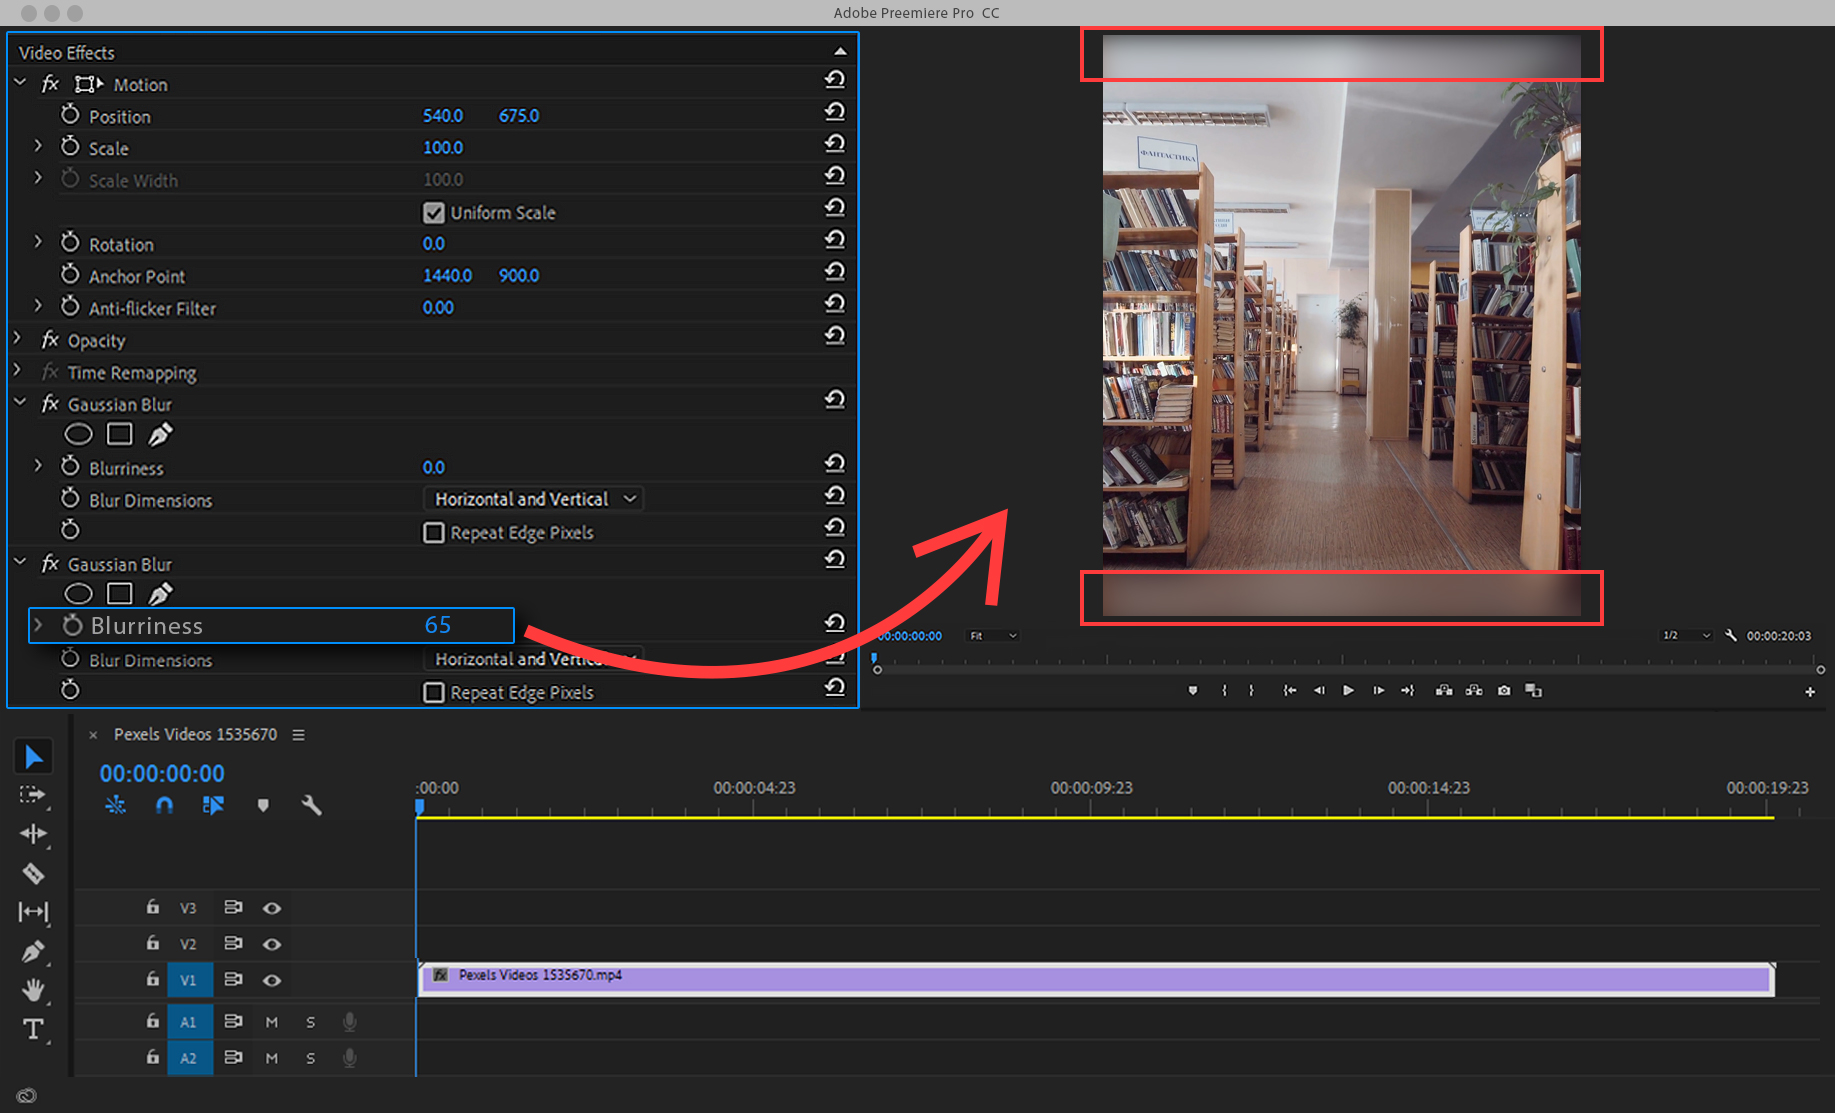
I’m going to click on the Effects panel and choose Gaussian Blur.
As you must have guessed by now, I am creating a blurry duplicate in the background which is much cooler than black bars and cropped in videos. But again, it’s all about the taste and style of your video. Do what you feel is best for the content.
Export Premiere pro for Instagram
-
When that’s all done, you should export your audio and video: File ~> Export ~> Media.
-
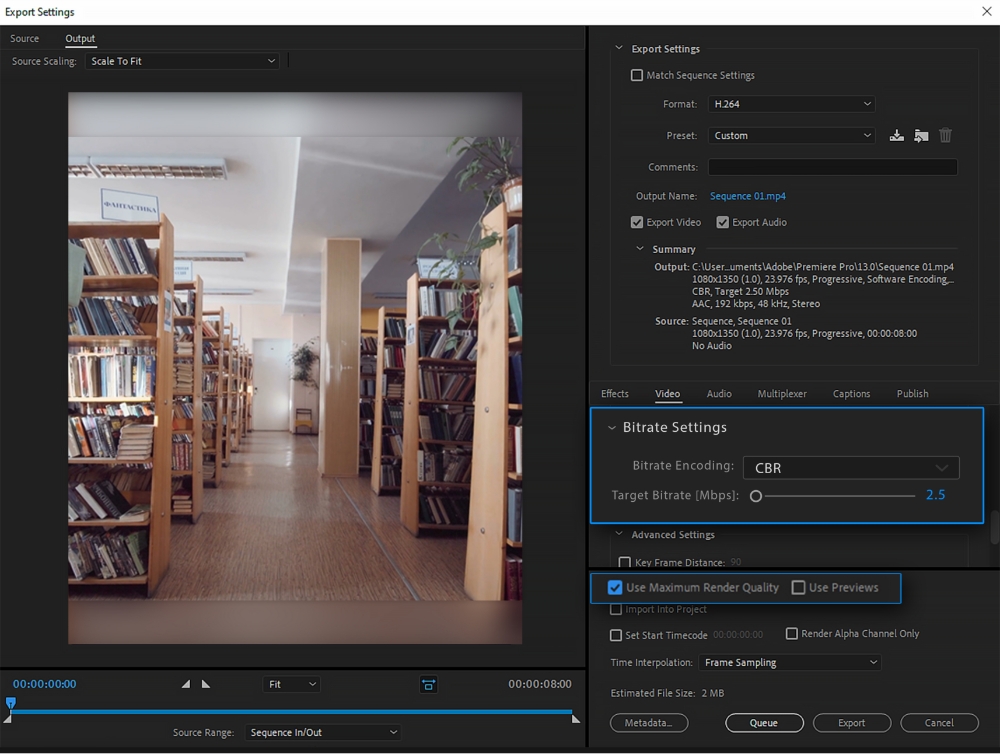
In the export settings, the format is going to be H.264 and for preset choose Match Source – High Bitrate.
-
All you need to change will be Bitrate Settings. A good bitrate for Instagram videos is around 2.5 up to 4. So choose CBR and set Target Bitrate to 2.5.
A thing to keep in mind is to keep an eye on Estimated File Size. The general consensus is that for a 60-sec video the size should be around 20MB. And the best option to tweak for reaching that number is Bitrate. Move it back and forth till you hit that 20 sweet spots. When you reach this perfect point, all that’s left is to click on Use Maximum Render Quality and either hit Export or Queue.
Conclusion
If any of these exporting settings were confusing for you, you can check my youtube video and blog which talks about all the exporting settings in full detail.
For now, thank you for sticking with me to the end. Be sure to leave your comments down in the comments section. Until the next time, best of luck and bye!
