Also, be sure to follow along to the end of the blog where we have provided some FREE LUT Presets pack which you can download for your video making and content creation projects to give them that cinematic look you like.
LUTs Basics
LUT or Lookup Table is a series of color data that change the color value of an image when it’s applied to it. In fact, LUT is a conversion table. Every image has a number of luminance values, what software like Premiere Pro does, is that it analyzes each pixel of the image to find out its luminance value, then changes the luminance value of that pixel based on the data in the conversion table inside the LUT. and it does it for every pixel until the whole image is changed in color.
How to Apply LUTs
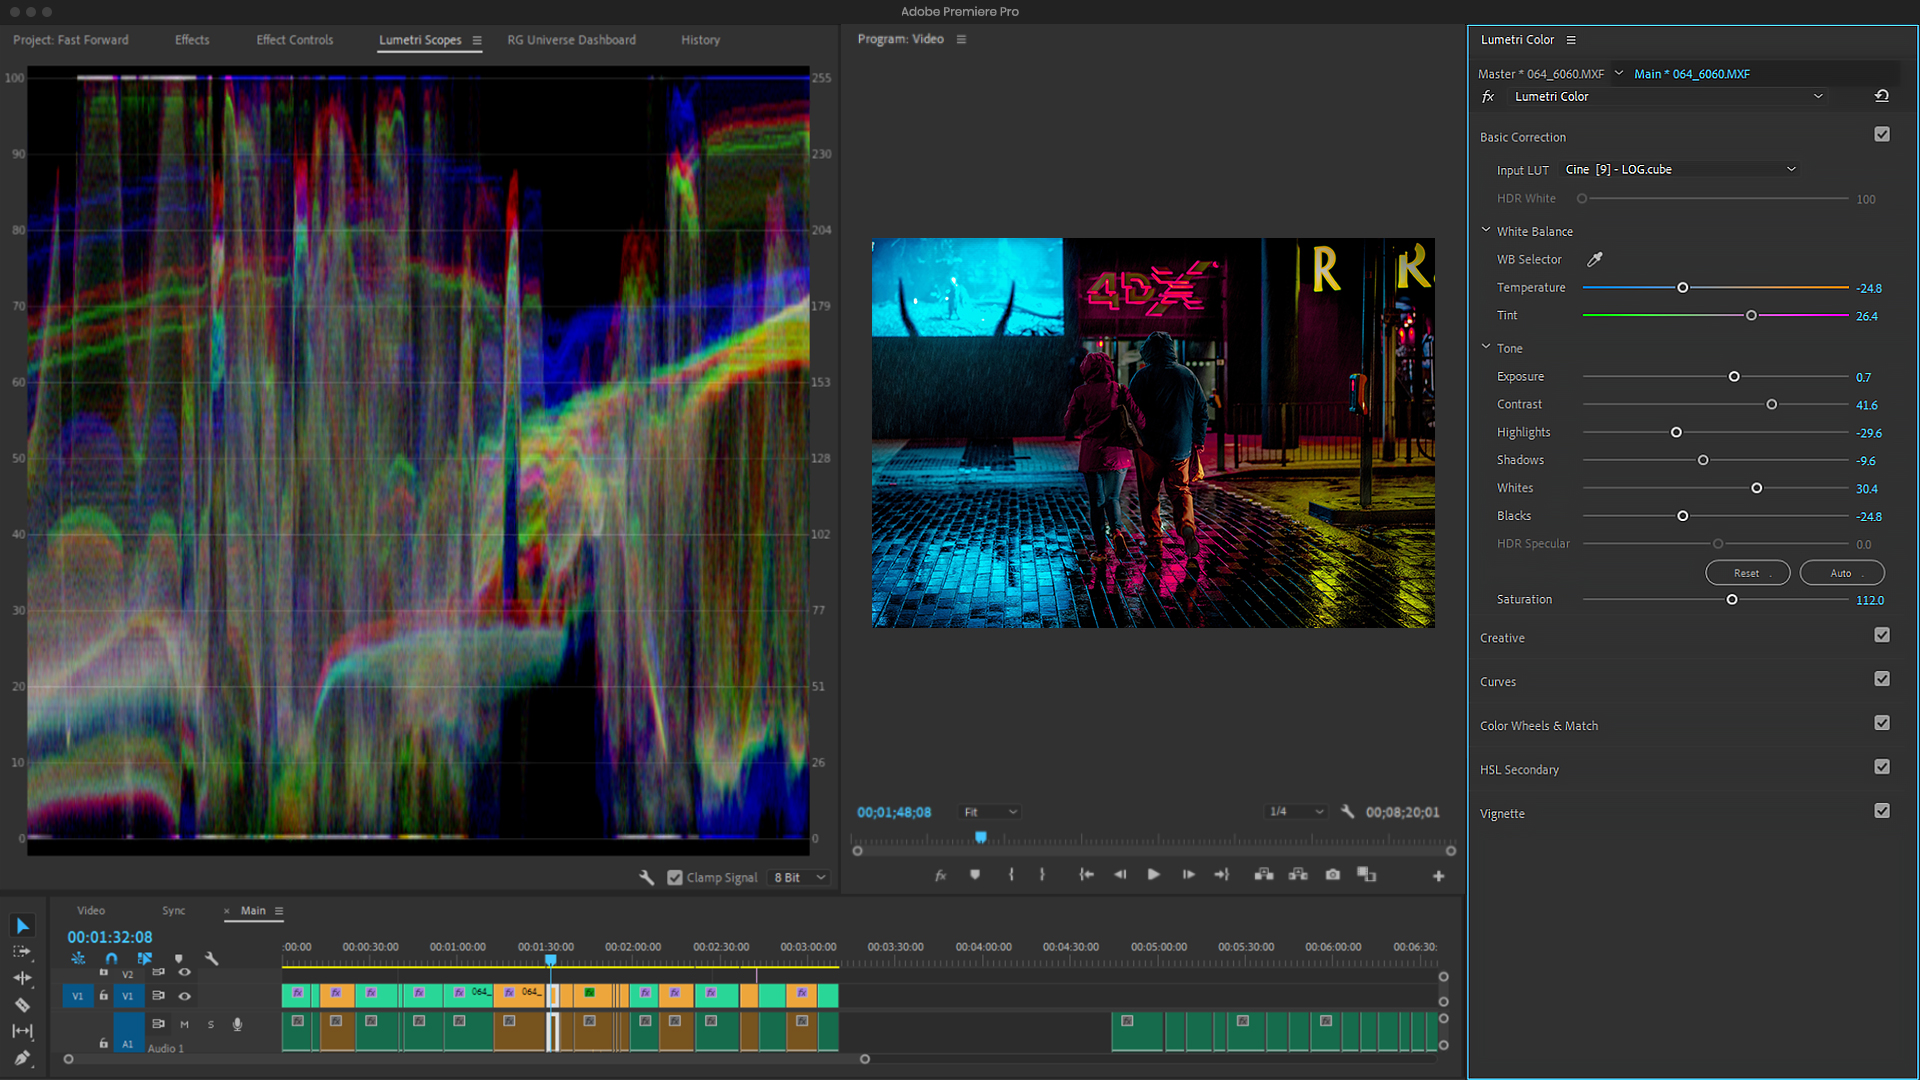
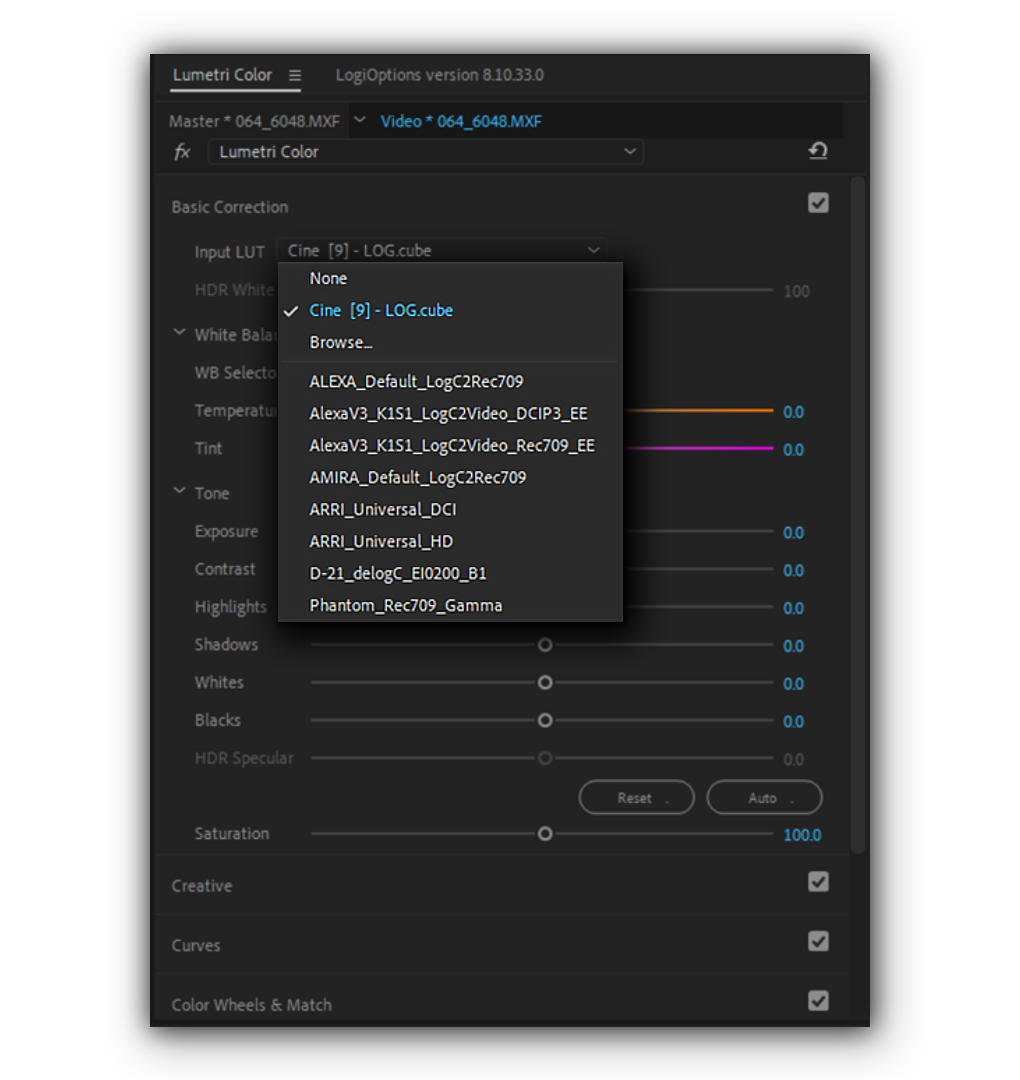
To some extent, LUTs are the color palette you add to your video to go directly to the color mood you want and then edit it to get exactly what’s suitable for your video. So adding LUTs, in most cases, is just the beginning of the process and you are required to tweak the settings of the LUT like Contrast, Exposure, Saturation and the like. LUTs are generally in two file formats .cube and .3dl And these two formats work out on almost every editing software which makes using LUTs simple. In an editing software like Premiere Pro, you can add a LUT by opening the Lumetri Color, under Basic Correction, in the Input LUT drop-down select Browse and then choose your LUT. Then you can edit the look it gives you by changing settings like exposure, contrast, and saturation. As an instance, if your LUT has injected intense colors to your image and it’s not appealing to the eye, you can fix it by either changing the saturation or the contrast if it’s too dark.
1D LUTs vs. 3D LUTs
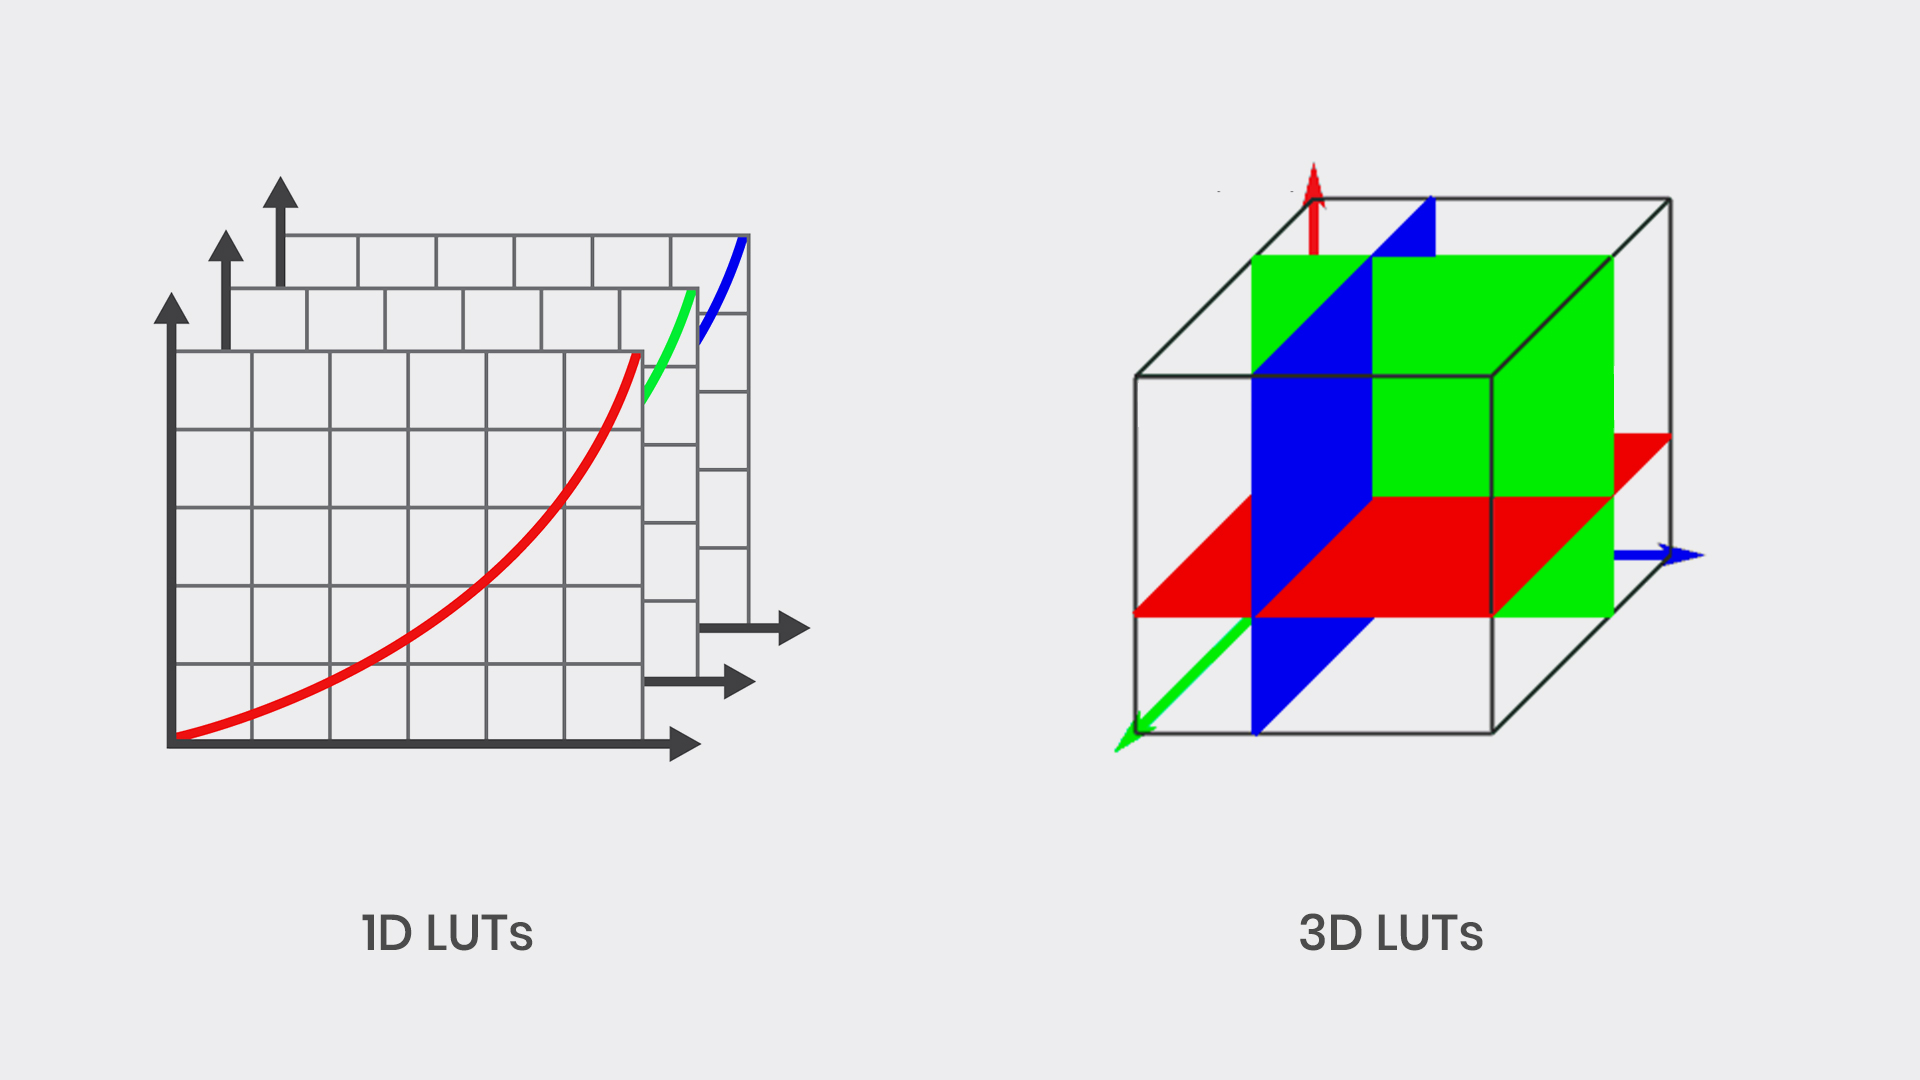
In a very simple term, a 1D LUT gives you color alteration possibility far less than the 3D LUT. while 1D LUT changes the value of the color, the 3D one uses a color cube and in order to change the color, it changes the place of it somewhere in the cube. This way, you get RGB channels separately and manipulate each color of RGB more accurately. A 3D LUT also has a measurement of color capacity by having more nodes in the color cube and it’s called “grid”. So the higher the grid the more color possibility you’ll get in a 3D LUT. you can also tell the difference by their names. 1D LUT is obviously a flat one while a 3D LUT is, well, a 3 Dimensional color space and therefore more accurate and realistic.
LUT Examples
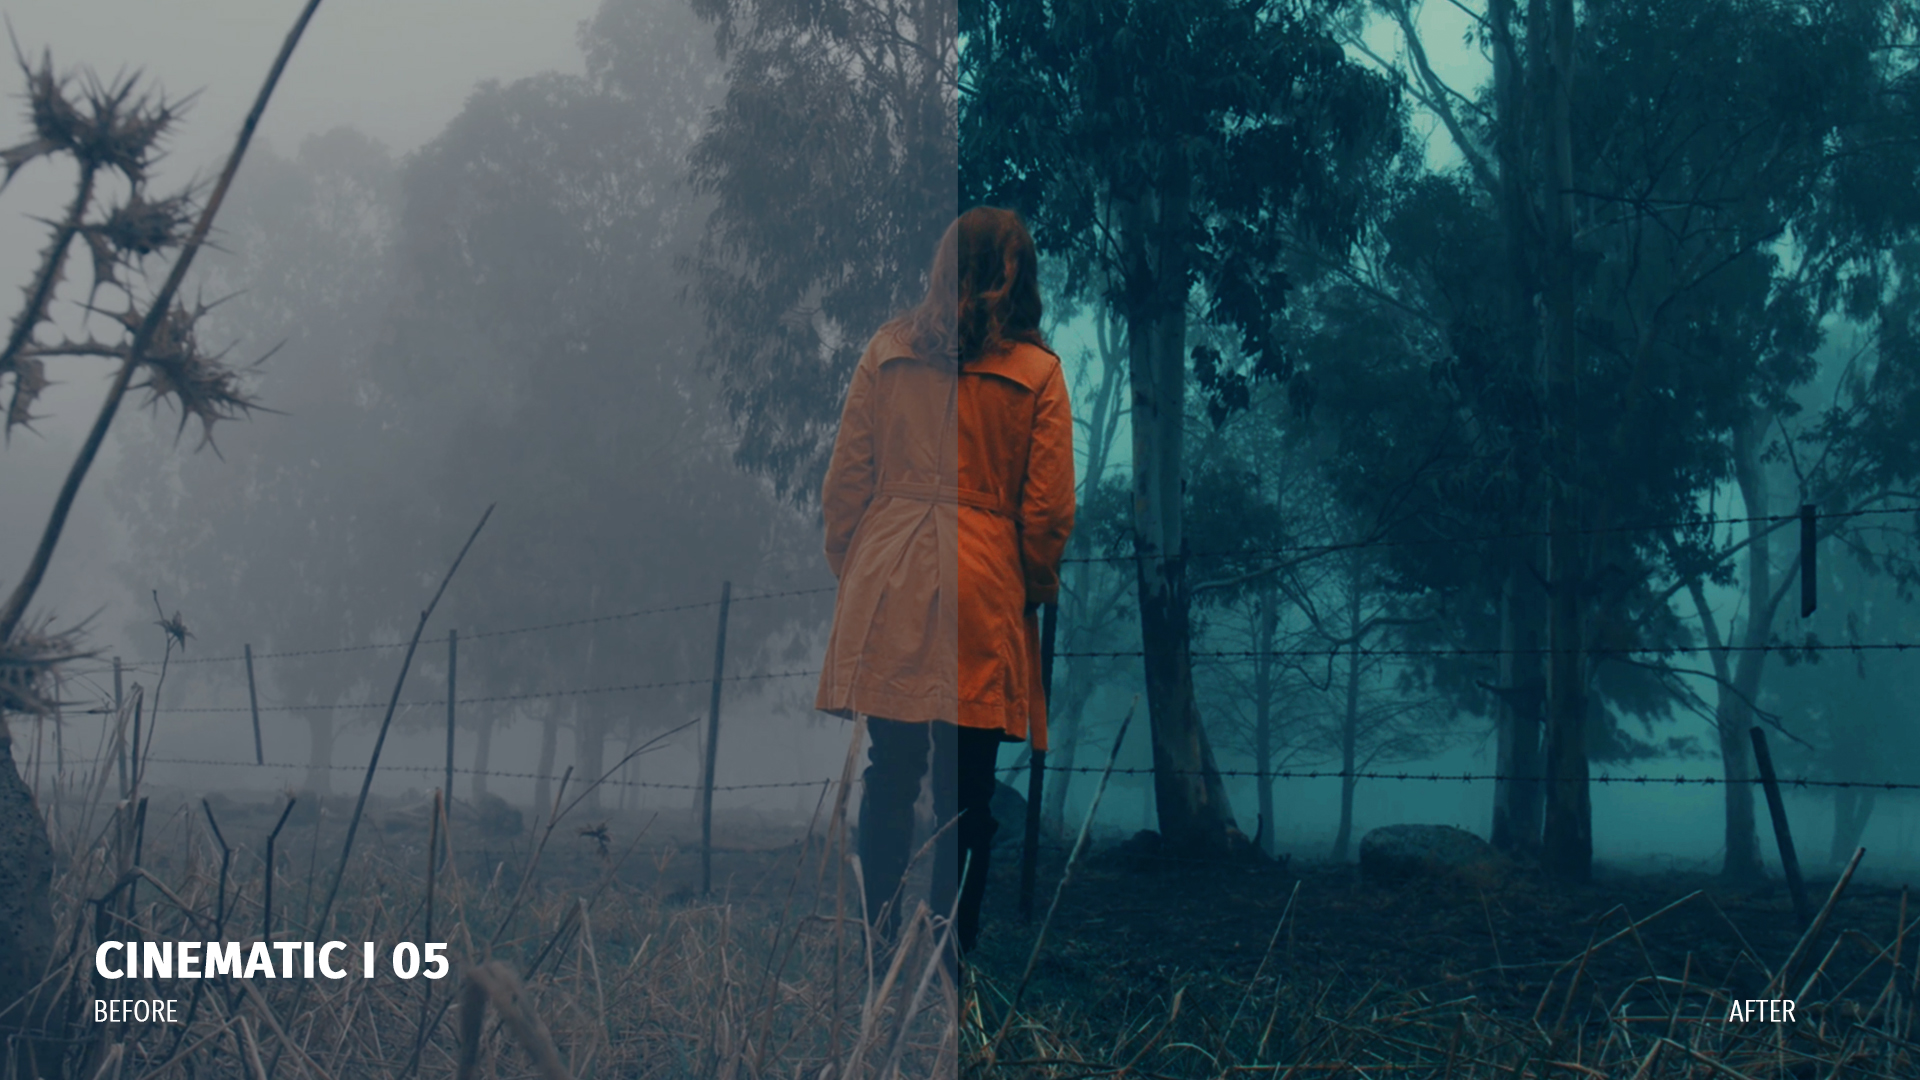
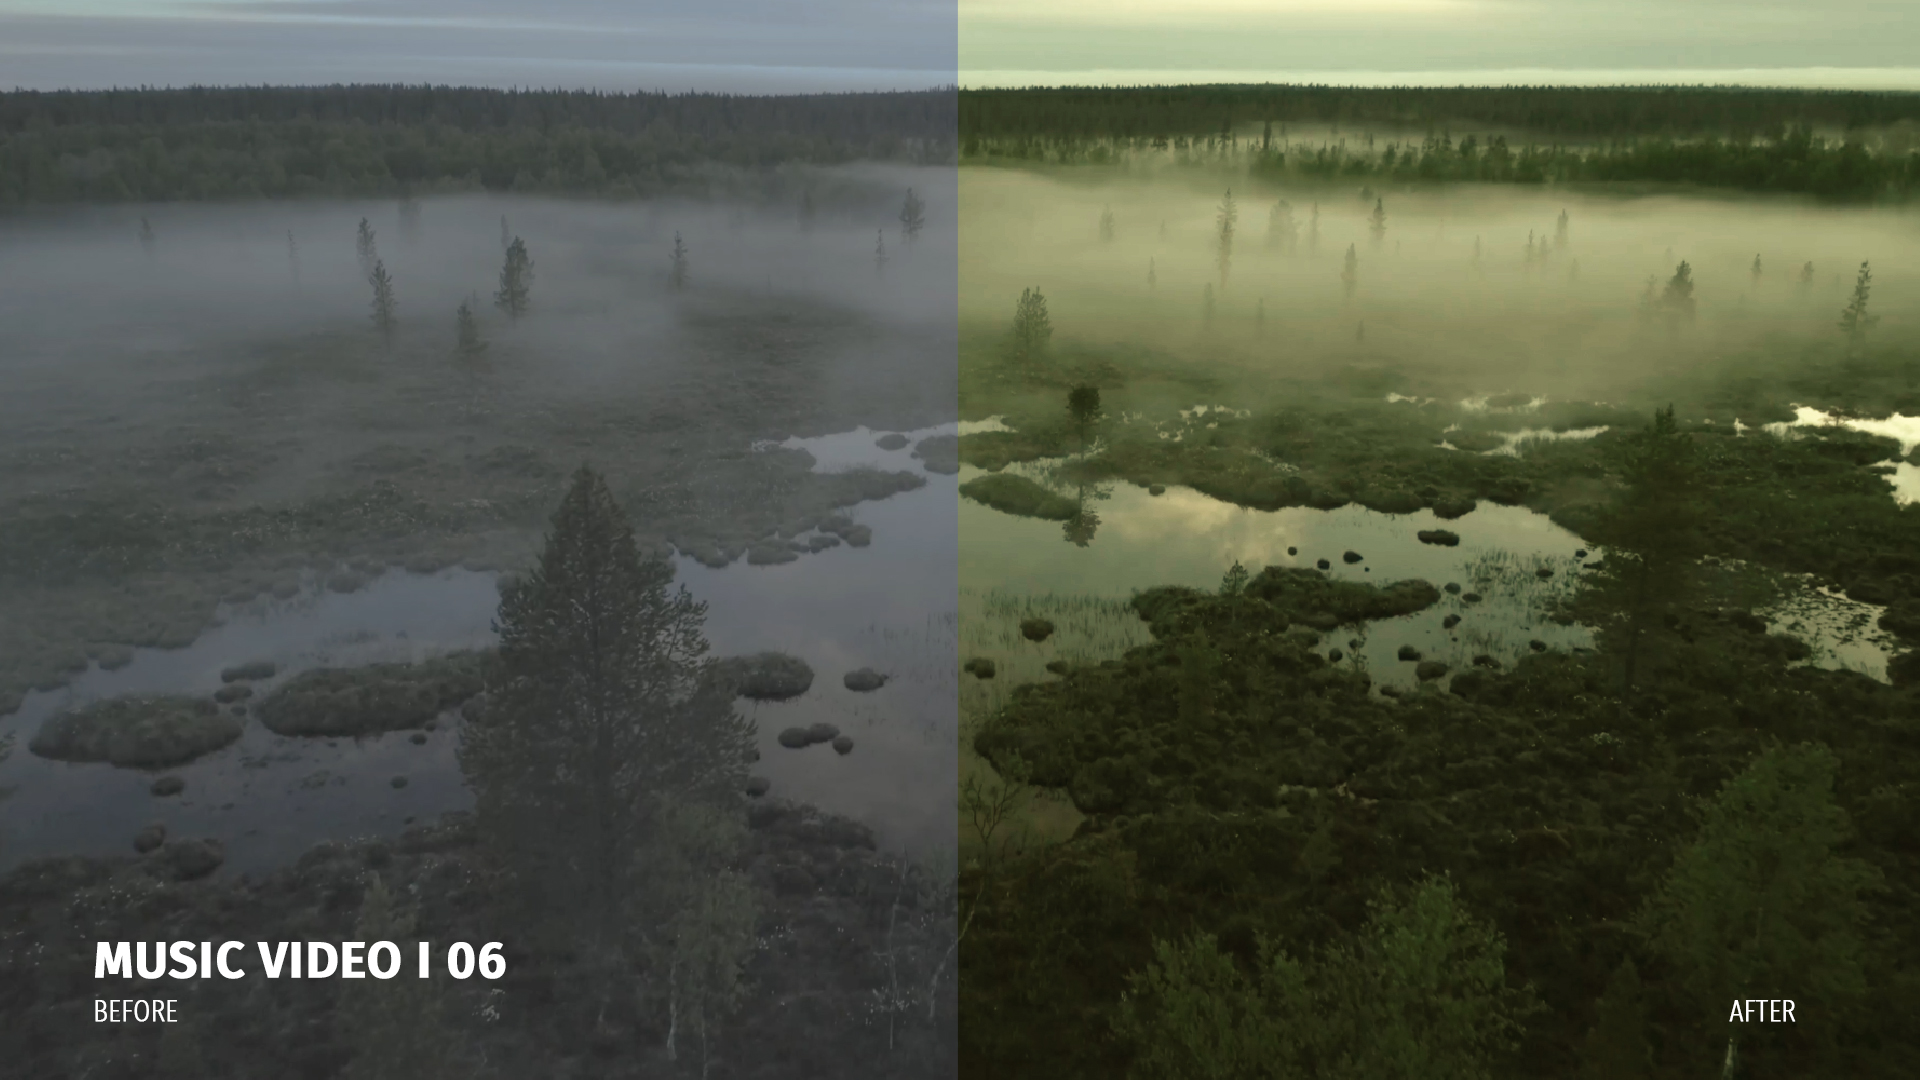
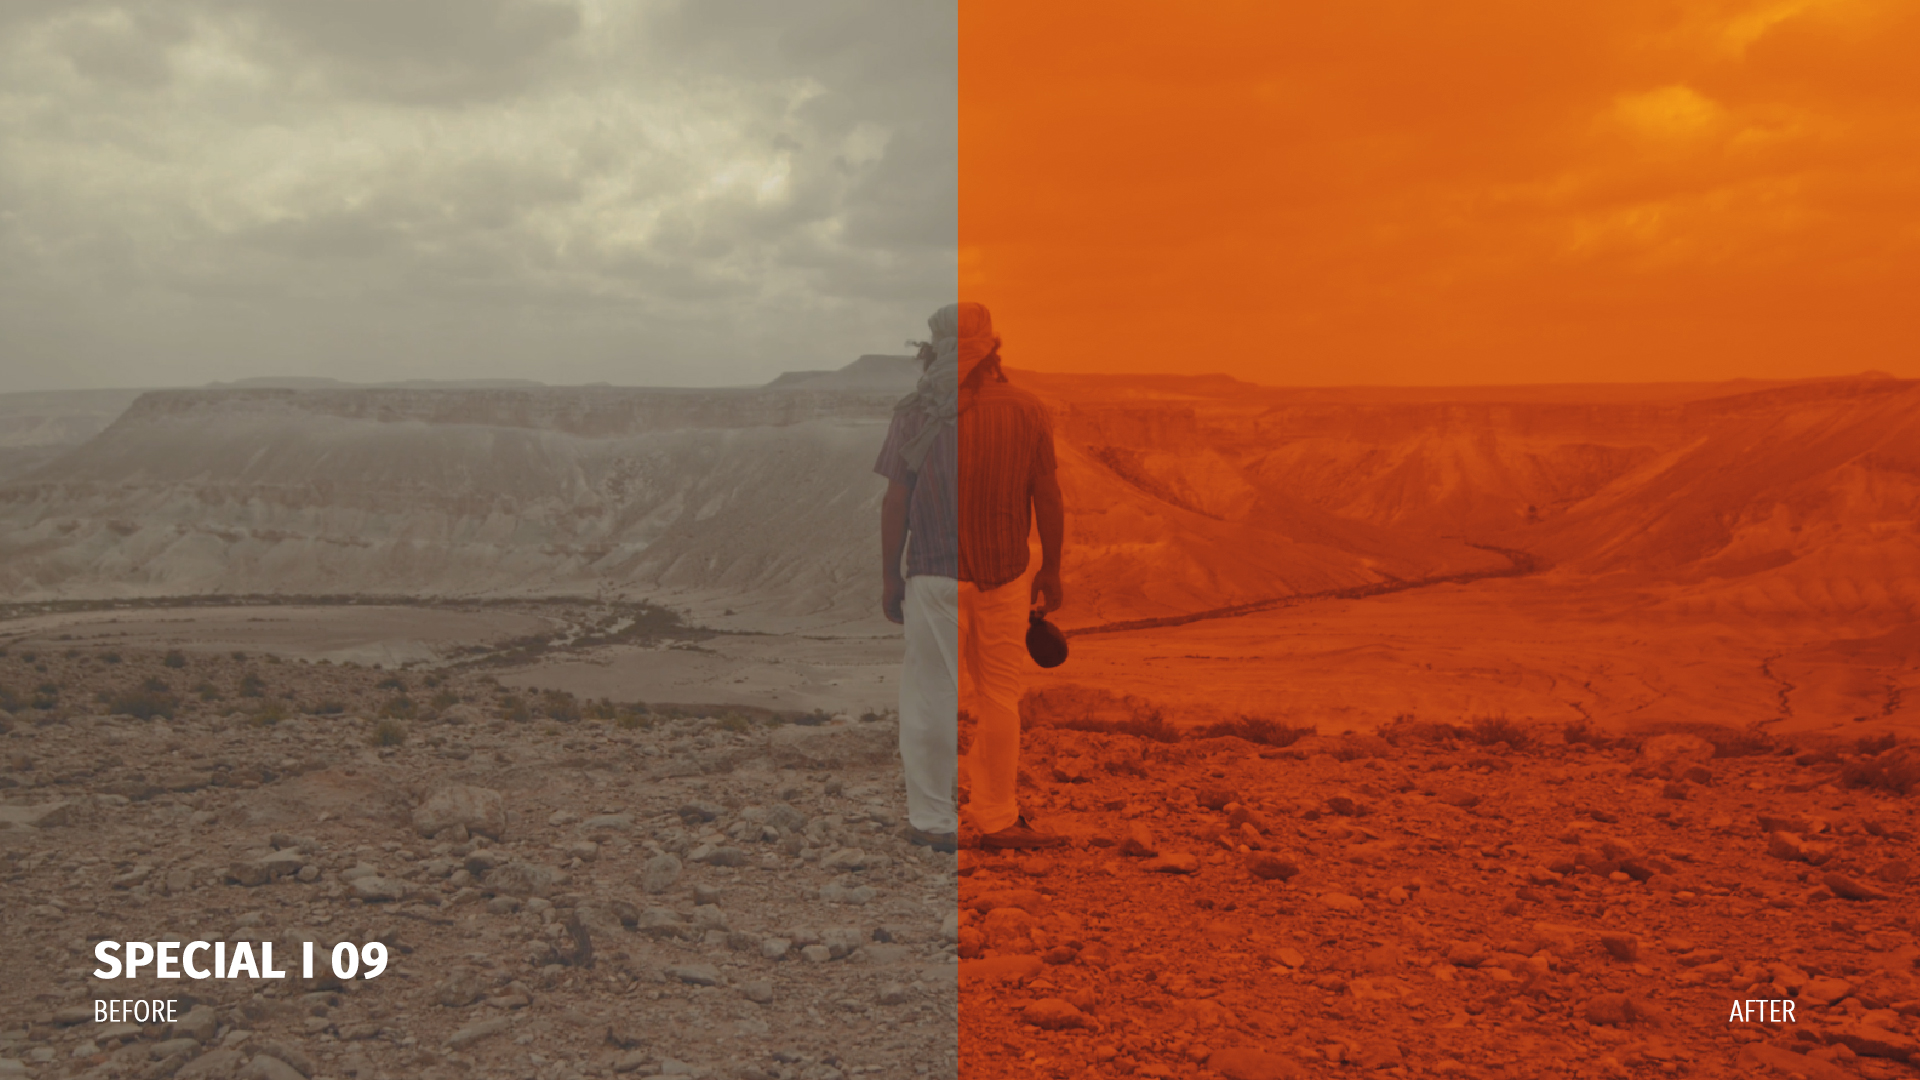
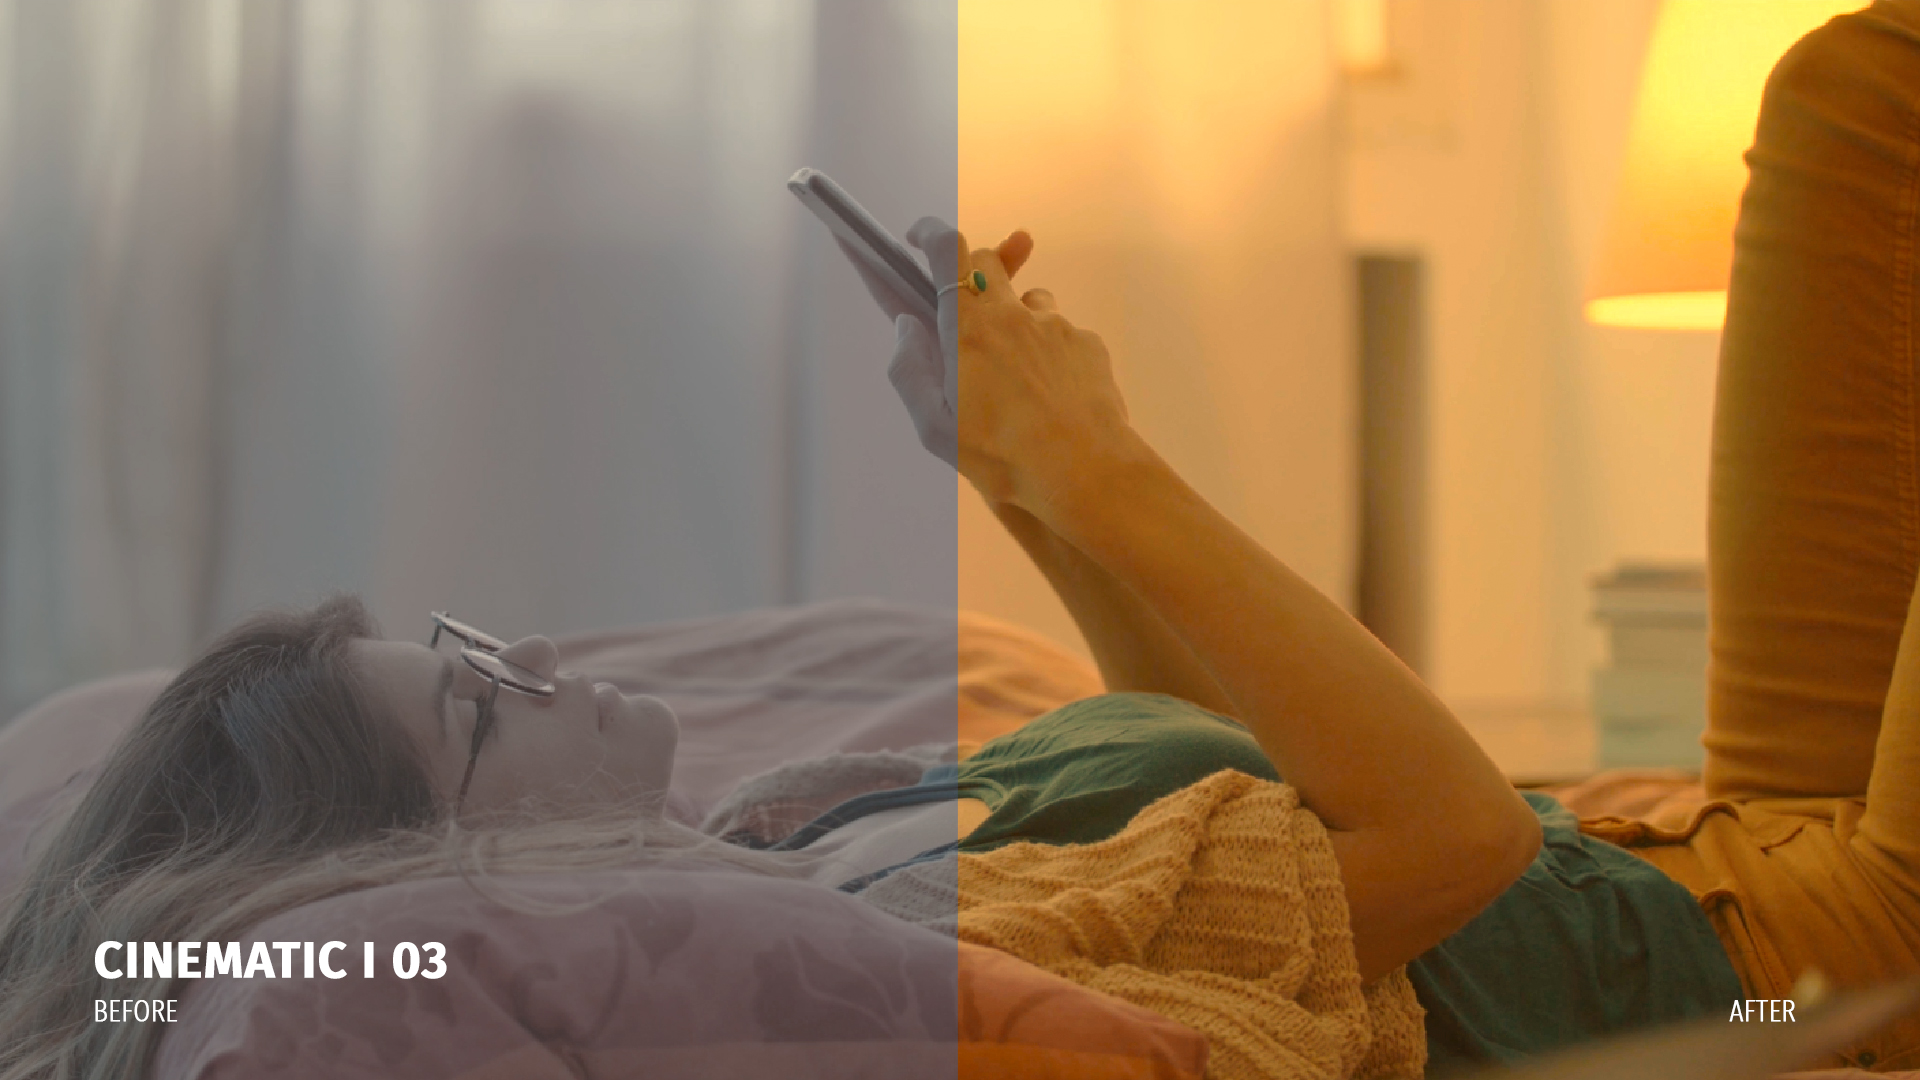
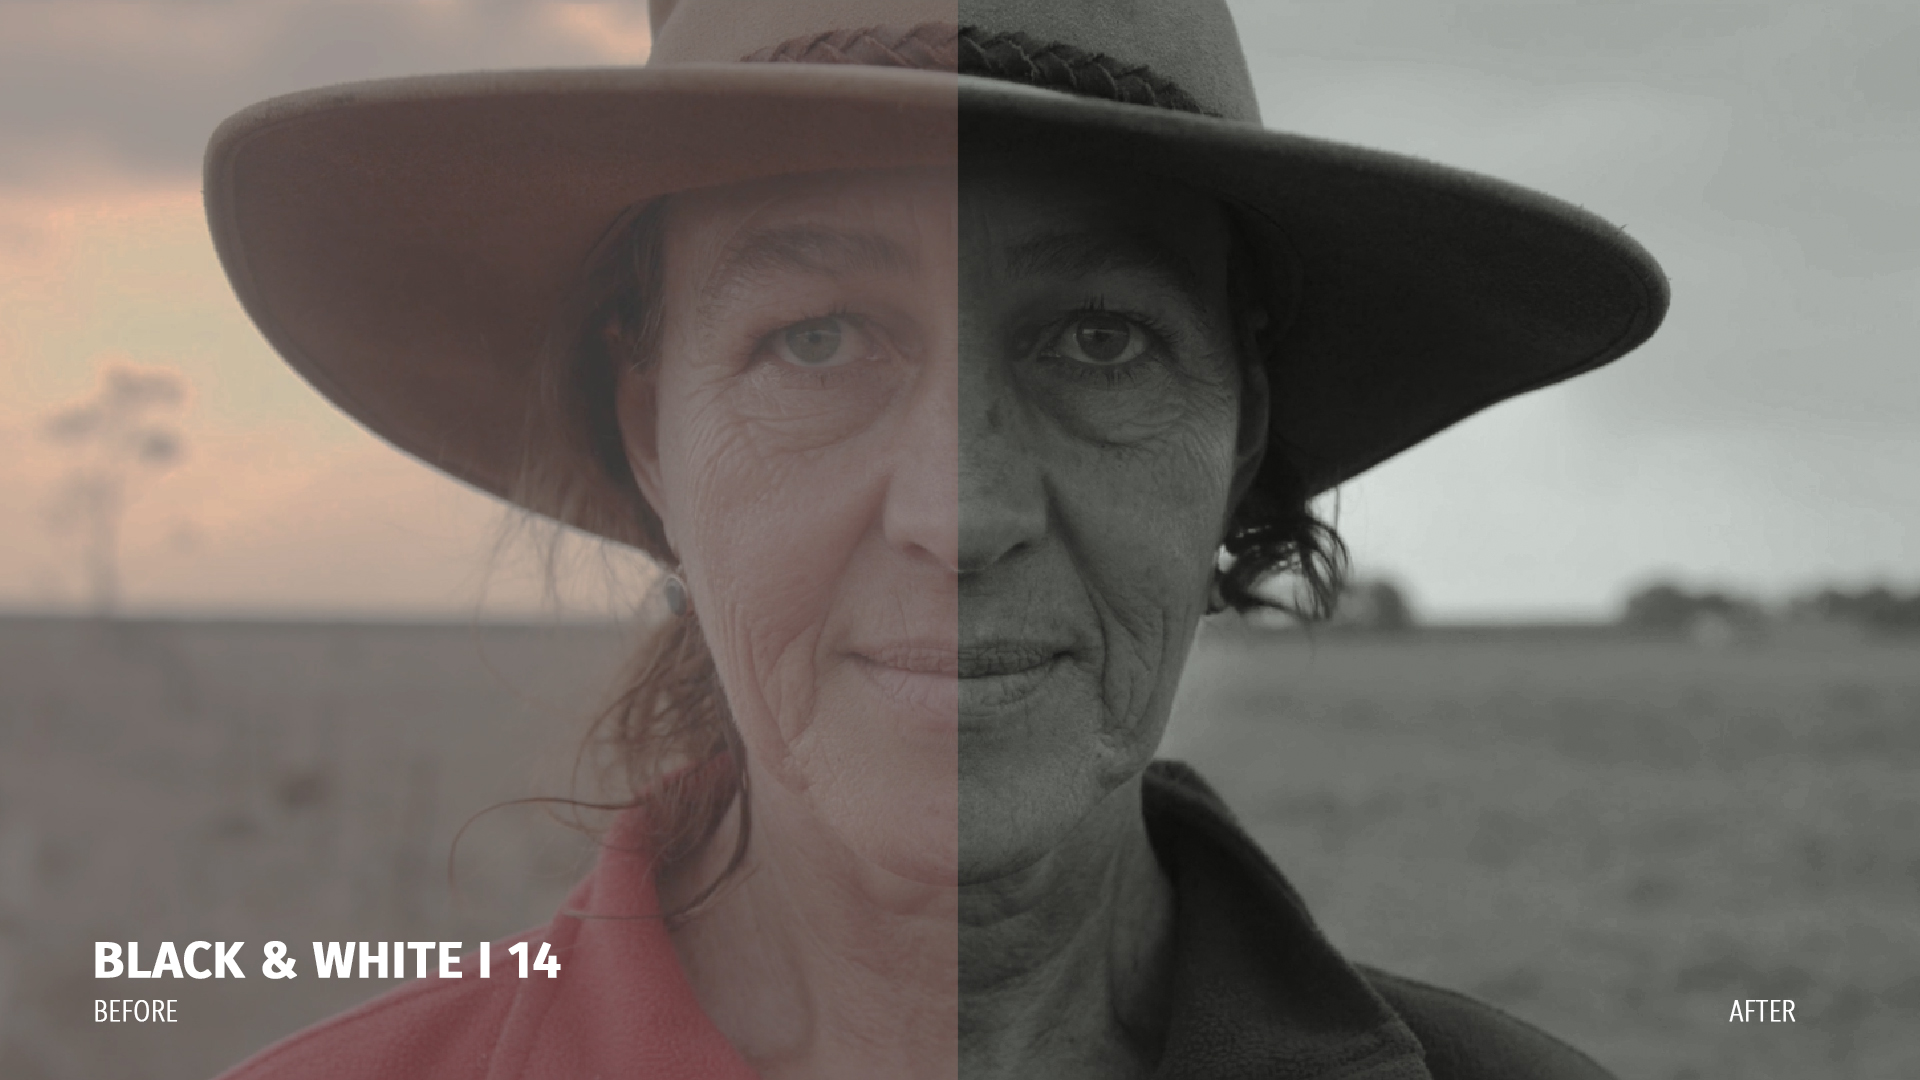
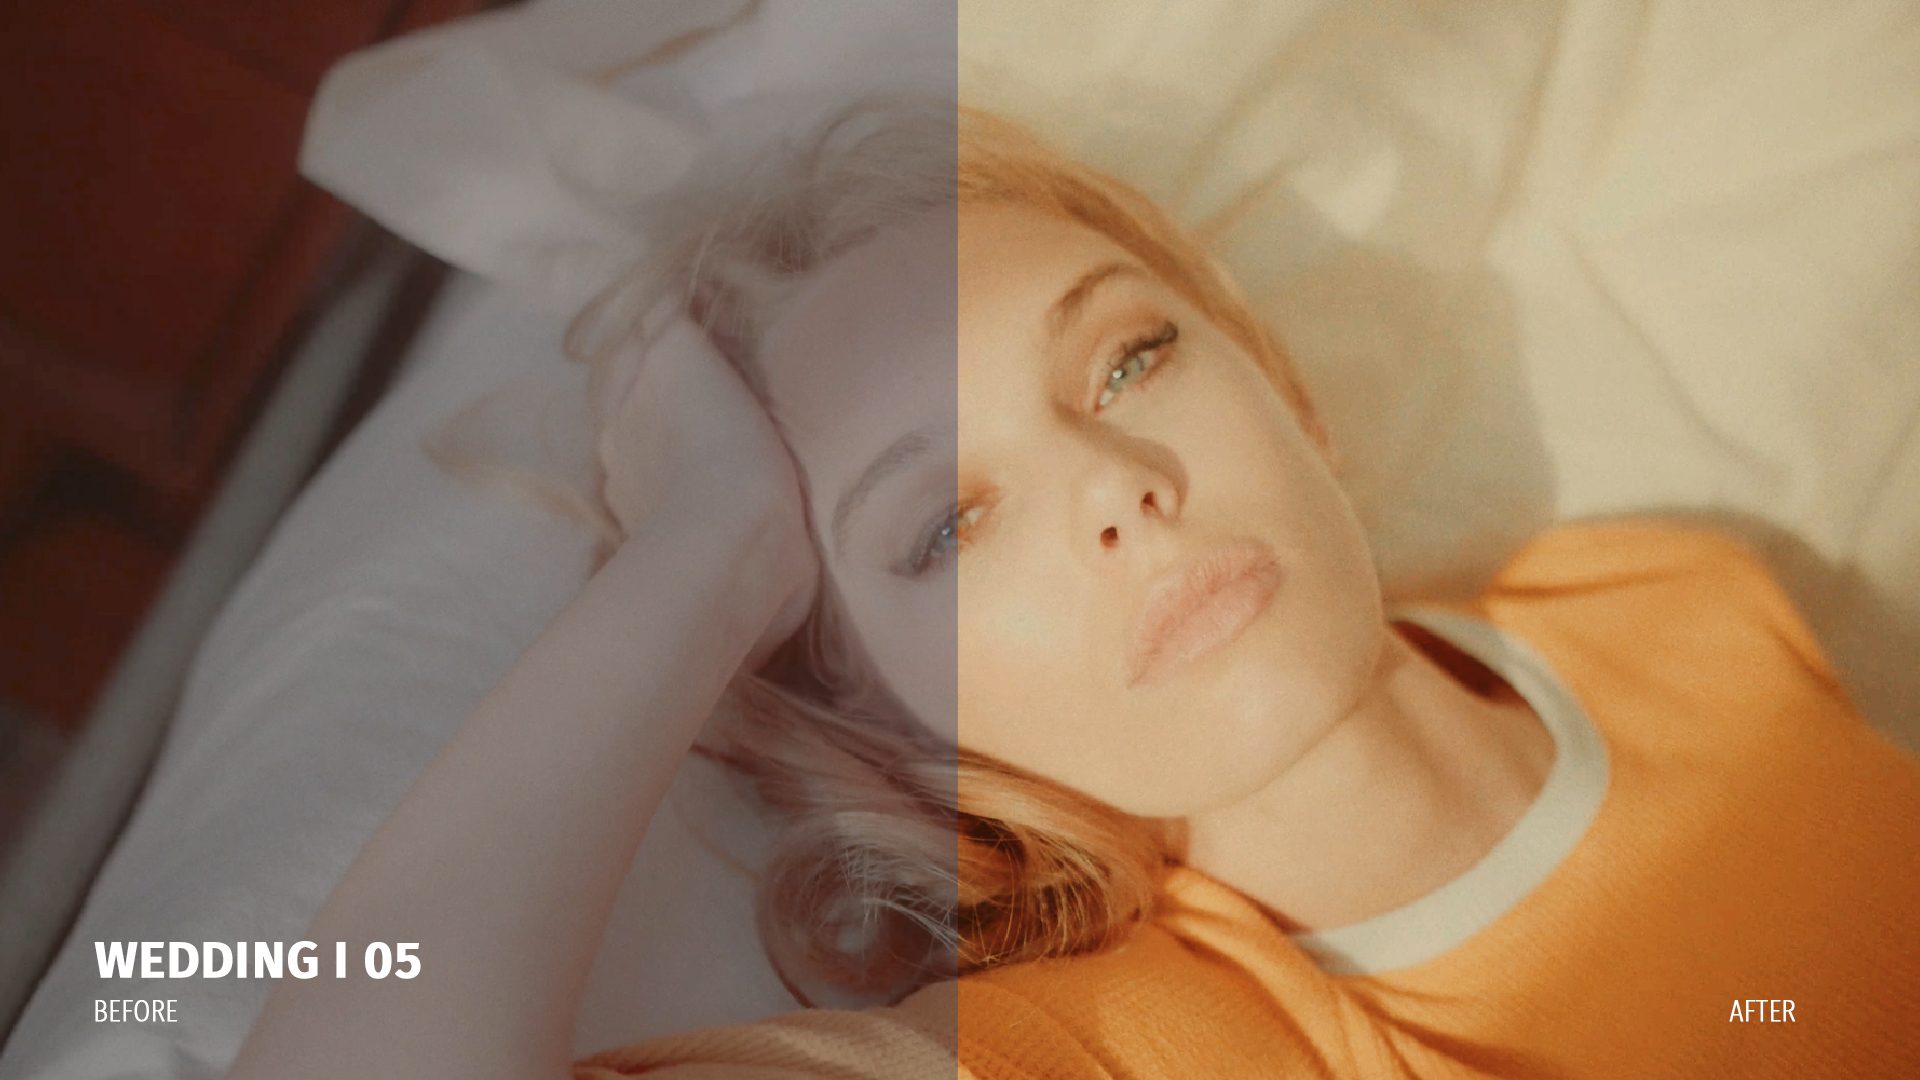
As LUTs deal with colors and colors are visual elements of life, a set of examples will help better understanding the concept, so herein you can see different examples of LUTs being applied to change the color values of the image.
LUT Packs
With the progression of LUTs, more companies tend to create various types of them to help filmmakers get the look they want from production to post-production. And adding LUTs in the camera really makes filmmaking easier in terms of seeing the end product. Because when you add a LUT to your camera you can see that the shot will work out for you or not, based on the mood you want to create. So in this case, it’s better to have lots of professional graded LUTs to work with and this is why using Pixflow’s 700 LUT pack for both production and post is recommended. You can add any of these LUTs to your camera to find the suitable color mode you want and then add it to your editing software to edit your footage and get the exact colors you need. It’s super handy!
FREE LUT Presets
You can FREE download a bunch of our LUTs for from this link. These FREE LUT presets are suited for all of the popular video editing software like Premiere Pro, After Effects, Final Cut Pro, and Davinci Resolve. These LUT presets are chosen to cover a wide range of filmmaking and content creation purposes so that any video maker in any field can take advantage of them.
