CMOS Image Sensor for Amazing Photos and Video
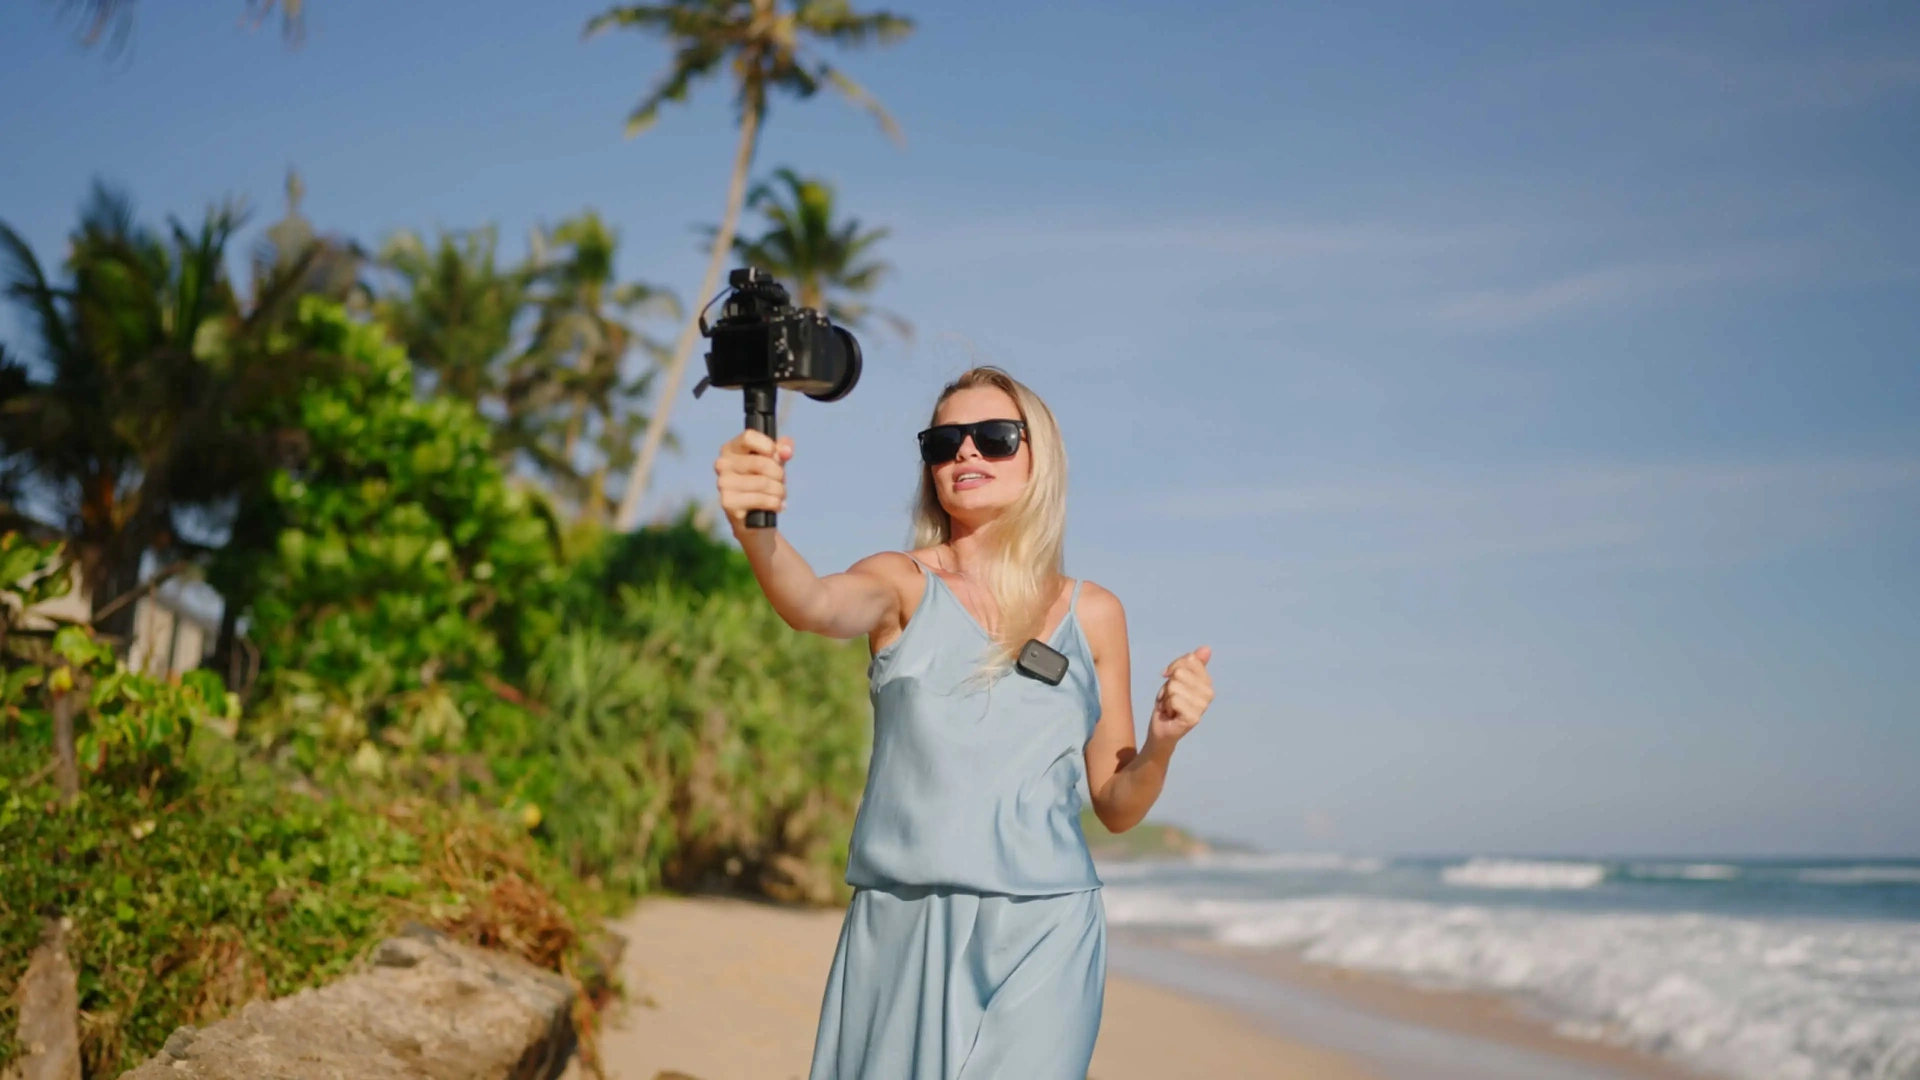
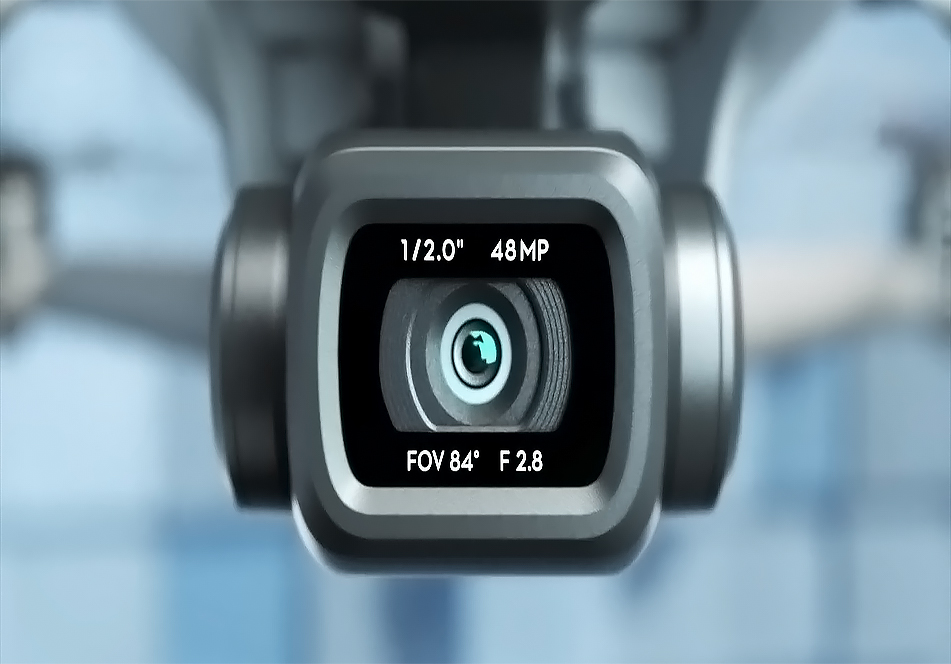
Mavic Air 2 is equipped with a 1/2-Inch CMOS Image Sensor, which is bigger than the sensor on the original Mavic air. With this sensor, Mavic Air 2 is capable of recording videos at up to 4K resolution and 60p in HDR, and if you lower the resolution to 1080p HD you can also shoot at 120 and 240 fps. The CMOS sensor in Mavic Air 2 also captures photos at 48MP RAW in DNG format. For HDR, the camera will take 7 pictures from the scene in different exposures and then combine them into one picture.
8K Hyperlapse
Hyperlapse mode is one of the more exciting features that I believe many drone users enjoy to use. Of course, DJI has stepped up the game here by making the Hyperlapse 8K which is amazing. Many may say 8K is overkill especially on a hyperlapse but I always like the versatility of for example being able to zoom into the footage in certain parts and still have the crispiness of a 4k or 1080p footage. Anyway, as I said before DJI has done a great job in Hyperlapse mode of its latest drone, and in Mavic Air 2, Hyperlapse comes in 4 variations.
Free Mode
In Free Mode, you can move the drone freely in any direction while it is taking the pictures for you. Of course, the drone will move very slowly in this mode so that the final video will look smooth in its movement. Use Free Mode in cases where you want to have more control over the movements of the drone and where you want it to look when shooting.
Circle
Circle Mode is a fully automated Hyperlapse mode in which you will choose your subject of interest and then the drone will take pictures while slowly circling around the subject. This mode is great for the videos where you want to present a specific subject and to my eyes, this is one of the coolest flight modes!
Course Lock
In the Course Lock Mode, you have the option to choose the duration of your final video, then set the orientation of the drone. what the drone then does is automatically moving following the set path at a speed relative to the set time and take the pictures along the way.
Waypoint
This mode can help you do some amazingly creative stuff. The way it works is that you will set your waypoints before hands and then the drone will follow them while taking the pictures. I personally believe this mode has a lot of creative potentials and if you want to do some cool shots, you should definitely try it.
Quickshots
Moving on from Hyperlapse modes, we are going to talk about Quickshots. These are some of the most famous shots you may have already seen in many videos. They may look some really complicated to make and they sure are but using DJI Mavic Air 2, all these cool shots can be done with just a single tap! All you need to do is going inside the Quickshots section in the DJI app menu on your phone and choose the mode of your liking. Mavic Air 2 will take care of the rest of the video shooting.
Dronie
Circle
Helix
Dronie
Circle
Helix
Rocket
Boomerang
Asteroid
Rocket
Boomerang
Asteroid
OcuSync 2.0 Transmission
Unlike the original Mavic Air which used WiFi as a form of communication between the drone and controller, Mavic Air 2 is now bringing the top tier technology of OcuSync 2.0 to the mid-range market. With OcuSync 2.0 Mavic Air 2 can get as far as 10km and still transmit video at 1080p/30fps. Of course, flying your drone out of your line of sight is not advised at all but seeing how capable OcuSync 2.0 Transmission is can give any drone pilot peace of mind when flying in different conditions. Also worth mentioning is that the drone is now capable of automatically switching between 2.4 and 5.8GHz frequencies which makes it keep a much more reliable connection when flying through locations that are crowded with interfering signals.
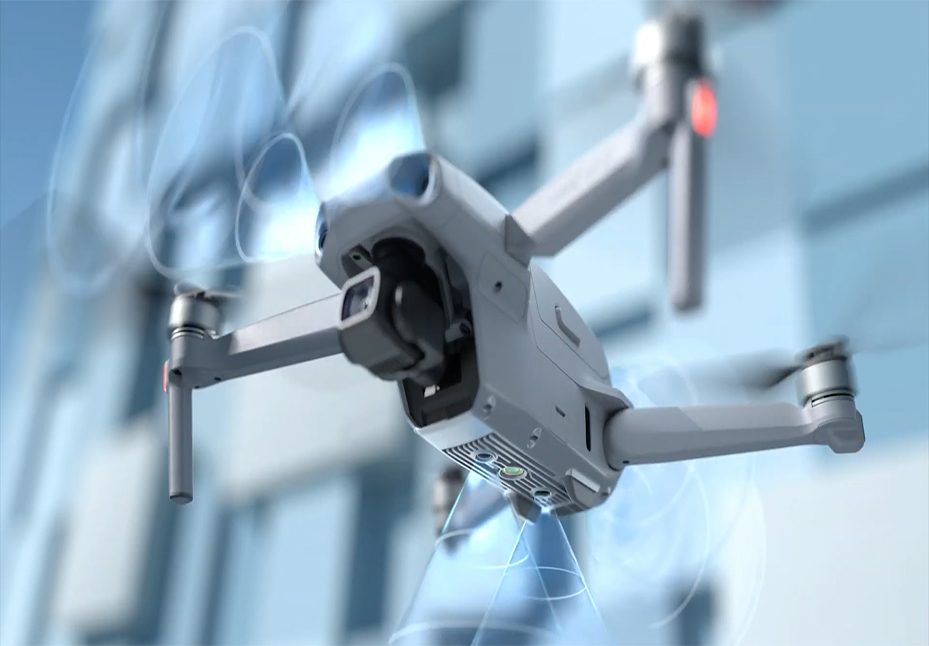
And speaking of keeping your drone safe, let’s talk about the Obstacle Avoidance capability. Mavic Air 2 is fitted with the latest and greatest APAS 3.0 that works in conjunction with sensors that are fitted on the front, back, and bottom of the drone. These sensors can scan up to around 20 meters surrounding the drone and keep it from colliding with objects around it. Bottom sensors are also coupled with a LED light that will help you when you ware landing the drone during the night.
Controller
Functionally, the controller for Mavic Air 2 is the same as before but the new design is a breath of fresh air, at least in my opinion. The antennas on the controller are now integrated into the controller body so there is no need for them to stick out from the top which means now the smartphone holder can sit on the top portion of the controller which I believe makes for a more ergonomic design. Also, the controller can now hold up to 4 hours of charge which like the drone battery, is an impressive number!

Battery Life
Flagship materials in Mavic Air 2 continue with the battery life and flight time of the drone. Mavic Air 2 is advertised as being capable of staying in the air for as long as 34 minutes! That is a very very solid time and comparing to other drones of its class it is astonishing. Of course, real-life numbers may vary based on the weather conditions and signal interference of the area, but talking from experience I believe getting around 28 minutes of flight time is easily achievable in most cases with this drone.

