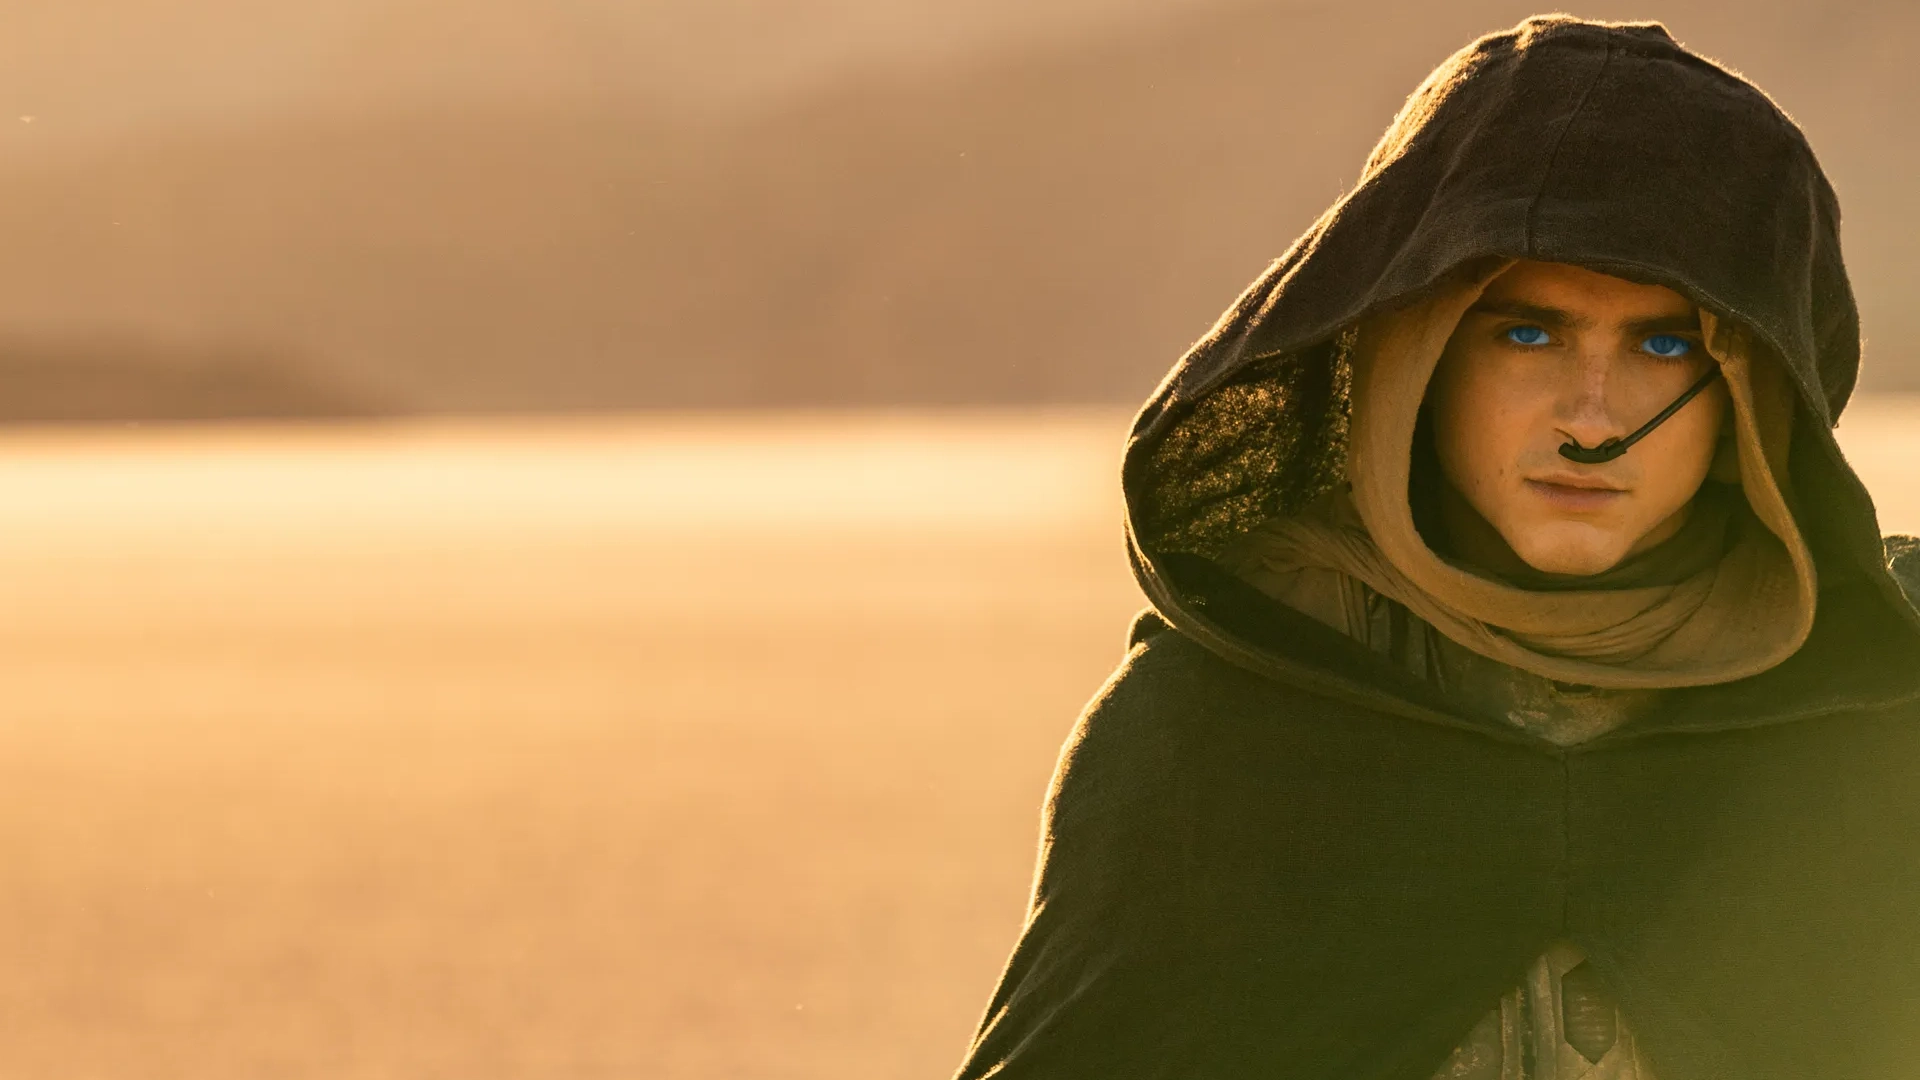
From the dawn of cinema up until this day, the core idea behind creating film has almost always been telling a story. Sometimes storytelling involves some scenes that are sort of impossible to create them. The range will go from minor stuff like shooting a scene in exotic and unreachable locations, all the way to extremes like shooting scenes in space! That’s when Green screens, also known as chroma keys, come to play! Let’s shoot the scene from the comfy greenness of our set and let the hassles be taken care of by the editing software!
Cool! Let’s do that! But how? How do chroma keying work? How should I set up? and before everything, why even green? Well, let’s answer that!
Green or Blue Screen?
Well, to first take care of the basics, Greenscreen was not always called that, cuz it used to be blue! Even today for the needed situation filmmakers and cinematographers still use blue screens. But the reason blue and green are the main keying colors is that, well human skin generally consists of many shades of red, and that can cause so many problems during the process of keying. Using Blue or Green is the easiest way to get around that issue and have a hassle-free post-production and editing experience. But when should we use green and when blue? Well, That one is a bit more complicated.
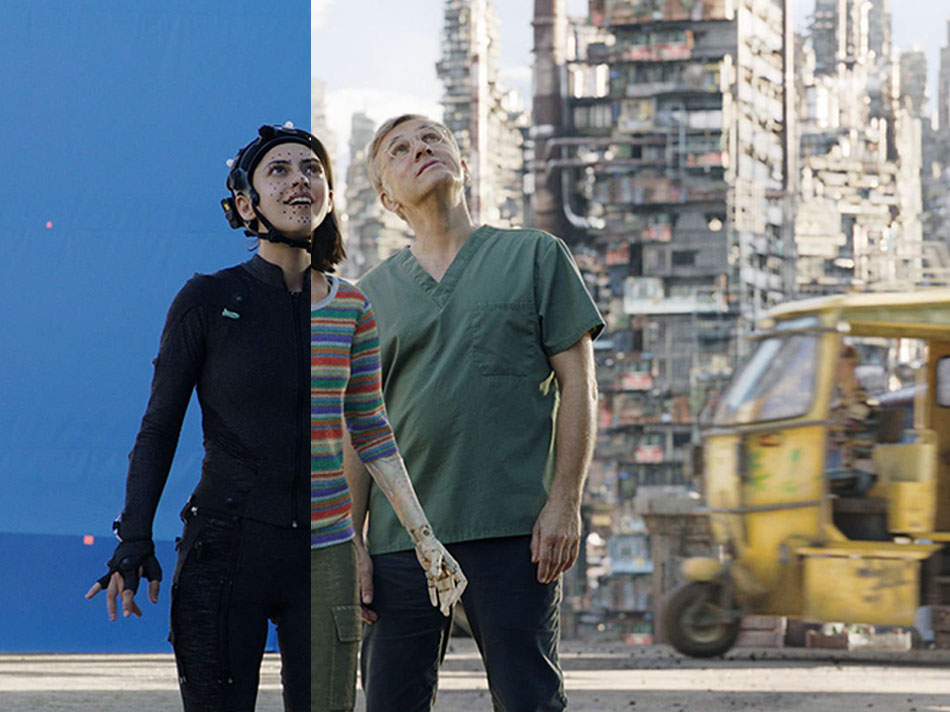
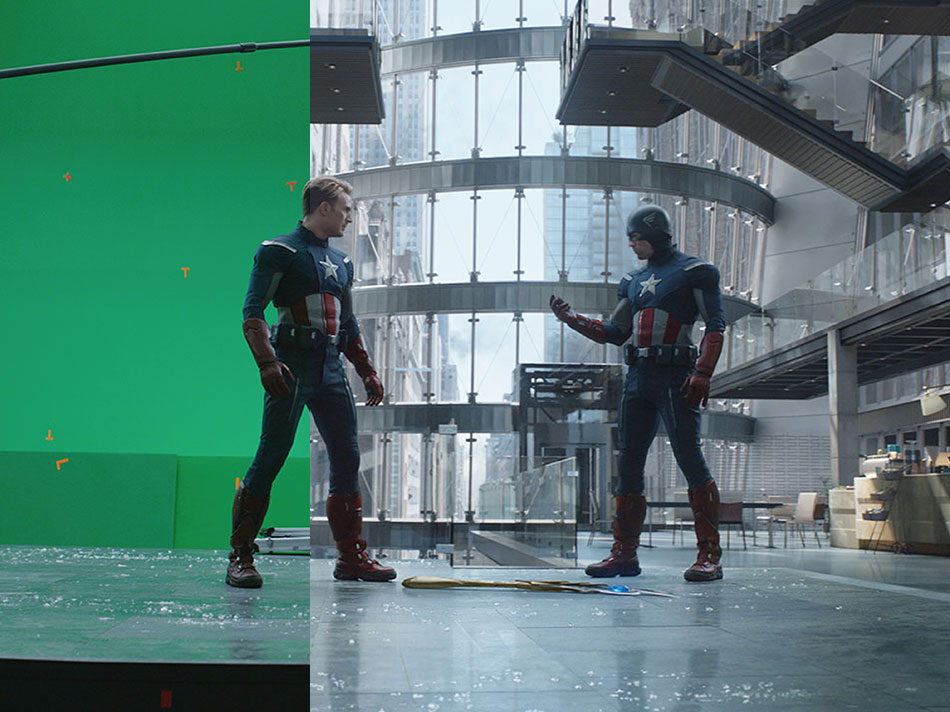
Green Screen premiere pro
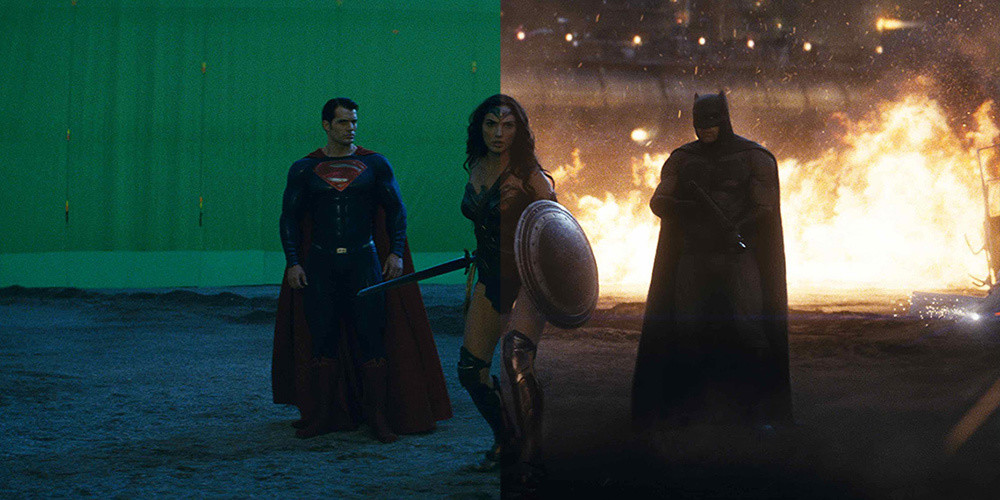
Green is a much brighter color so it is more transparent, much easier to light up and is more forgiving when it comes to wrinkles and shadows. Of course, if the green screen background is a well-lit scene, like a sunny day, then for sure you can get away with using green, cuz the light of the scene will cover the edges. But if your scene is supposed to be dark, then you would be better off using a bluescreen.
Blue Screen
The benefit of a bluescreen is that blue color almost has no color spill so it can preserve the fine edges much better. But like everything in life, there is a catch. Bluescreens need so much more light on them to eliminate any sort of shadows on the screen. Bluescreens are also a bit harder to key out if the blue is not uniform.
So as you can see, choosing green or blue is completely based on the situation you wanna film in. Always picture the frame in your head and then decide on what color and settings you want to use. The only thing you should take care of now and is common between both colors is how to set your set!
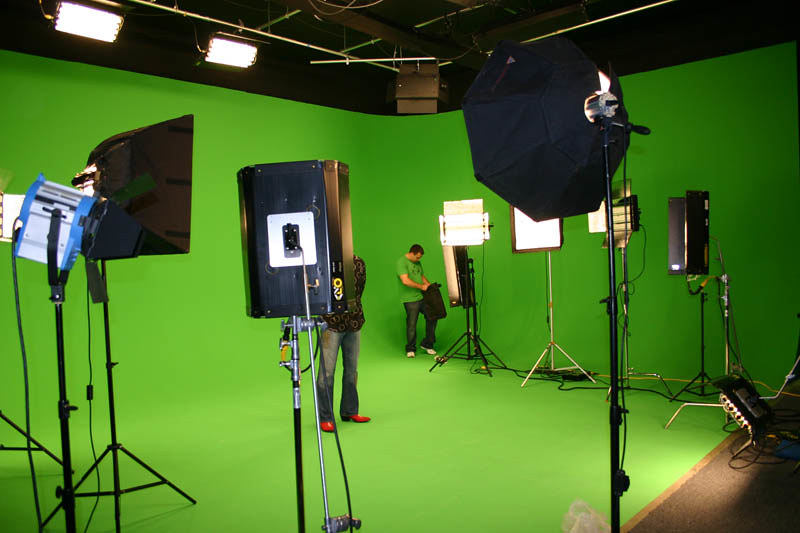
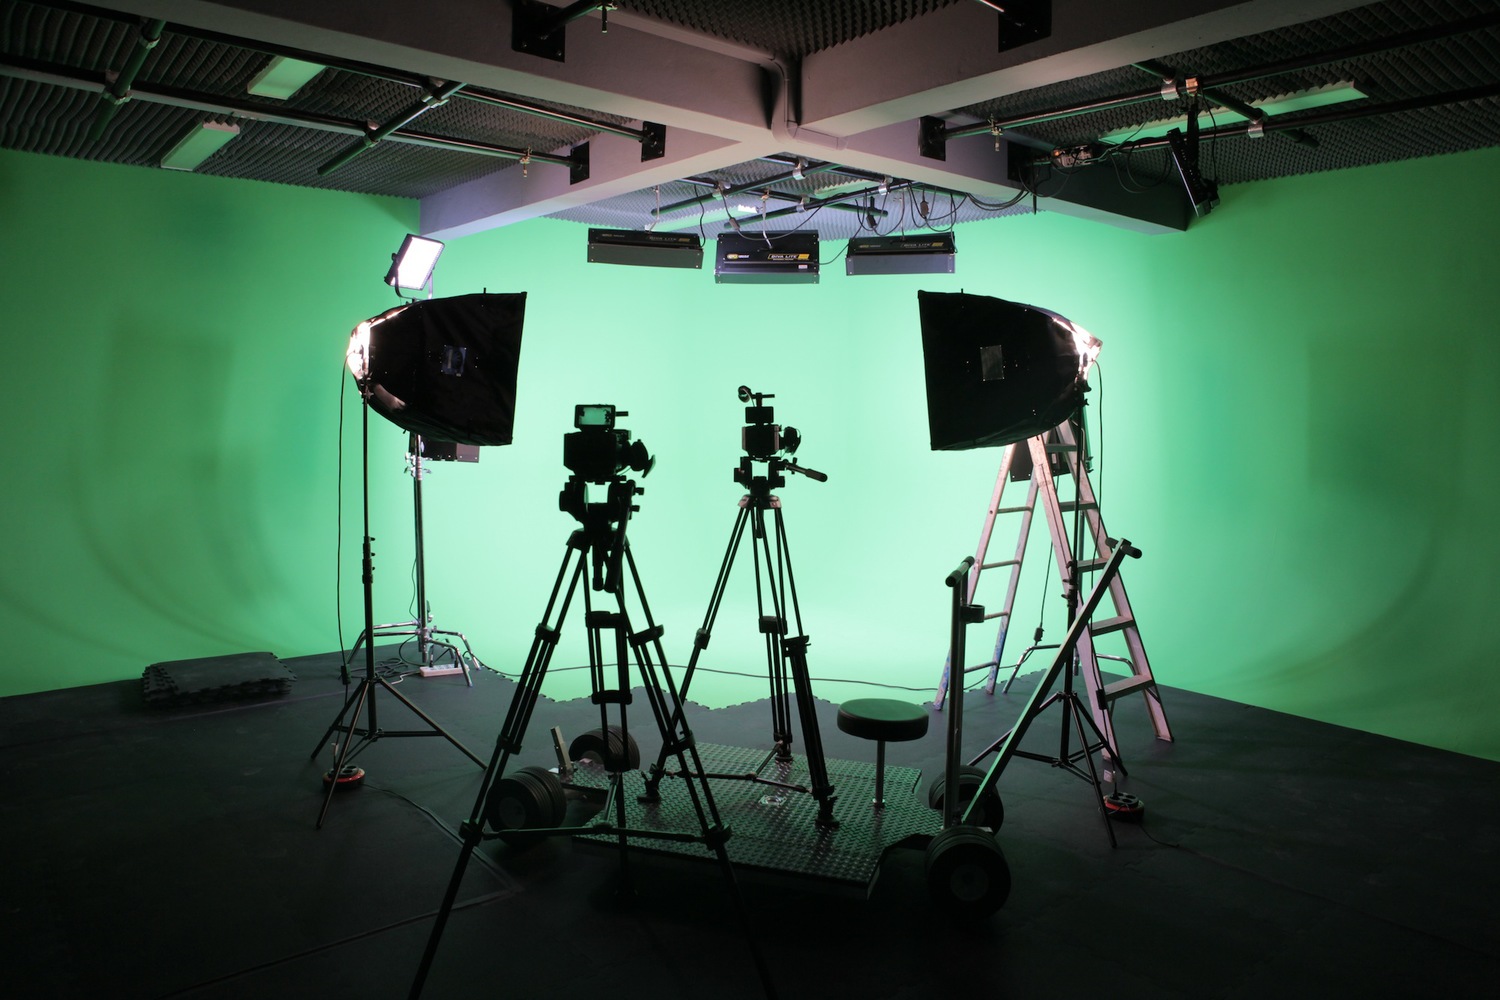
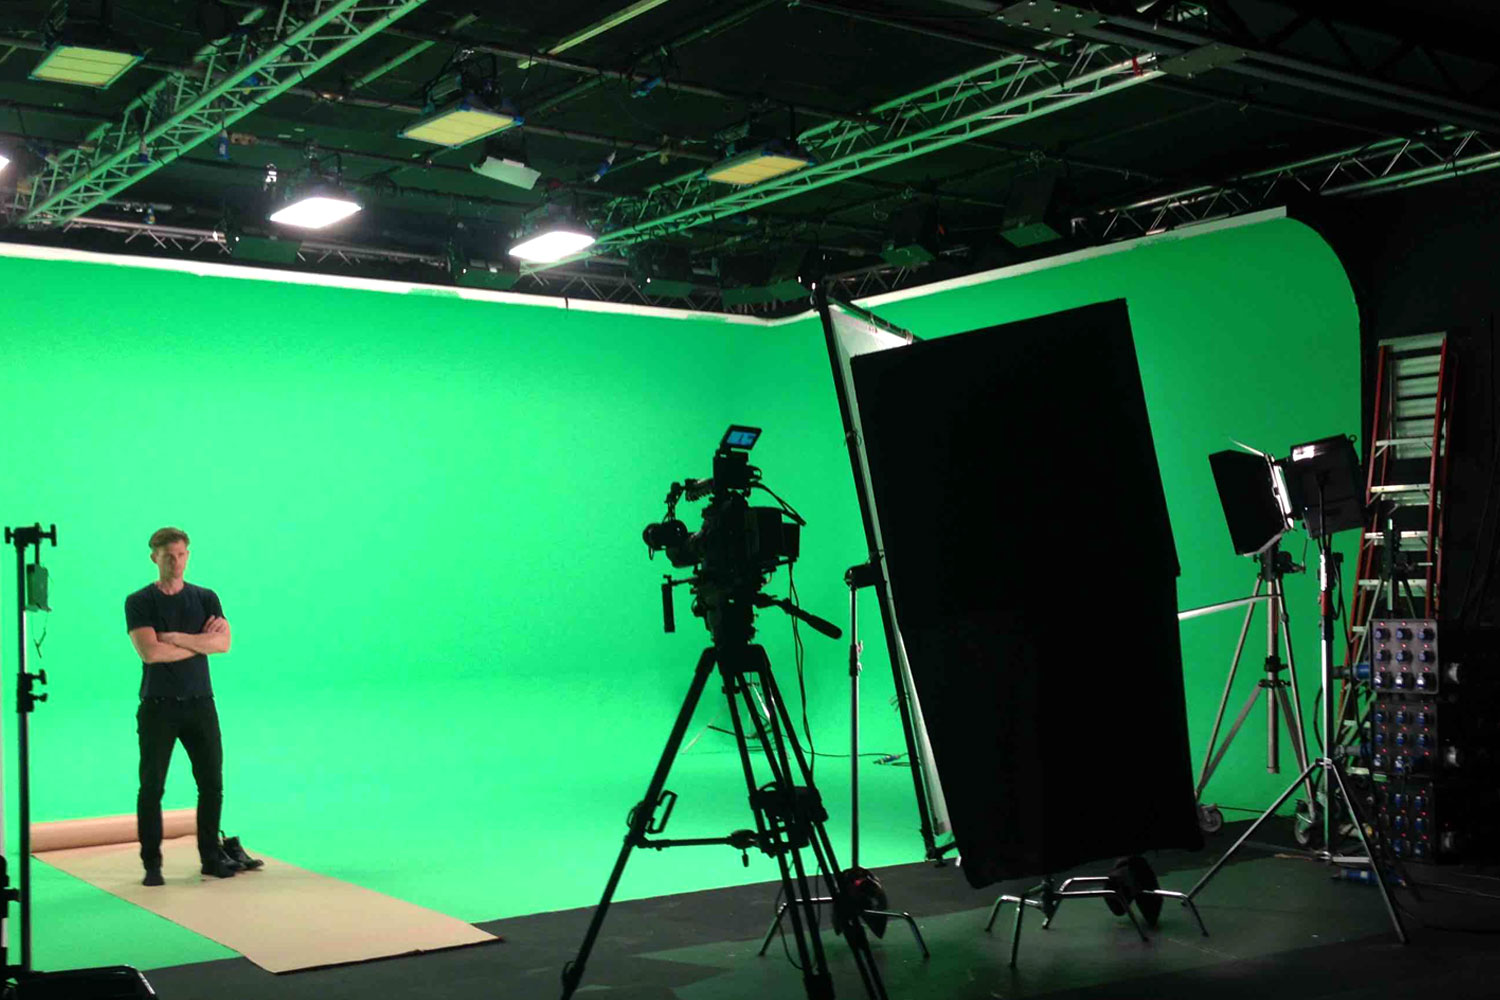
Setting Up A Green / Blue Screen Set
-
Make sure the cloth is well ironed and wrinkle-free. Any type of shadow and inconsistency in the color will bring complications later on in the post.
-
Have both light the screen and the subject individually. Light, especially on the screen, should be soft, yet strong. It’s also good practice to have a backlight behind the subject, casting light on them so that their edges will be lit and mostly free of green light spill. This can really help out later on in the video during the editing phase when you are trying to key out the greenscreen and you want to keep the edges nice and sharp.
-
Make sure the subject is not casting shadows on the screen. Try to make them do different moves in order to make sure of that. It is best to always keep a distance from the screen to alleviate these sorts of issues.
-
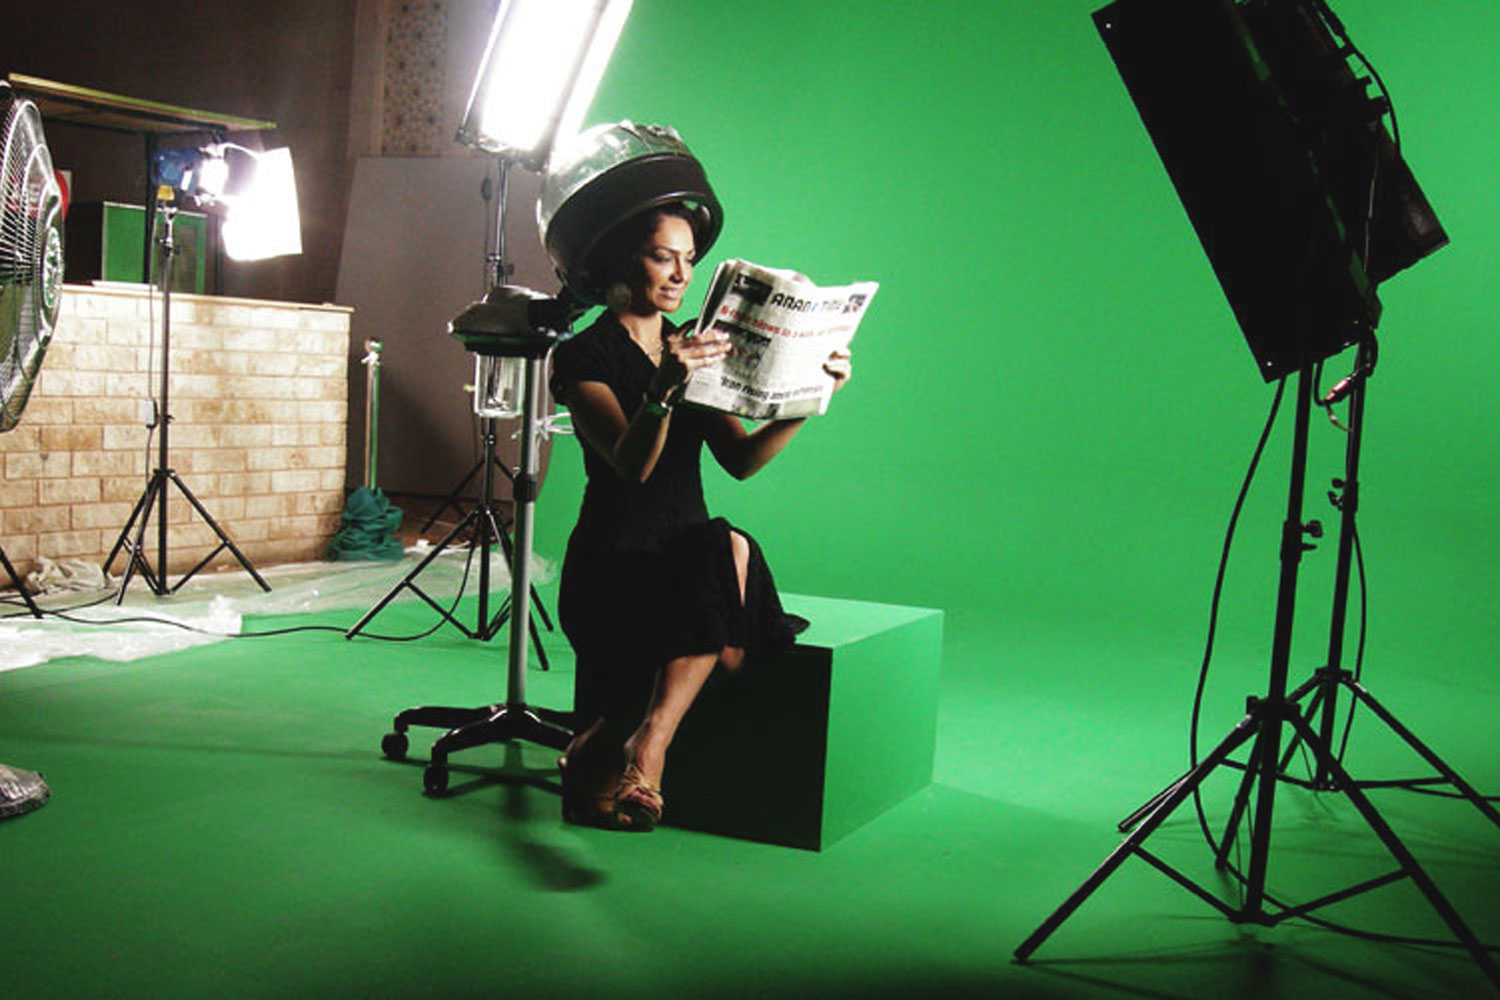
It should go without saying, do not have anything on set that is green beside the greenscreen! Anything, no matter how small, can turn the image into a big distraction after keying the footage and that is a huge pain to fix in editing!
How to apply Chroma Key in Adobe Premiere Pro?
-
Import both your footage into the premiere pro.
-
Stack two footage on top of each other in your sequence. First, the footage that is going to replace the green screen and then the main footage will go on top of it.
-
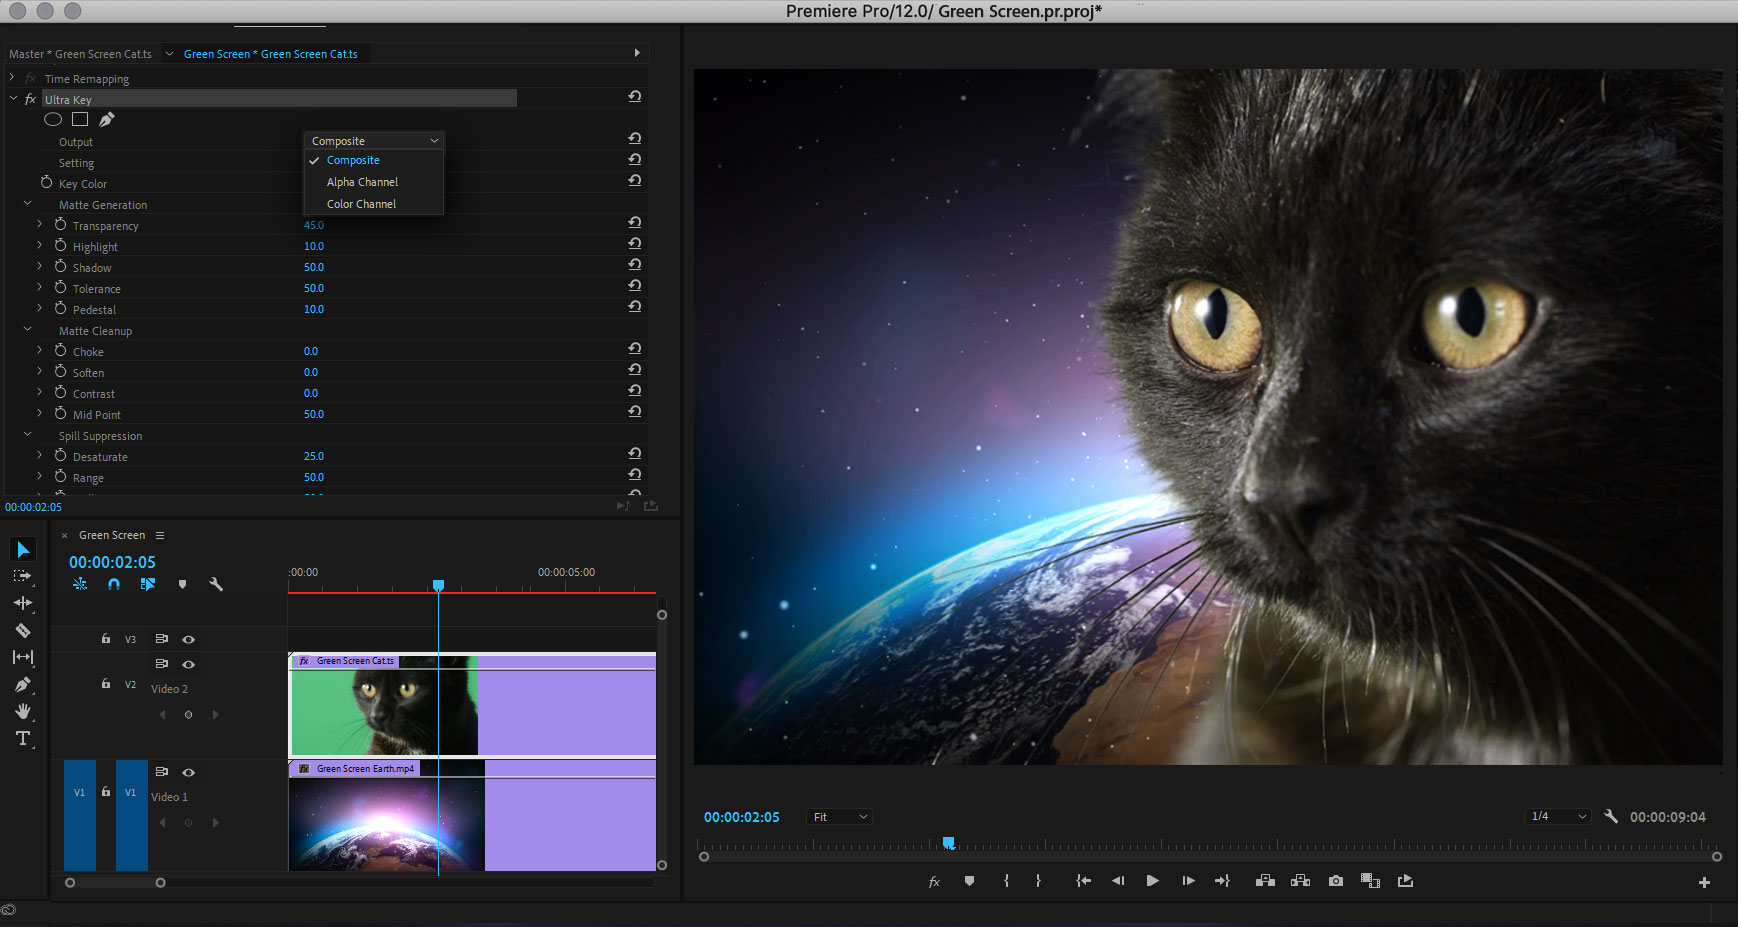
Go to the Effect Controls panel and down the list “Keying“, you can find the Ultra Key. Drag the Ultra Key and then drop it onto your main footage clip.
-
In the Ultra Key effect settings, use the Eyedropper tool to sample the green screen color. This will help Premiere Pro identify the areas that need to be made transparent. For almost all cases, this will work out just fine, but if you see some issues with the end result, you can always move and adjust the work with the sliders provided in the effects control. For example, Shadow and Pedestal are the first ones I will always tweak if I see an issue with my keyed footage.
-
Adjust the settings, such as the Tolerance and Edge Thin values, to refine the key and ensure a clean separation between your subject and the background.
-
Once you have a satisfactory key, you can add another video or image layer underneath your green screen footage to create the desired composite.
Tips and Tricks for Better Green Screen Results
While the Ultra Key effect is a powerful tool, achieving flawless green screen composites can be challenging, especially when dealing with complex scenes or challenging lighting conditions. Here are some tips and tricks to help you get the best results:
-
Lighting is crucial: As mentioned above, proper lighting is essential for green screen work. Aim for even, consistent lighting across the green screen backdrop and your subject to minimize shadows and hot spots.
-
Use a high-quality green screen: Invest in a good-quality green screen material that provides a consistent, wrinkle-free surface. Avoid using cheap, shiny, or reflective materials, as they can cause unwanted spill or color contamination.
-
Keying for hair and edges: Hair and transparent or semi-transparent objects can be particularly challenging to key out. Adjust the Key Settings, such as the Spill Suppressor and Edge Distance, to refine the key and maintain detail in these areas.
-
Use garbage mattes: Garbage mattes allow you to manually define areas of the image that should be included or excluded from the key. This can be particularly useful when dealing with complex or irregularly shaped subjects.
-
Experiment with different keying results: Adobe Premiere Pro offers several keying modes, such as RGB, Non-RGB, and Luma, each with its own strengths and weaknesses. Try different modes and compare the results to find the best option for your footage.
-
Stay organized: When working with multiple layers and composites, it’s essential to stay organized. Use clear naming conventions and keep your project panel tidy to avoid confusion and make future adjustments easier.
Conclusion
Green screen technology and the Ultra Key effect in adobe Premiere Pro are powerful tools that can take your video projects to new heights. By mastering these techniques, you’ll be able to create stunning visuals, transport your audience to incredible worlds, and bring your creative visions to life.
Remember, successful green screen work requires patience, attention to detail, and a willingness to experiment. With practice and dedication, you’ll soon be creating seamless composites that will leave your audience in awe. So, what are you waiting for? Dive into the world of green screens and unlock a whole new realm of creative possibilities!

