Using Wiggle in After Effects
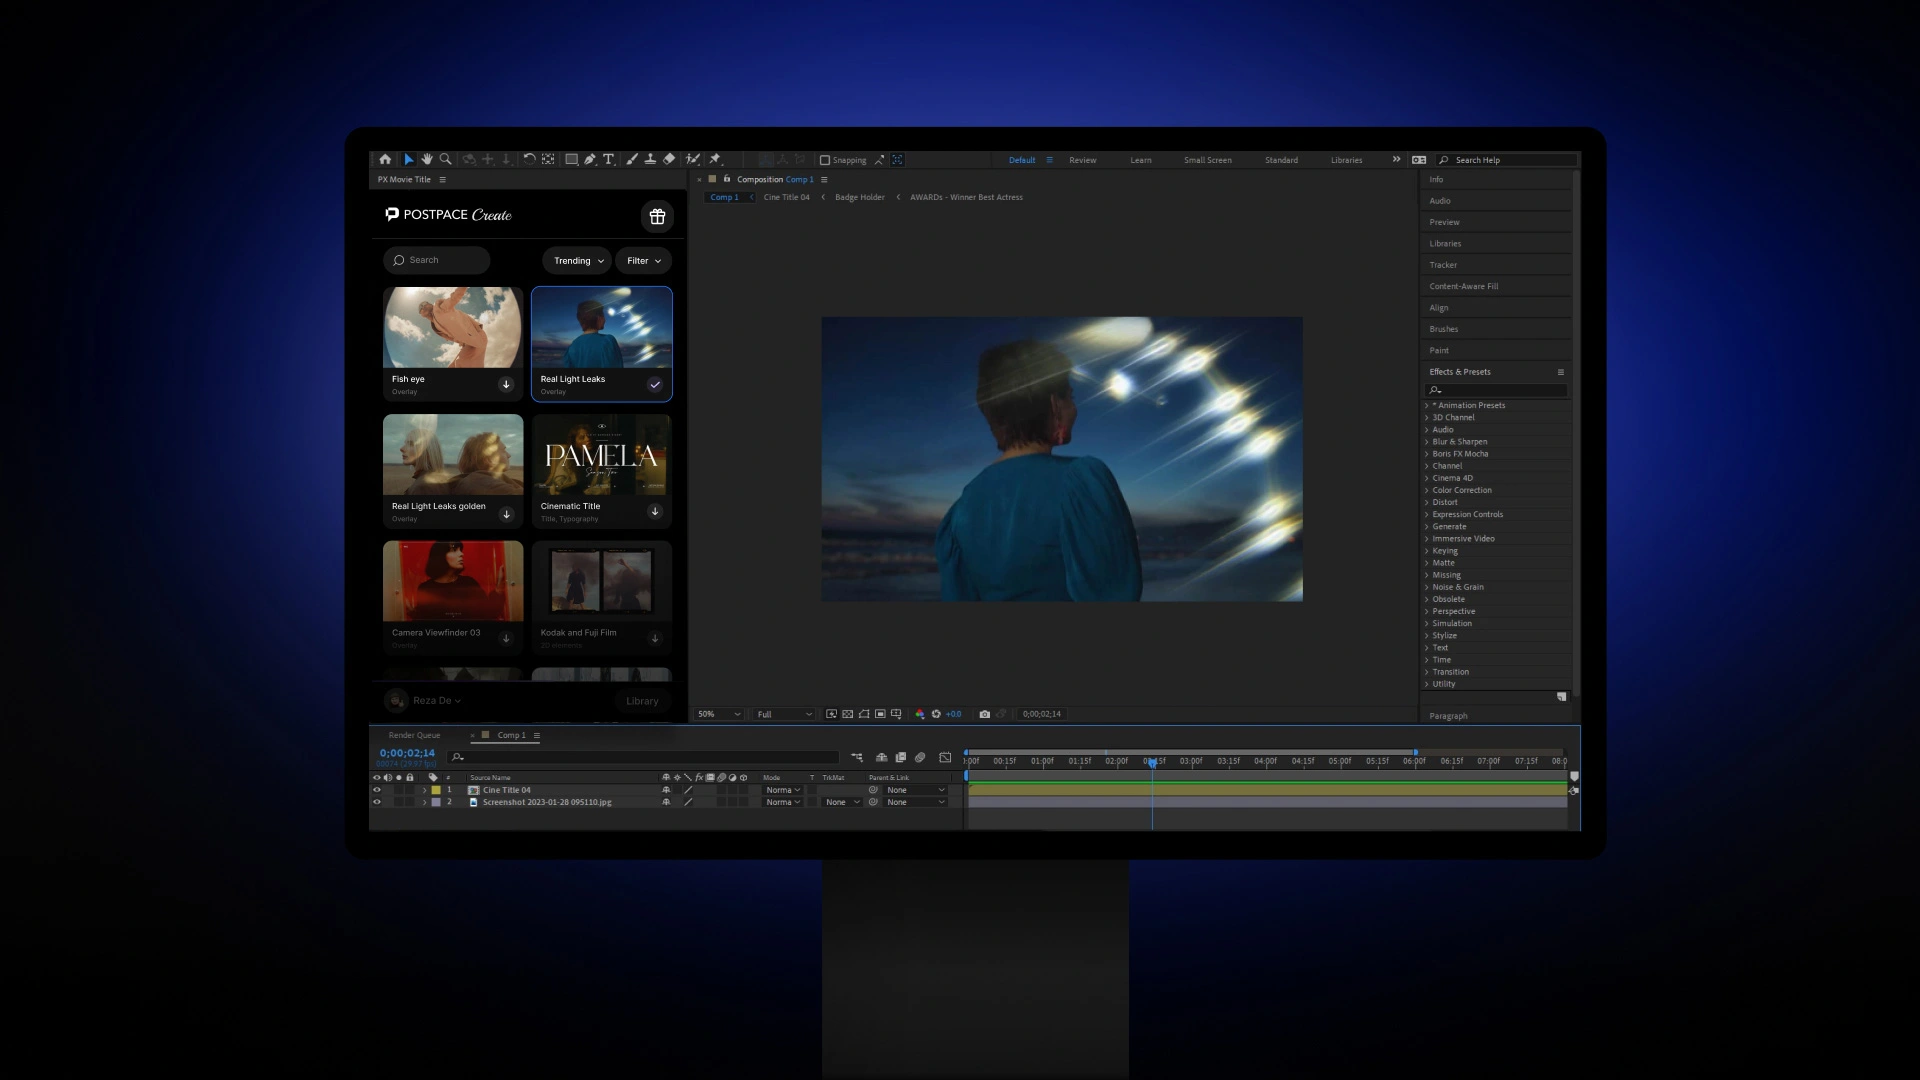
Ok, now let’s see how it is done in after effects. First things first, click inside the project panel to import your footage to after effects. You can also drag and drop your video footage there if you prefer. Then right-click on the footage and choose “new comp from selection” so that you can start working on the footage.
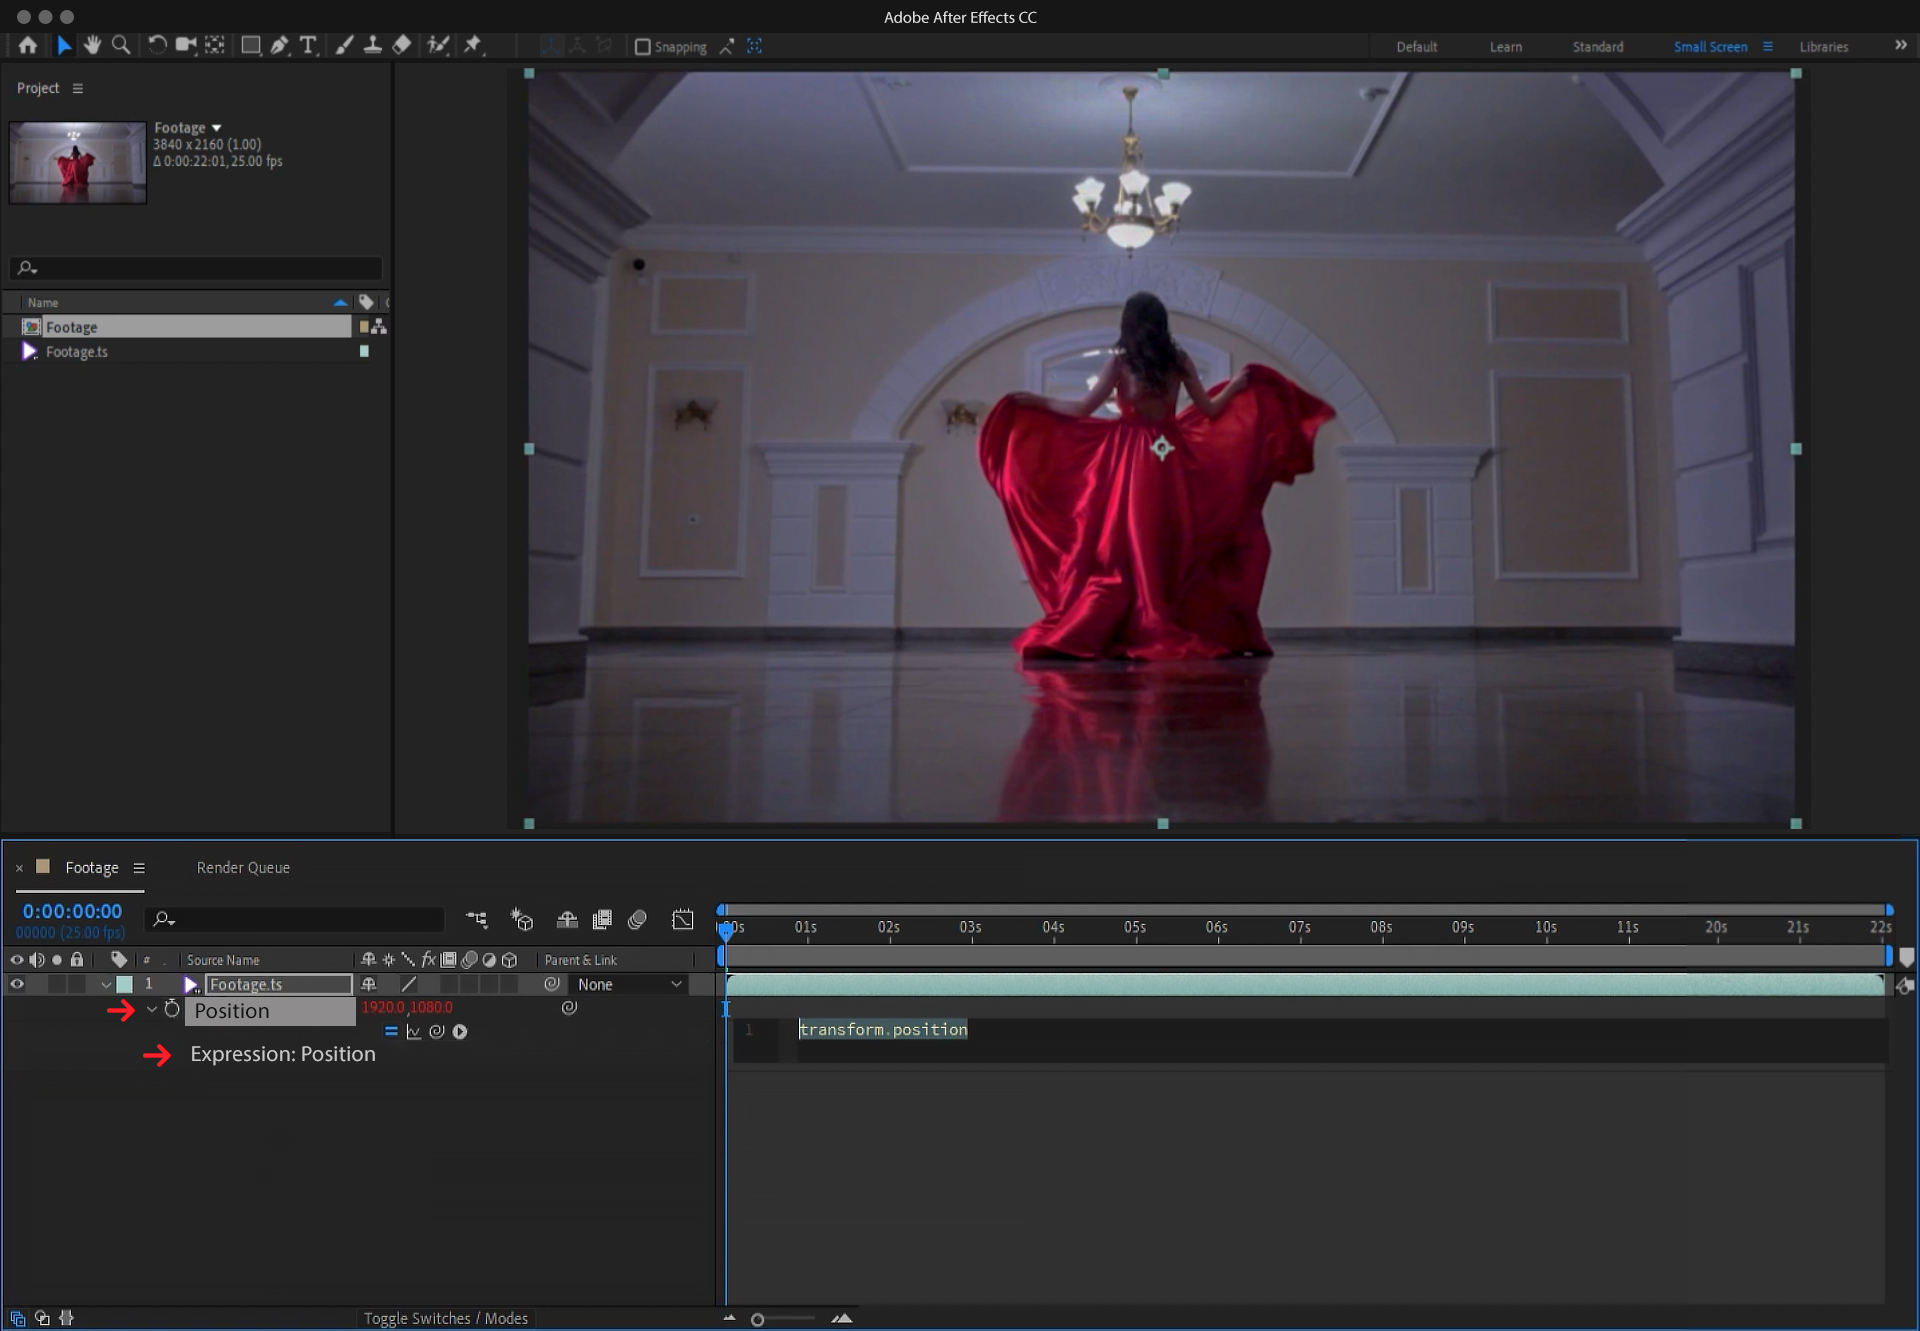
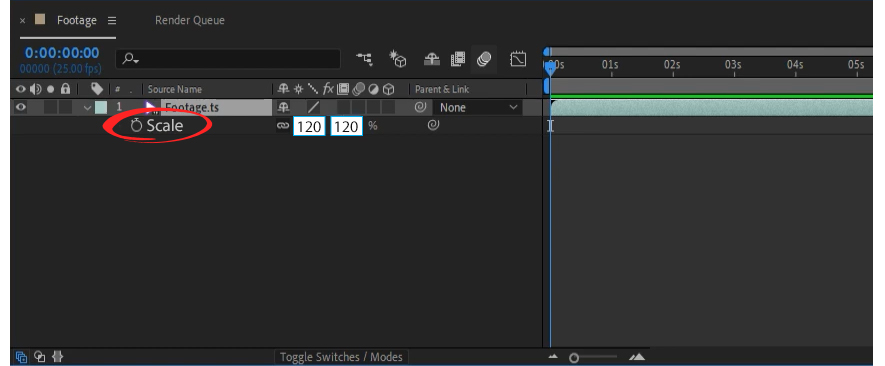
Next, click on the footage to choose it then you are going to hit “P” to bring up the position settings. Then hold down the “Alt” key, which is “Options” on Mac, and click on the stopwatch. What you are about to do is adding some wiggle to the footage and then working with it till it feels right and natural right.
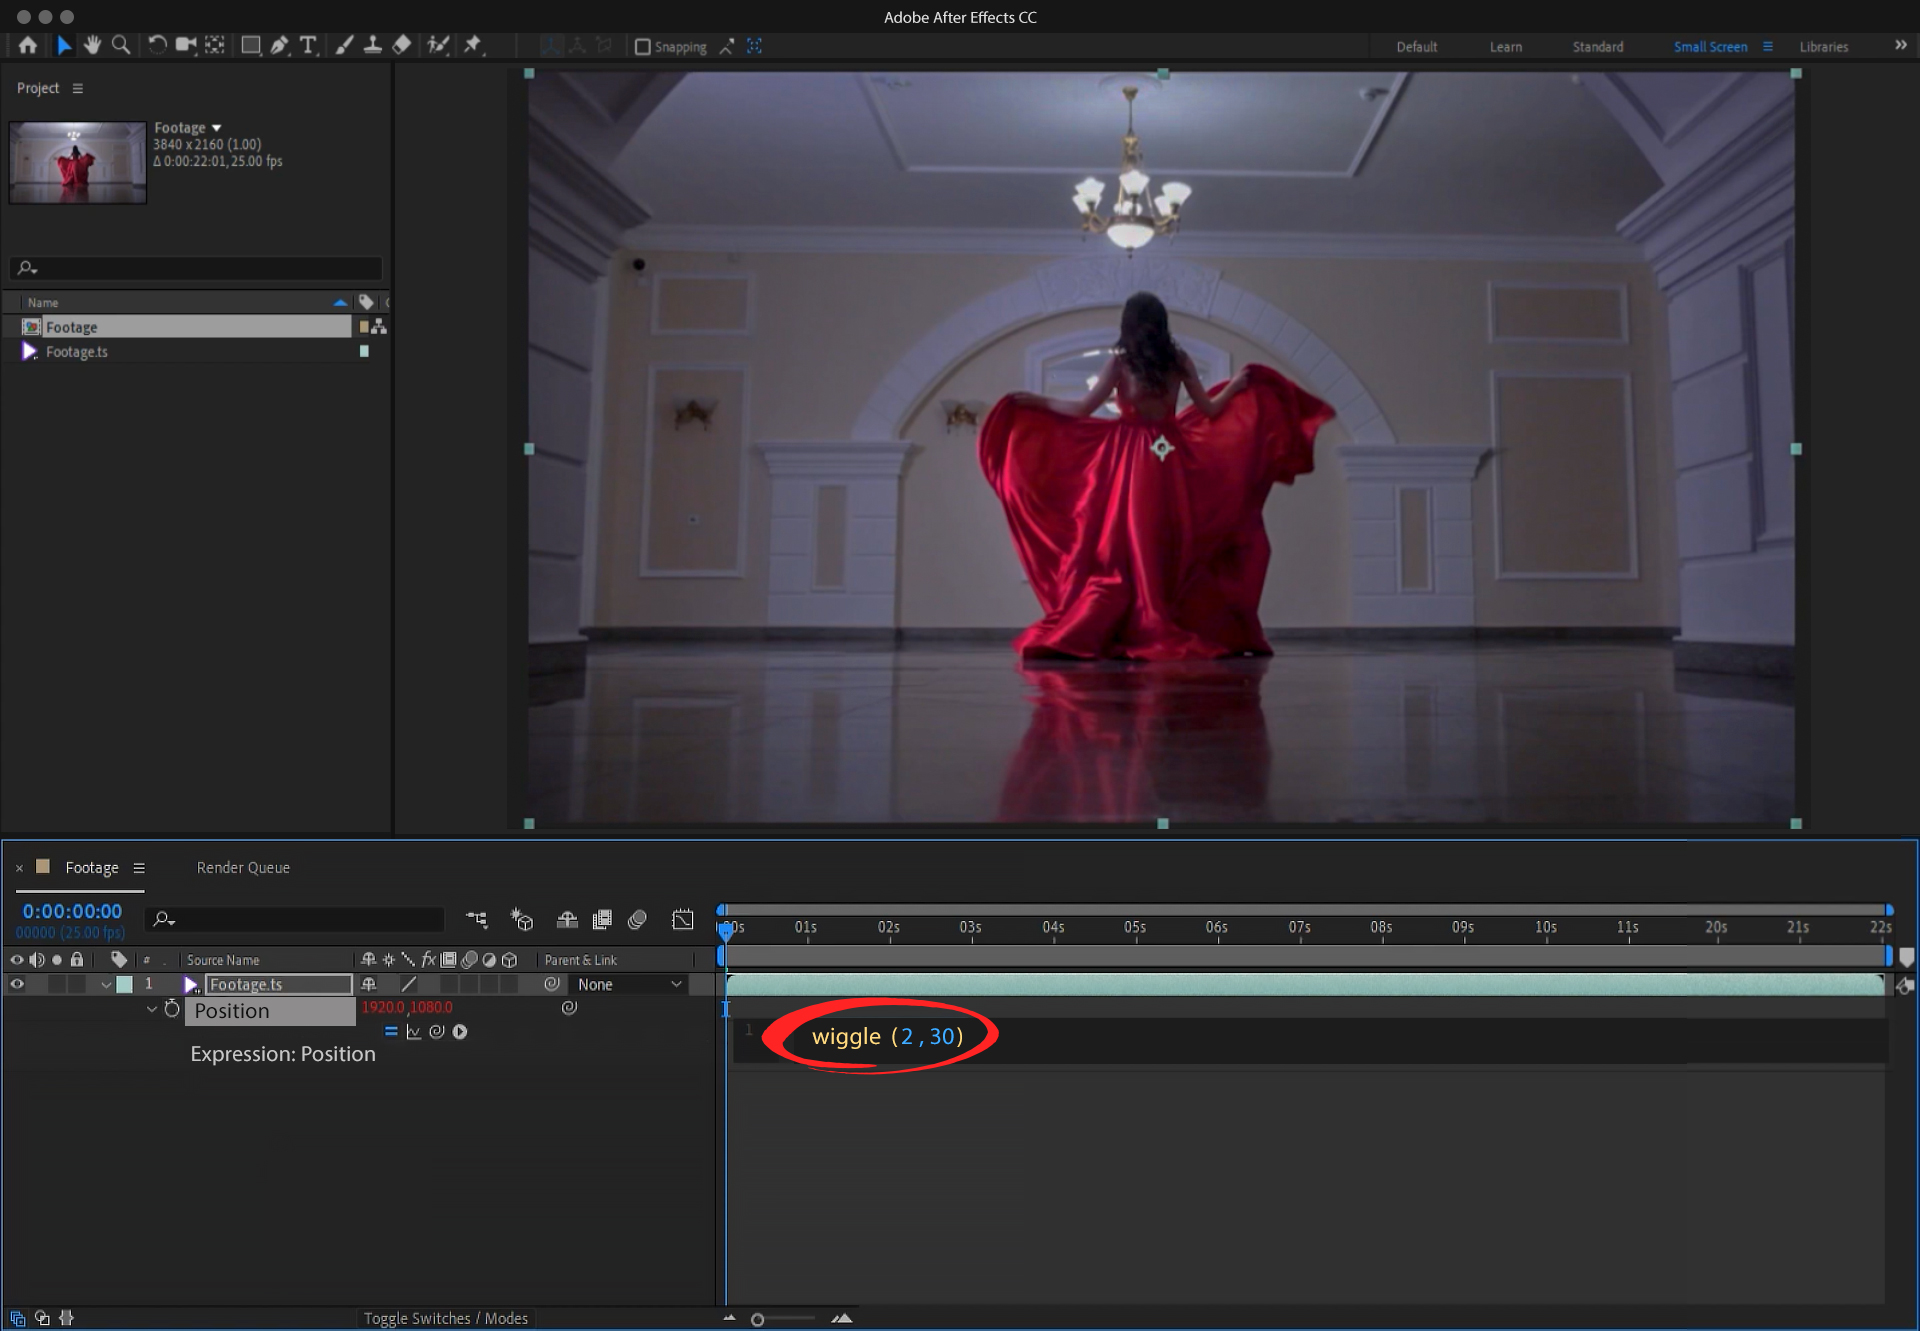
To do that you need to type in on the footage in the timeline “Wiggle”, followed by parentheses and inside the parentheses, you will write 2,30. It will be “wiggle (2,30)”. This code will tell After Effects to wiggle the footage twice per second for thirty pixels. Remember that this number is not a fixed thing and you should try different combinations because every footage is different and in every video you may be looking for a different feel. But in most cases, it seems like 2 wiggles per second and each one for 30 pixels seems to be working just fine.
Red Giant Universe Plugin
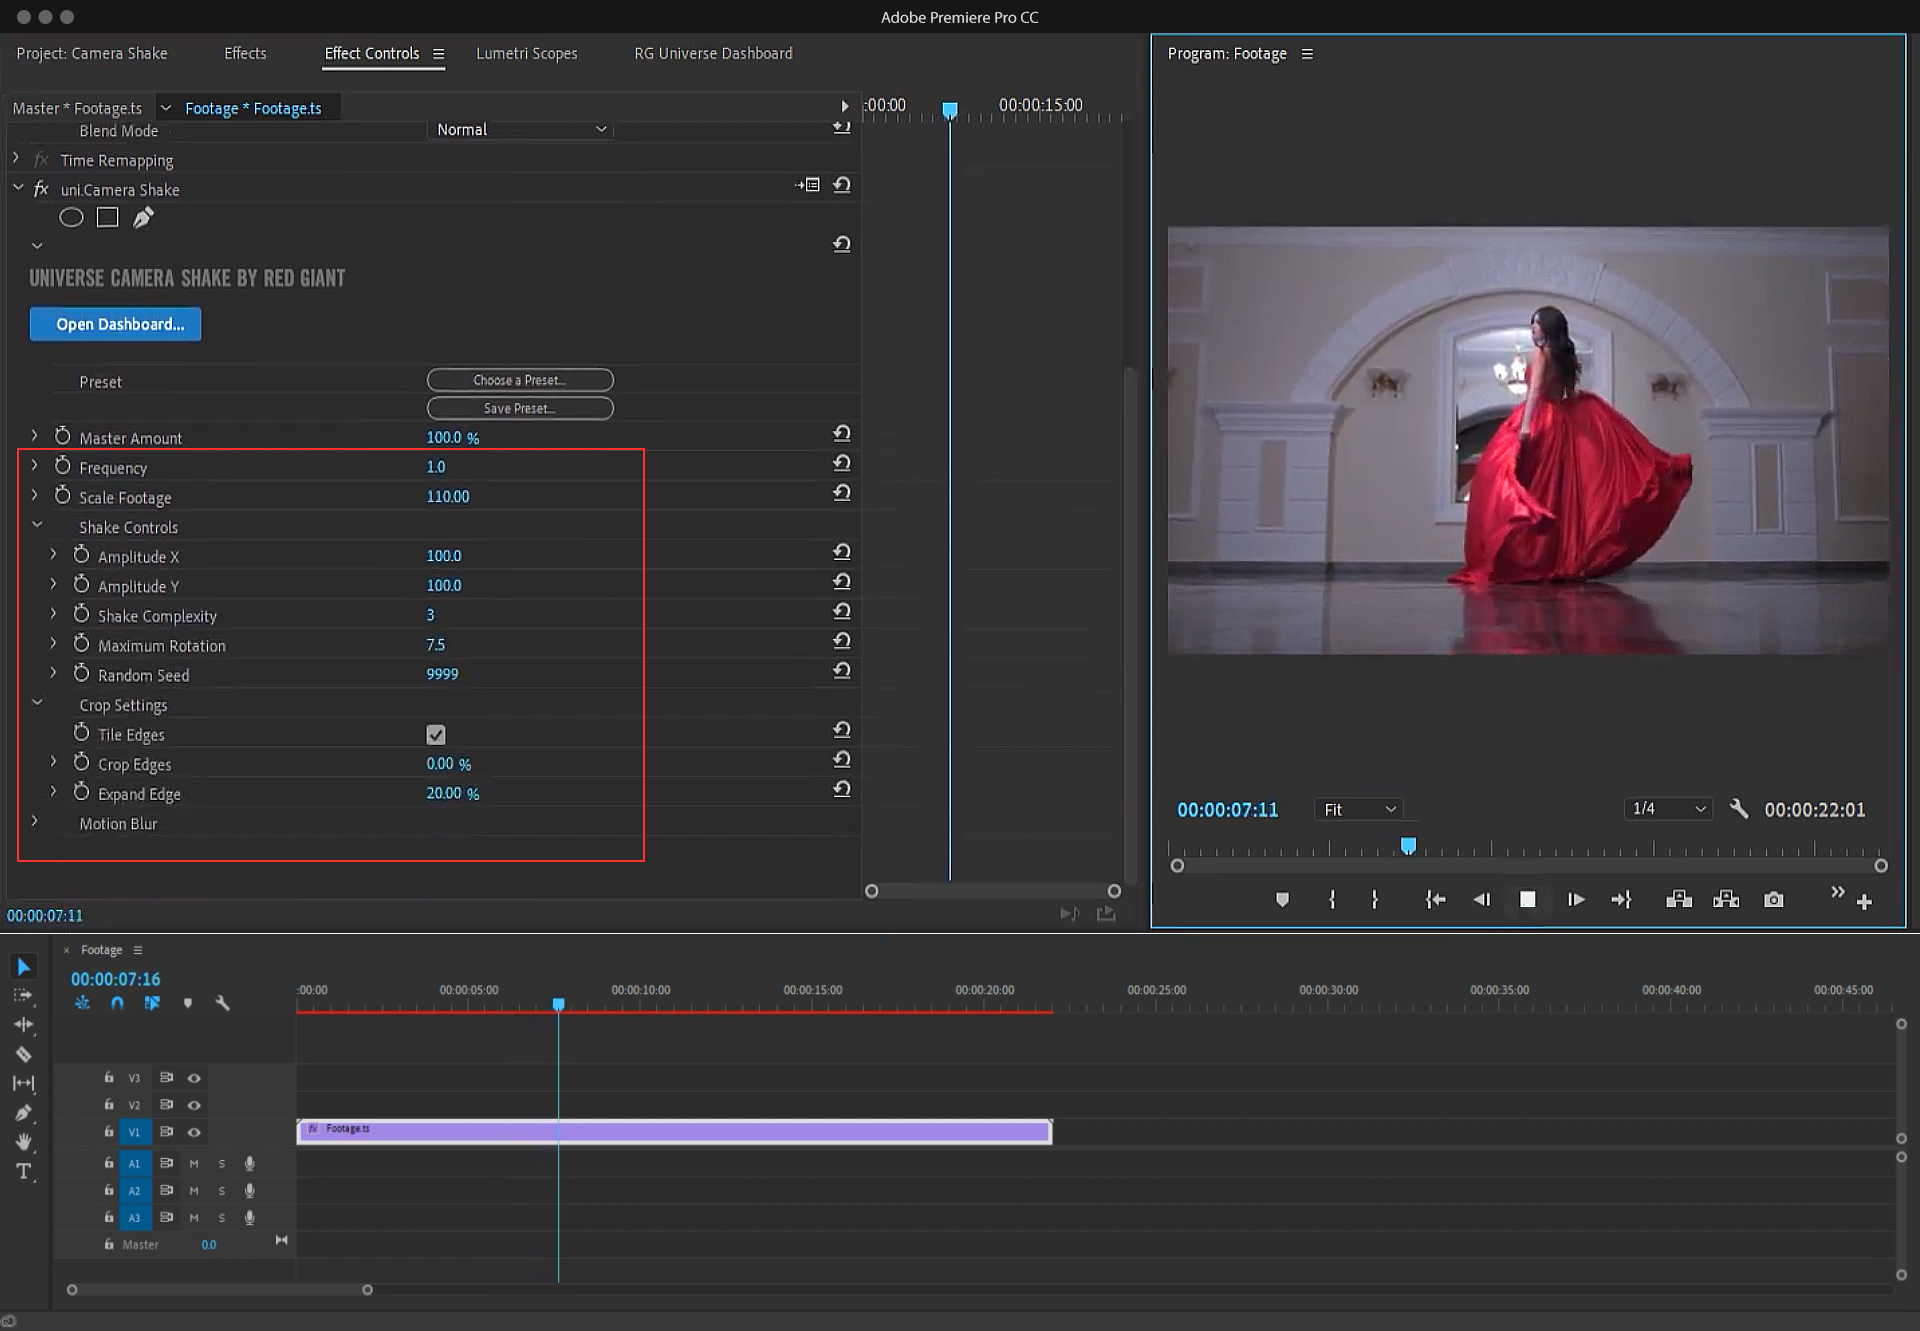
For creating the fake camera shake inside premiere pro you need to take a look at Red Giant’s amazing plugin, named Universe.
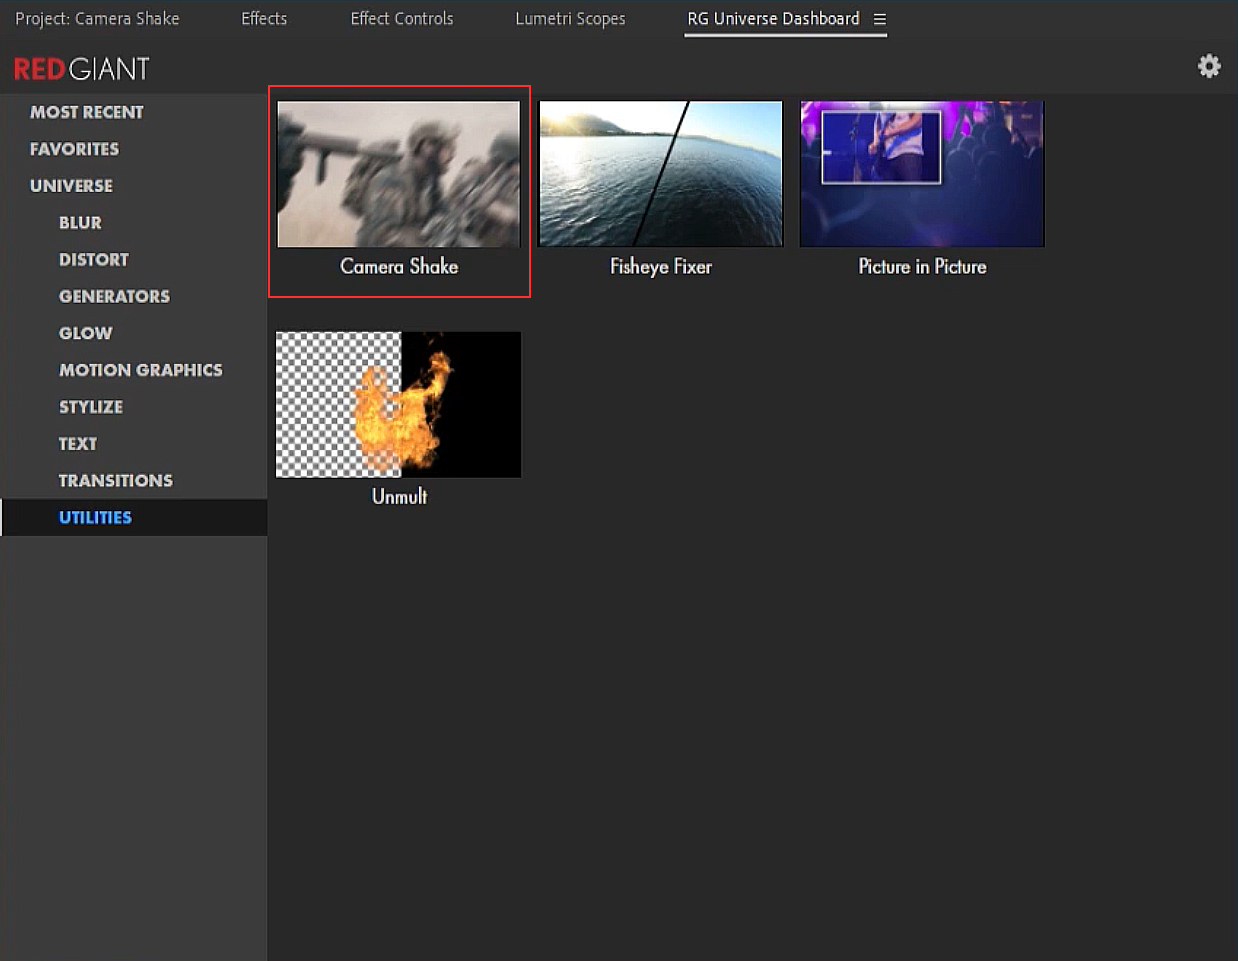
After installing the plugin, you can access it by going to Window, Extensions, RG Universe Dashboard. You will see that the dashboard is well organized with so many different effects and options ready to be used in your video projects. But the one you are looking for is under “Utilities” and it is named, rather obviously, “Camera Shake”. Opening the category will reveal some great templates useable for different scenarios like Handheld and Shakycam. Either one you decide to use, just make sure your footage is selected in the timeline and then click on apply.
