1. Organize
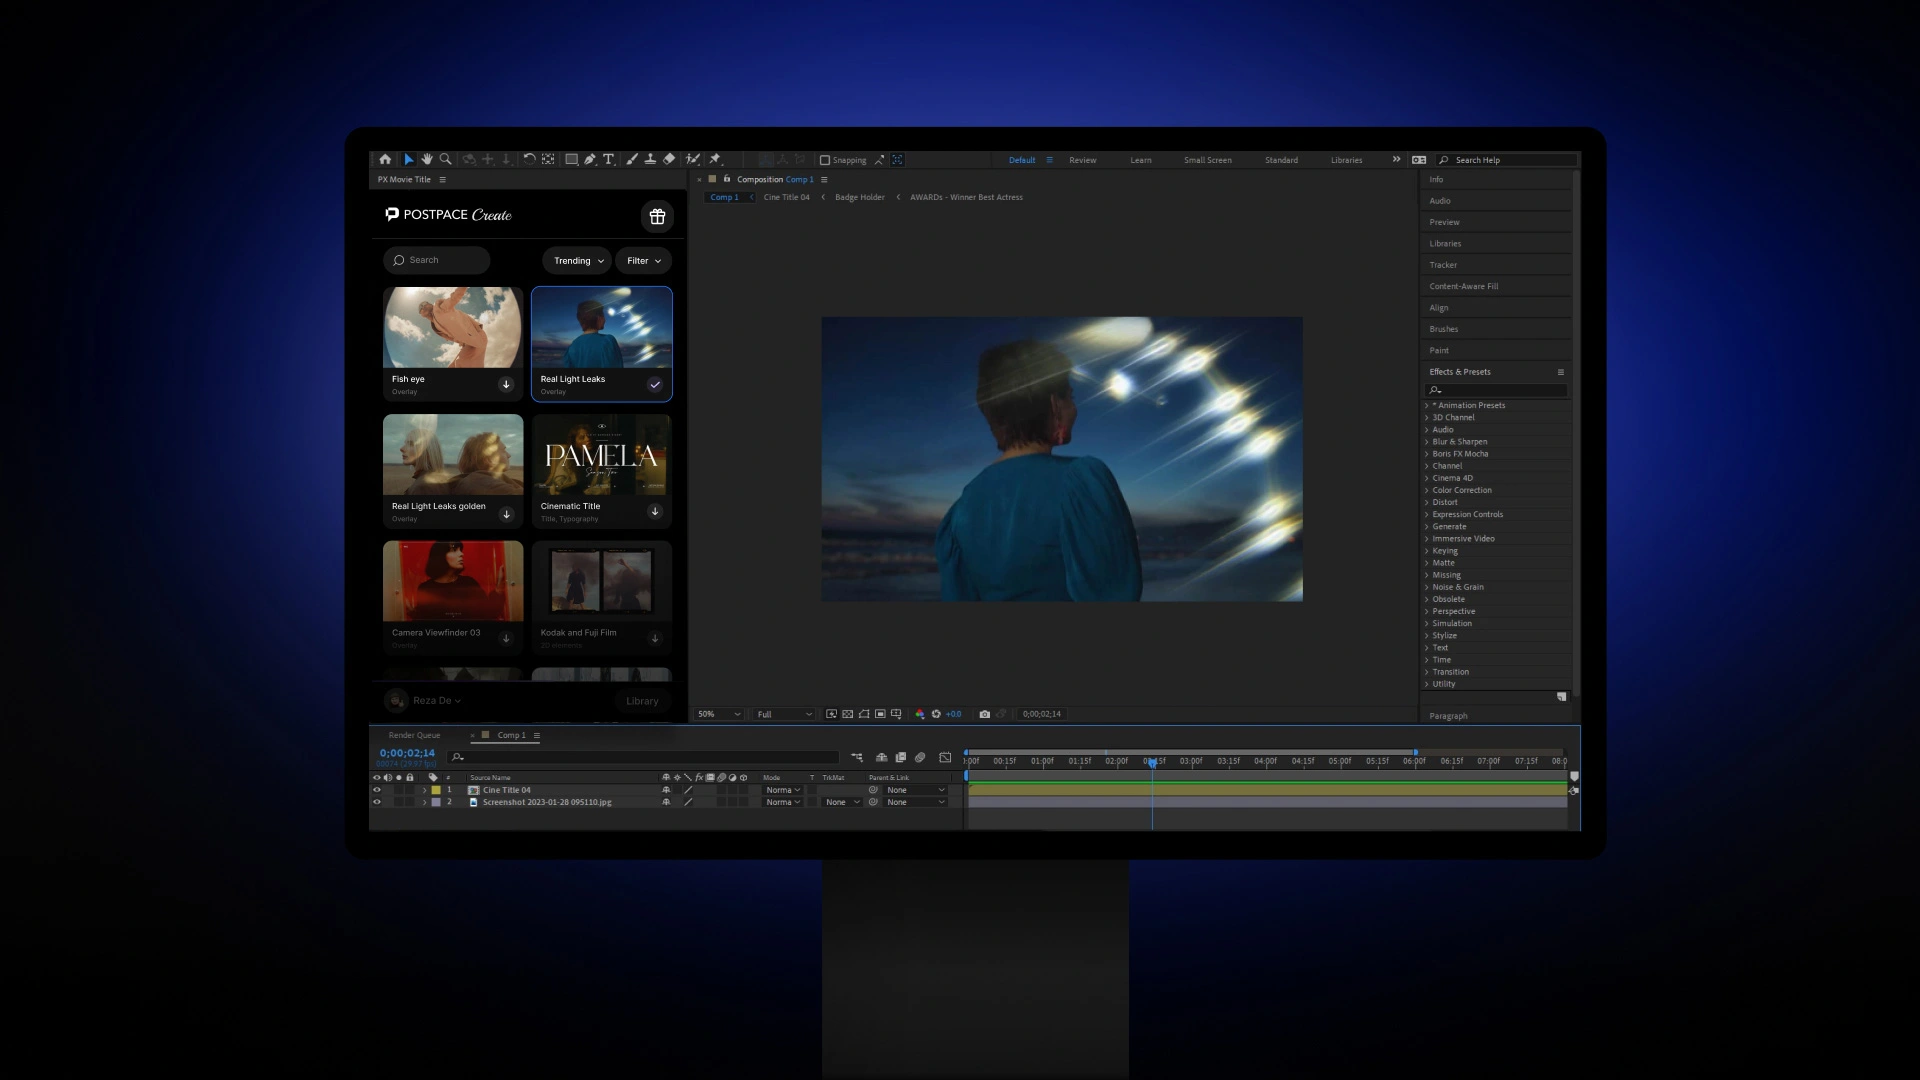
Order, organize, arrange or whatever you call it, is the key for you to firstly, find anything you want in seconds and secondly speed up your work. This is the first trick for the first step of editing and you can get it done by setting folders for everything (A classification like this; Footage, Project Files, Graphics, Audio, Images) or by using plugins. My favorite option as a plugin to organize your files perfectly is Motion Factory. Not only it supports many files, but also it has an easy import system.
2. Plot/Storyboard
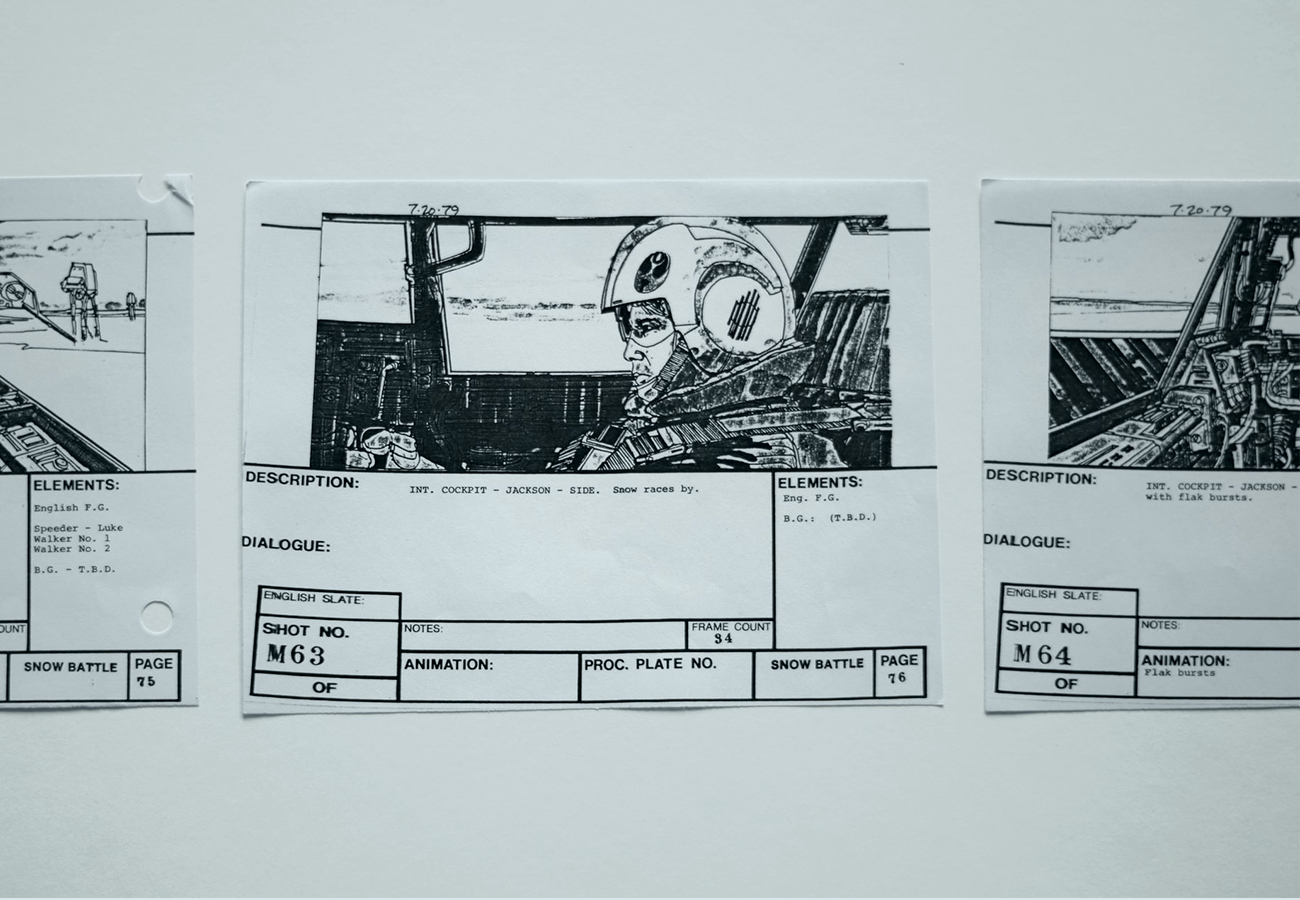
Editors to some extent are storytellers. They gather separated pieces of video to make an impressive film that follows a storyline. So having a storyboard or plot for the project you’re about to start is crucial as it leads you through the way. You can do it by considering your material and then picturing the finalized video in your mind, and then write down the events or scenes by order. Having a storyboard helps you a lot to gather your thoughts and do your project more accurately.
3. After Effects
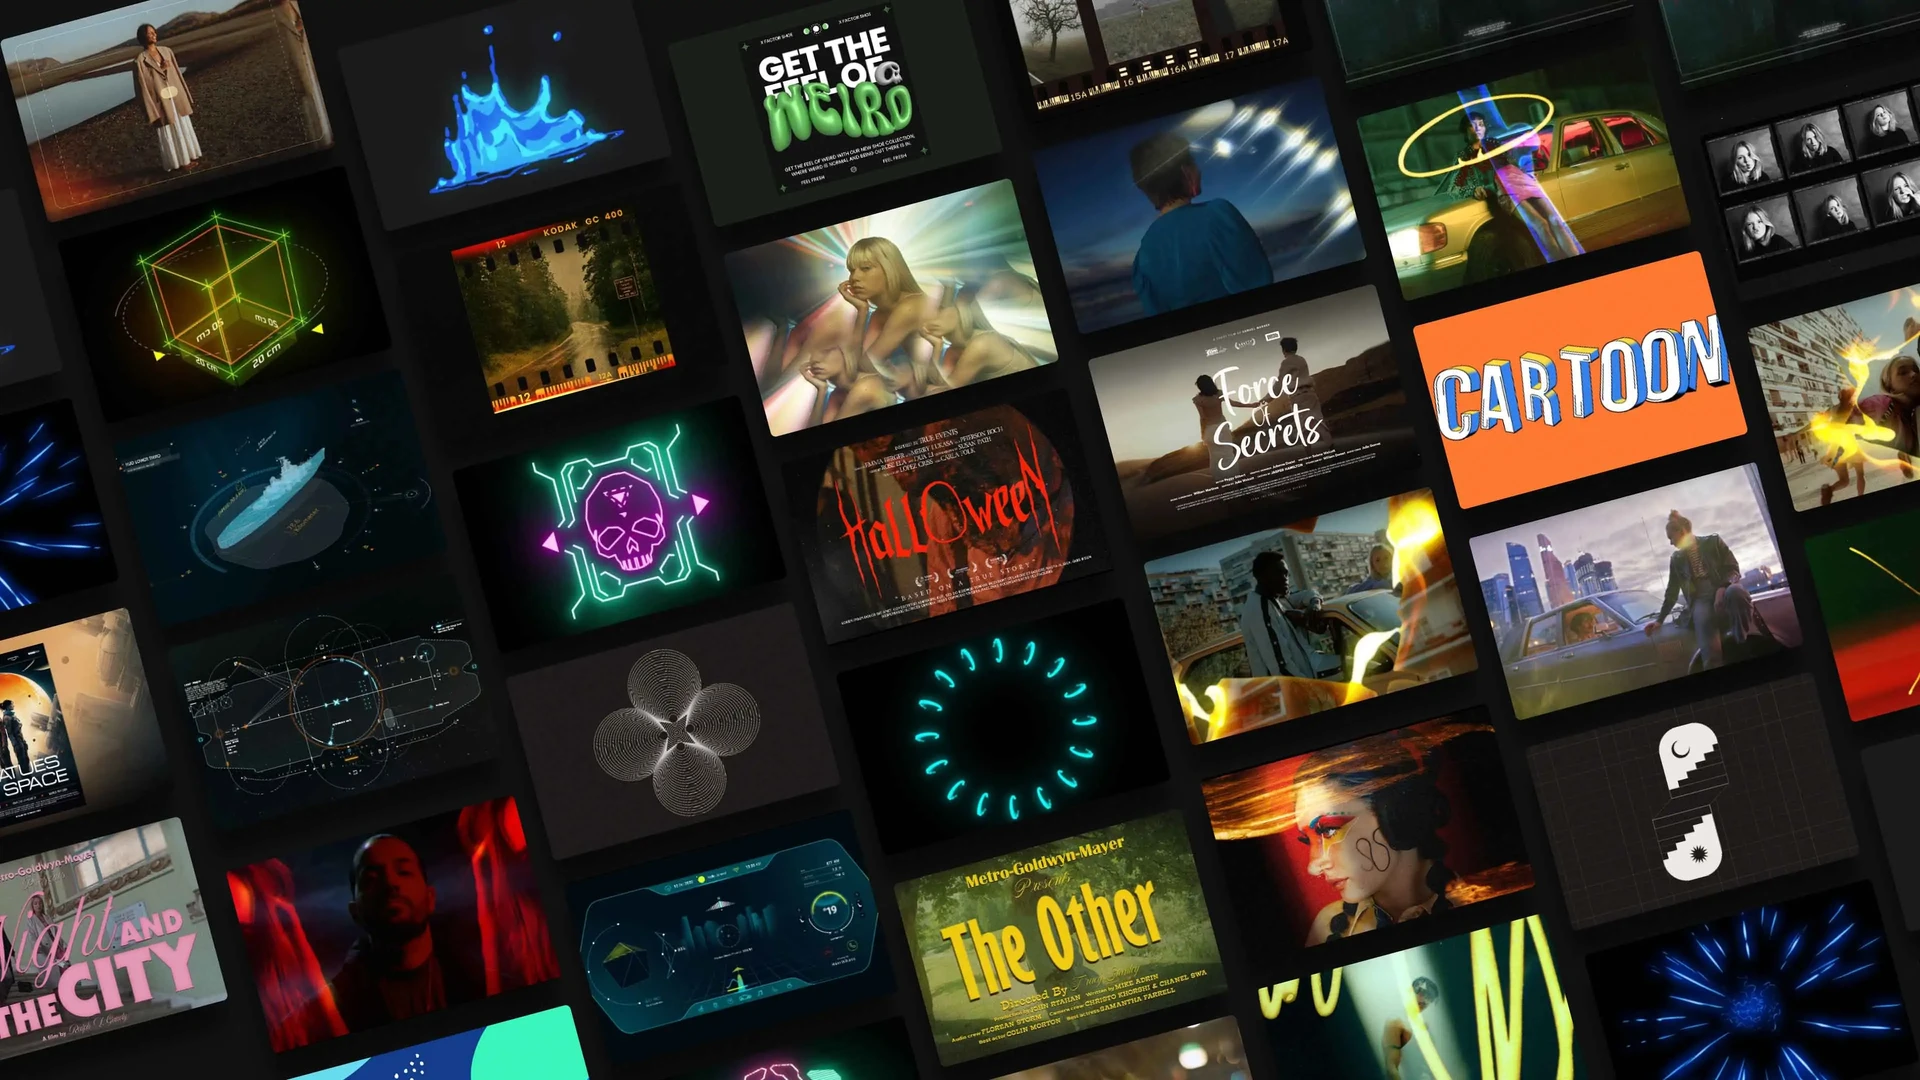
Special Effects are usually presented as a separate application like Adobe After Effects, for creating motion graphics and special visual effects used in video, online content and presentations. There are so many things you can do with After Effects as it is a creative and technical program. After effects can be used in different stages of editing the footage and is considered highly practical for video improvement so getting the hang of it leads your video editing skills to the professional zone.

4. Premiere Effects and Plugins
Adobe premiere pro has got a lot of effects for different uses in editing for video and audio alteration. Simply go to Effects panel on the timeline to choose from many Video effects like Black and white, which changes the color of the video and, Balance, that fixes the colors of it. And also Audio effects like the Bass effect, which lets you increase or decrease the frequency or Chorus effect, that enhances your audio and turns it rich. Learning how to get the benefit of the effects is an essential element to differentiate your work and accelerate your videos.
Although an application like Adobe premiere has an amazing set of tools, it can always be better with plugins. Plugins are made by third-party developers for the purpose of adding some features to existing applications. Such plugins usually contain features for Filing, Customizing workflow, Effects and transition, etc. some of the most common plugins for Adobe are;
Neat video, that contains noise reduction features.
Flicker Free, which provides special features for slow motion and timelapse.
Coremelt, that has over 220 effects and transitions.
Vitascene, which is specialized for grading, different transitions, and artistic effects.
Film convert, that mostly provides color correction features and cinematic effects.
5. Keyboard Shortcuts
A very practical trick to go with while editing is to learn the keyboard shortcuts so that you don’t have to get everything you need by search and click. These shortcuts help you run through editing instead of walking. Although there are many and they differ between platforms, they can be easily learnt by repetition. Here’s a list of shortcuts for Adobe Premiere;
V – Selection Tool
(Select and move items around on the timeline and adjust their length)
C – Razor Tool
(Splice a clip)
B – Ripple Edit Tool
(Clips following the shortened/extended clip will move down the timeline)
A – Track Select Tool
(Selects all clips to the right of the cursor to move your entire timeline)
Timeline Shortcuts
+ – Zoom In
– – Zoom Out
D – Select Clip at Playhead
(This will highlight and select the clip positioned under the playhead)
S – Snap
(Makes it easier to automatically align or trim clips on the timeline)
Cmd + K – Add Edit
(Quickly create an edit in the clip where the playhead is positioned)
Project Management Shortcuts
Cmd + N – New Sequence
(Create a new sequence)
Cmd + B – New Bin
(Keep your project organized by quickly creating bins)
Cmd + I – Import
(Import media into your project)
Cmd + M – Export
(Export your timeline)
Playback Shortcuts
J – Play Backward
(increase speed up to 6x when tapping repeatedly)
K – Stop Playback
L – Play Forward
(increase speed up to 6x when tapping repeatedly)
Space – Start/Stop Playback
Left/Right Arrow – Step back/forward one frame
Marking Shortcuts
I – Mark In
O – Mark Out
/ – Mark Selection
(set In and Out points for section clip in timeline)
M – Add Marker
(Set points of reference, adding names/comments, etc.)
Other Useful Shortcuts
Cmd + D – Apply Video Transition
(Add a transition to an edit point. By default, this is set to Cross Dissolve)
Cmd + ` – Toggle Full Screen
(View your media in full screen)
Cmd + L – Unlink Video/Audio
(When video has attached audio, use this shortcut to unlink the two)
Opt + Delete – Ripple Delete
(Premiere automatically slides the items behind the deleted clip)
6. Cuts and Transitions
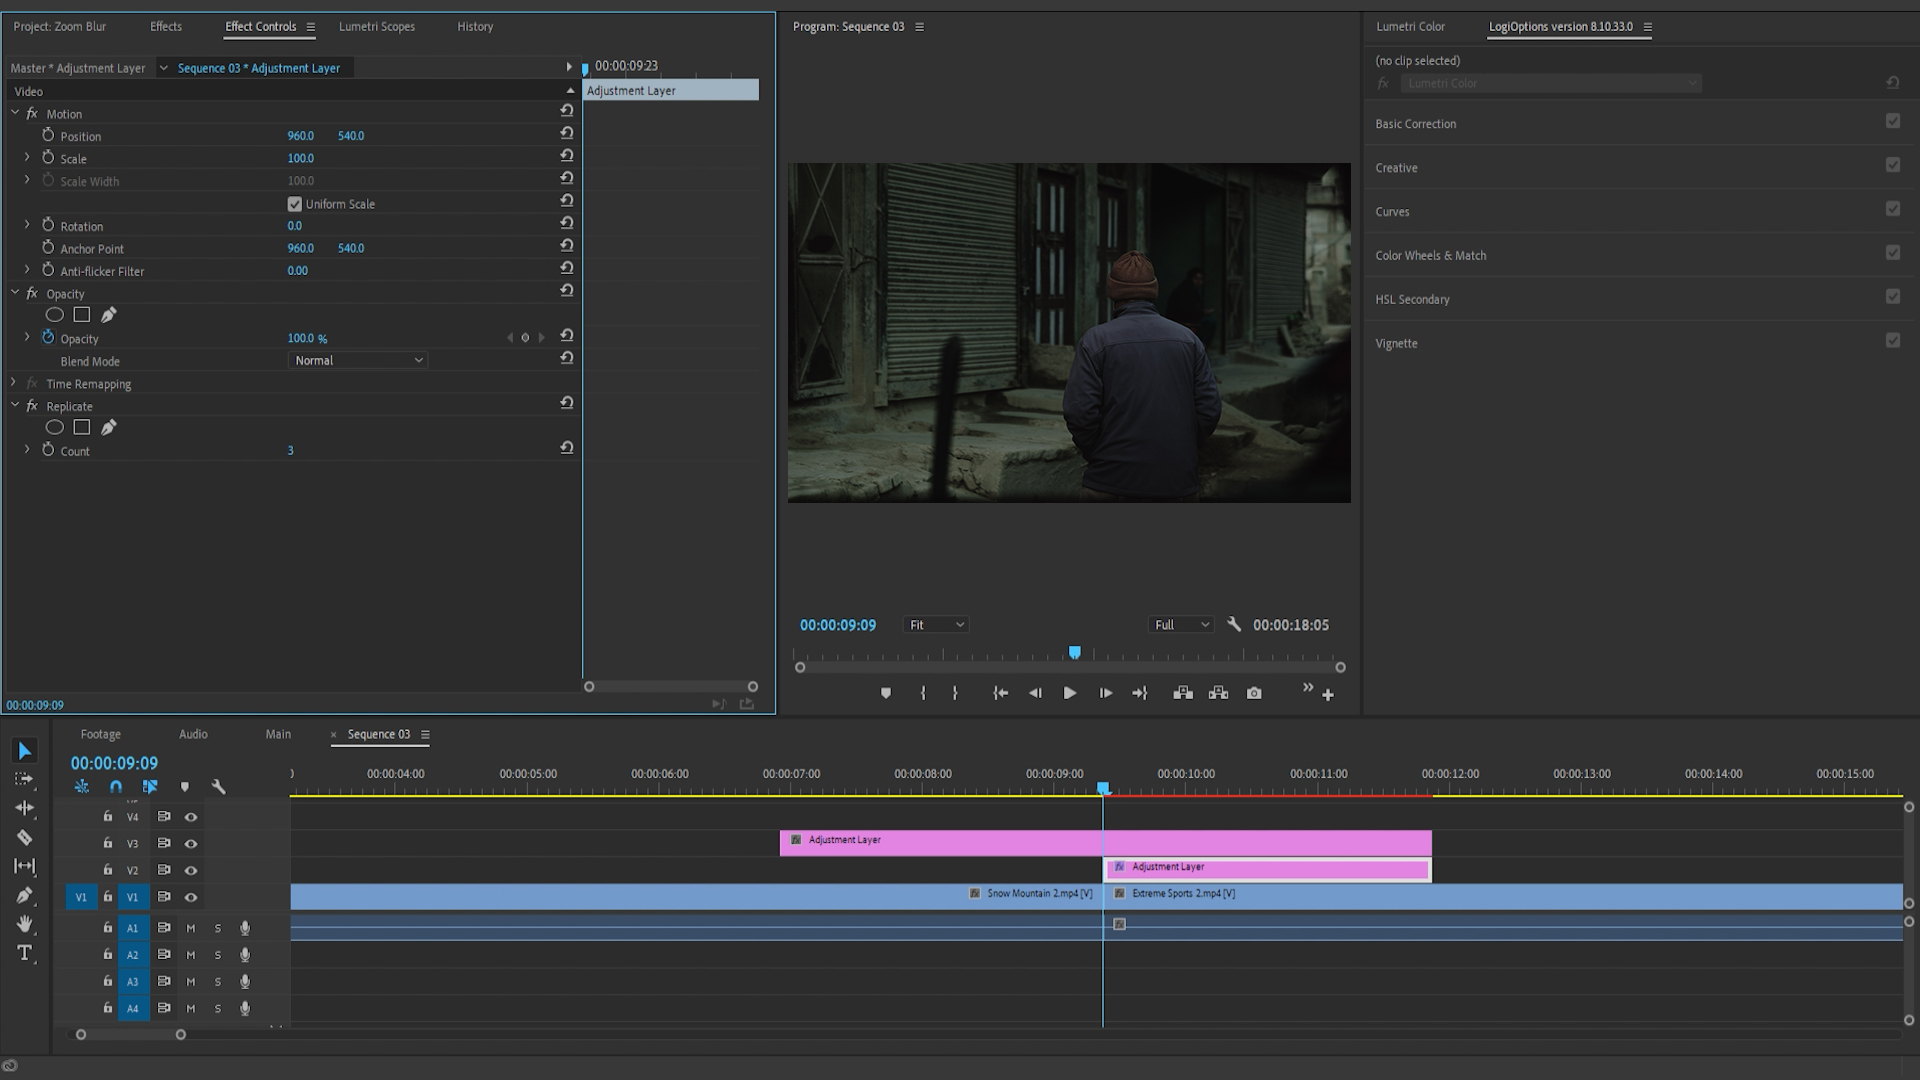
Cuts and Transitions play a crucial part in delivering the tone and feeling of the story you’re telling through the video. So choosing the right option depends on the type of scene you are working on. Once you get familiar with the feeling that every cut and transition creates for the audience, selection will be a piece of cake for you. Here are some of the most common ones I’ve picked for you:
It’s simply moving from one scene to the other without any special movement.
Jump Cut
It jumping in time between the actions a character is doing so that we can only see a small part of each action and to get a general idea of what he’s doing
J-Cut
Hearing the audio of the next scene before it begins to give the audience an introductory feeling.
Cutting on Action
Cutting in the middle of an action like jumping or opening a door to see the action from the other perspective and get the feeling of it.
Cutaways
Showing the details of the environment the main scene is happening in it usually to get to know the place.
FADE
Moving from a black/white scene to the main scene and vice versa, usually for the beginning, or the end of a scene.
L-Cut
It’s exactly the opposite of J-cut. Hearing the audio of the previous scene on the next scene usually to see the reaction to the previous one.
7. Music and SFX
We talked about the tone and feeling of a video so we shouldn’t miss its vital ingredient, Music. Think of your favorite movie. What would it look like if there was no soundtrack on it? If we compare editing with cooking, one big common element is using the right amount of the right ingredients based on the recipe which in our case is the story. So here’s the formula; think about the story, then find the suitable music tracks based on the genre and match them with your cuts. In other words, visual rhythm must follow musical one to create the tone and impression you need. To do this, most editors will have the waveform of the audio displayed, and try to match some edits to where the music hits on a beat or crescendo.
But don’t forget to spice your video up using the right Sound effects. consider some auditory elements of your video that can be bold by adding the SFX of it. As an instance, you might have a scene for diving into the sea or walking in the jungle. By adding related sound effects your audience will have a better connection with the ambient of the video.
8. Color Correction and Color Grading
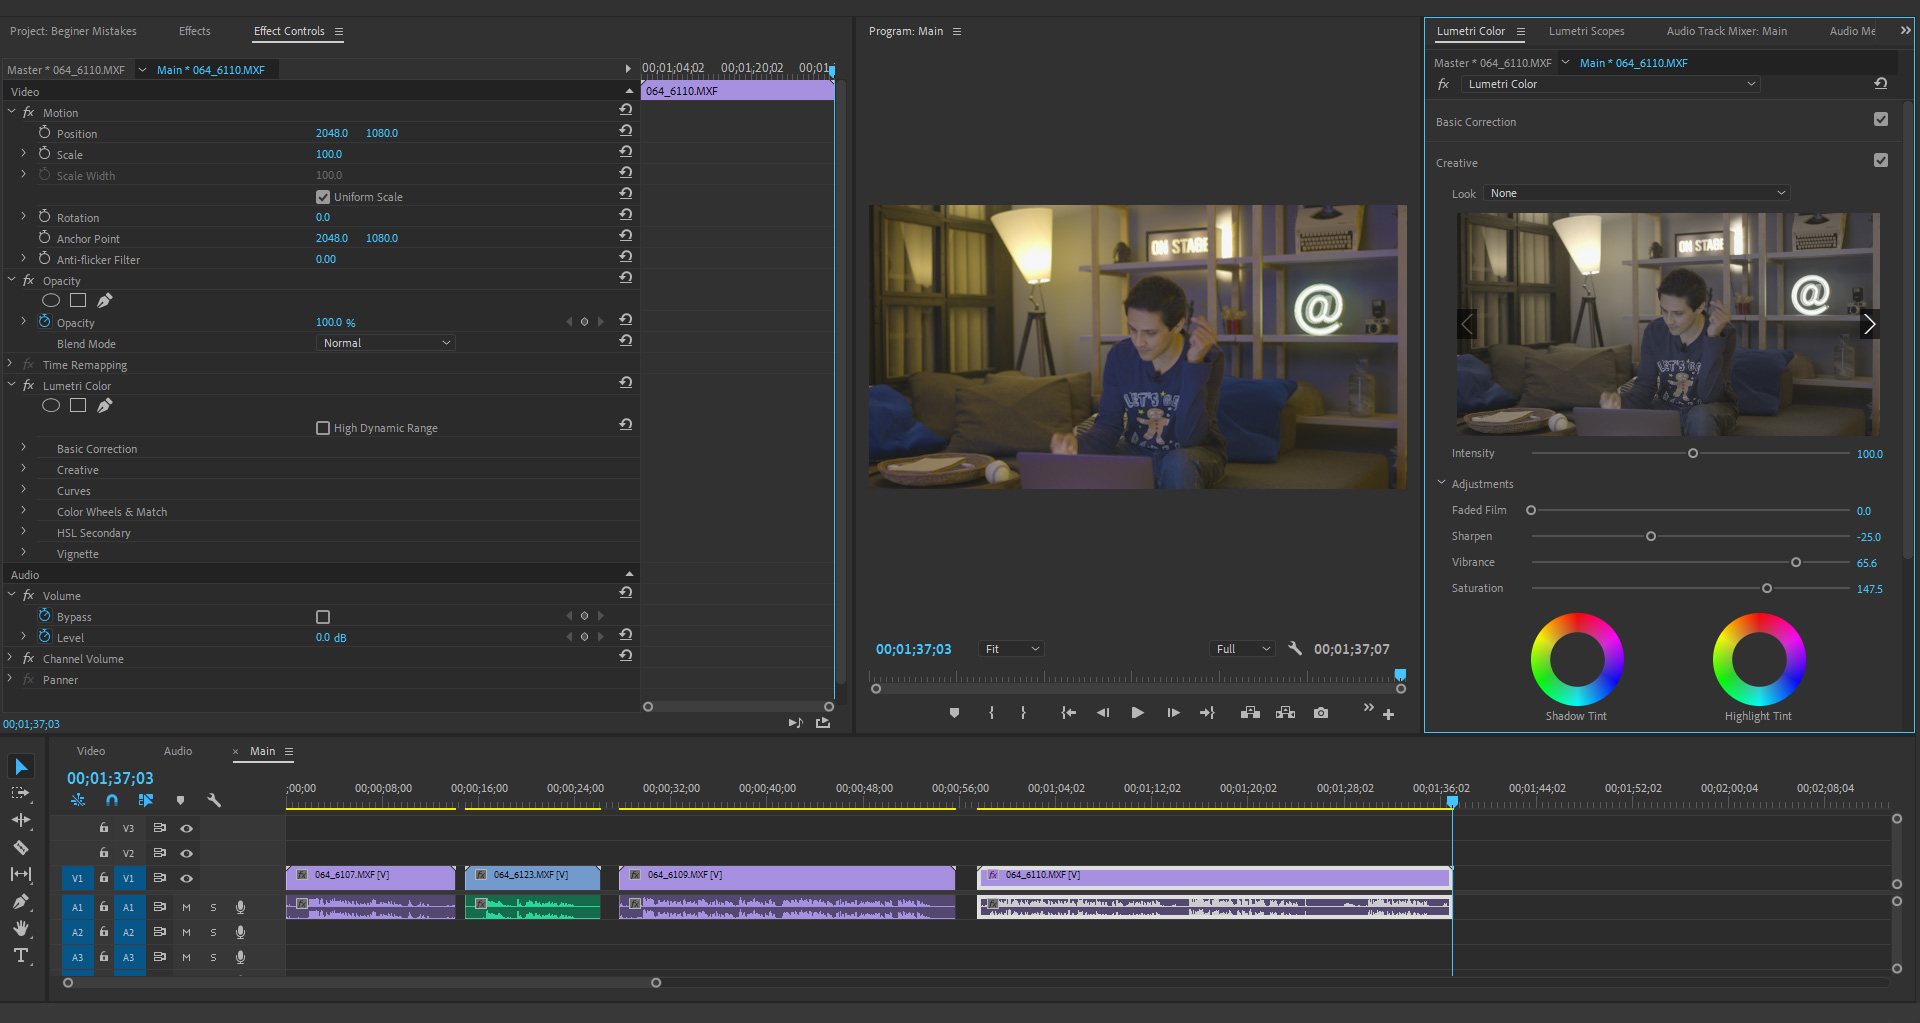
People are always wondered by how everything looks more colorful and beautiful in the movies or conversely, darker and more intense than what it is in reality. Well, it’s the magic of editors by working on colors from various perspectives. There are two steps to do this. First, is Color Correction which is the process of adjusting the basic color and white balance, exposure, and contrast to be consistent from shot to shot, and the second one is Color Grading in which the footage can be color graded to fine tune the colors and create a specific look.
Keep in mind that it shouldn’t be exaggerated in color- unless it’s intended for a special reason- or it will be like an over-spiced food so remember that there is a measure for adding everything in editing. One of the tools you can find very helpful when working on colors is the vectorscope which is a tool that shows you what color tones you have and how saturated they are. Because the vectorscope directly reads the digital signal, it’s not affected by anything- like bad (or the lack of) monitor calibration- that might affect your perception.
9. Text and Graphics
Depending on the film you’re working on, texts and graphics can be used for different purposes. From the title to film credits and introductions, these tools can give information and put emphasis on some scenes. Although texts and graphics are usually presented in films in simple ways, you can learn how to design some more attractive forms of them to increase visual beauty. My recommended way to do it is by learning how to work with After Effects which includes creative tools and eye-catching templates for motion graphic design. Read this article by Pixflow to get to know why using After effects templates is a great idea. But for now, you can simply go to the Window section on Premiere and open up the Essential graphics panel. Then you can see your options to design texts and graphics and also newly added features for graphics like adding background, masking, and strokes.
10. Exporting (Premiere Pro)
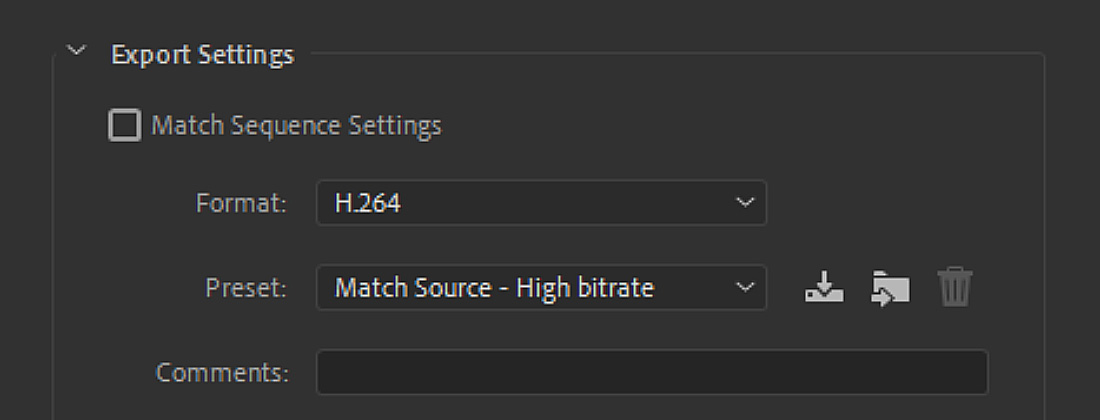
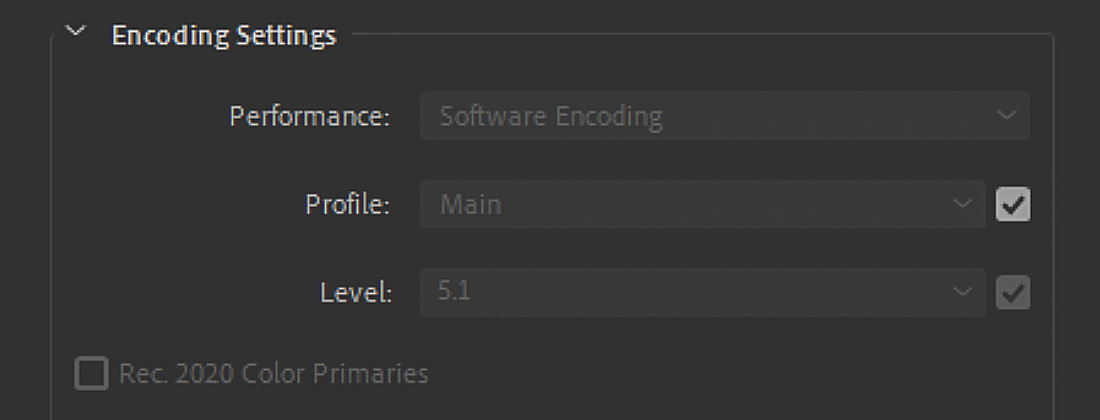
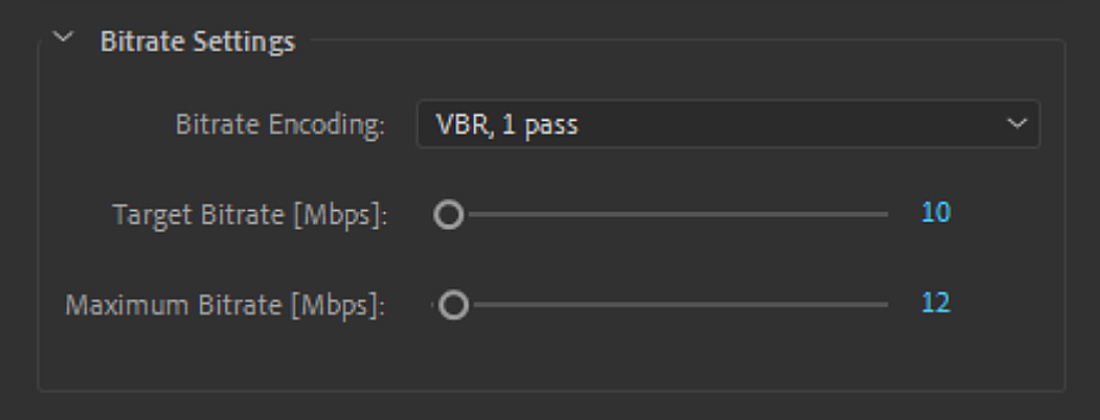
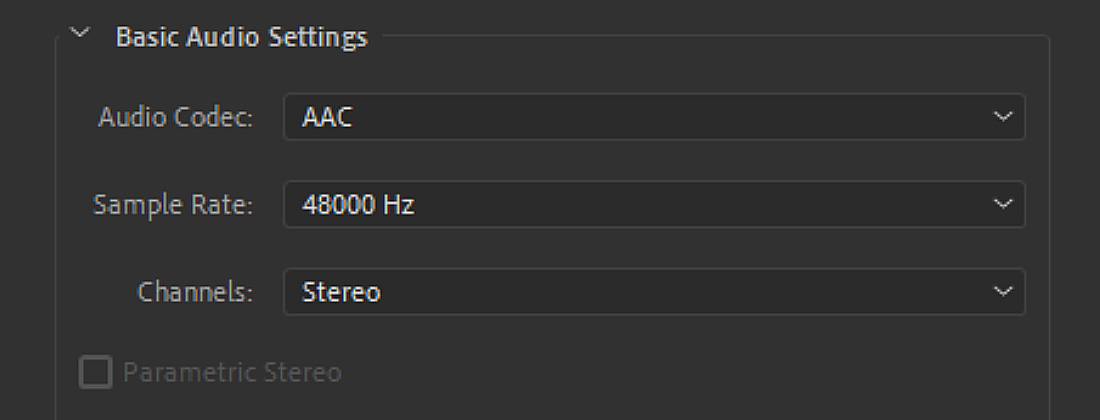
Now that you’ve done all the tricks and steps to get your video look cool, it’s time to learn how to finalize everything and export. There are many options on the way to export your video, so it requires a full article to explain the roots but to put it in a nutshell, here are the basic elements you need to care about;
Presets, where you can finalize your settings for Sequence, Video and Audio based on your needs and also save them as your own preset, to use on your next projects without the need to set them again.
