Why do codecs matter?
Codecs are different ways we can store and present a video in the form of a file. Although this is an oversimplification of a rather complicated term, it is somehow the way you should look at it, of course with a bit more detail in mind. So when you think about using a codec, you should consider the type of compression it does on your video. In other words, what data will stay and what will be lost in that compression? And that’s how it affects the quality and velocity of your work drastically in every step of your video production workflow. So first, let’s check out the compression types to see what they are.
Compression Types
There are four main types of compression for a video file;
There is temporal compression, in which the previous frames and following frames are used to calculate the current frame. Chroma subsampling that omits some level of color data, like in 4:2:0 which does lots of chroma subsampling, or in 4:4:4 which does not. Macro-blocking, in which it considers similar colors to be the same, therefore reduces specific color variation. It happens in almost every codec, but the amount depends on the bitrate. And then there is bit depth, which is the number of possible colors in an image. So it goes without saying that the larger the bit depth, the more colors you have.
Now with all that in mind, let’s go through the codecs considerations step by step in a film project to see how pros deal with them in each one.
Shooting Codec
Shooting is hard to repeat. That’s why pros use reliable storage to make sure files won’t be lost. It is also why they try to save as much data as they can in terms of compression and the camera codec they choose. So less compression, higher bit-depth, and less chroma subsampling are considered the A options in production. Although a lot of DOPs use cameras capable of recording 4K, 6K, or 8K raw to get the most data possible, it’s not always an option for every film project. So that’s why there is an option called external recording to enable cameras to capture in higher-quality codecs. In this way, your camera sends the signal out to the recorder via HDMI or SDI before compressing it; therefore, you will have two copies of your footage, one heavily compressed and the other not so much. Keep in mind that the capability of the camera and the external recorder is something you should think about before doing it. And also know this: shooting in raw has its own conditions.
Another thing you should consider when shooting is the storage you need based on the codec you use. High-quality codecs have a higher bit rate, so they consume more space, so consider that for the shooting codec if you have limited storage. But using those top codecs only makes sense if you’re going to do some heavy cinematic color correction and VFX in the post, and if not, you will be ok with lower quality codecs that throw away some of the data but keep you enough quality.
Editing Codec
When it comes to post-production workflow, ideally you like to edit using the same files that came out of the camera, and it works in some cases. But in a high-end production with lots of needs and steps, it’s not going to work. So, you have to keep an eye on compression type and bit rate in order to have a smooth editing procedure. But as I said before, it all depends on the goal you have in mind for the project. If what you’re creating does include jumping around and playbacks in editing, which is the constant state of editing 90% of the time, it’s not a good idea to do it with a codec that uses temporal compression. The reason is that when recording, the codec only captures what has changed between two frames. So if the video doesn’t include a lot of motion, your file will be a lot smaller in the end, but the downside is that you can’t go back and forth easily when editing unless you have a high-end computer. So that’s why pros don’t use these codecs and try more quality ones to avoid such problems, and of course, they have the resources for that.
Another point that you should keep in mind is that the high-bitrate codecs require a computer that is able to read the data from the hard drive as fast as the codec’s bitrate. The solution that pros have for this is that they go for high-performance hard drives, or RAIDs, for that. But if you can’t get one, you should probably edit with a lower-bitrate codec. The problems I mentioned and some other problems you already know about are driving a lot of editors to transcode files before editing. Of course, you should consider the time it takes to transcode, and that’s exactly why lots of editors run their computers over the nights to do transcoding in their off time to avoid the problem of time.
But one decision that you have to make when transcoding is: what type of usage will you have of that transcoded file? If you’re going to create proxies only to speed up your editing and will use the main camera files to export the project, you’re using the transcoded files as an intermediate codec because your transcoded files will be used as a bridge between the capture codec and the export codec. And this proxy workflow is commonly used by directors and editors in many types of film projects. A related feature to this workflow is using a camera that records a high-quality raw file and a proxy file at the same time to be used later on in editing, which saves lots of time for them.
Another good point of using a proxy is that nowadays, even if you want to do some serious color corrections and the quality of the intermediate codec isn’t enough for that, you can switch back to the original files in almost all of the NLEs. But it works only if you do editing and color correction in the same software without having to export the video for that purpose.
Another usage for transcoding files is to create new high-quality, easily-encoded files to completely replace them with the original files produced by the camera. This means you don’t use the camera files at all, whether it be during editing or for export. So this isn’t intermediate anymore and is more like exchanging files. It goes without saying that you should pick a codec that preserves all the valuable data from the original files and one that is good enough to export from. But this way isn’t recommended by pros because you can easily edit with intermediate proxies these days without worrying about data loss. But it exists for those situations where intermediate proxy editing isn’t possible and you have to transcode files permanently.
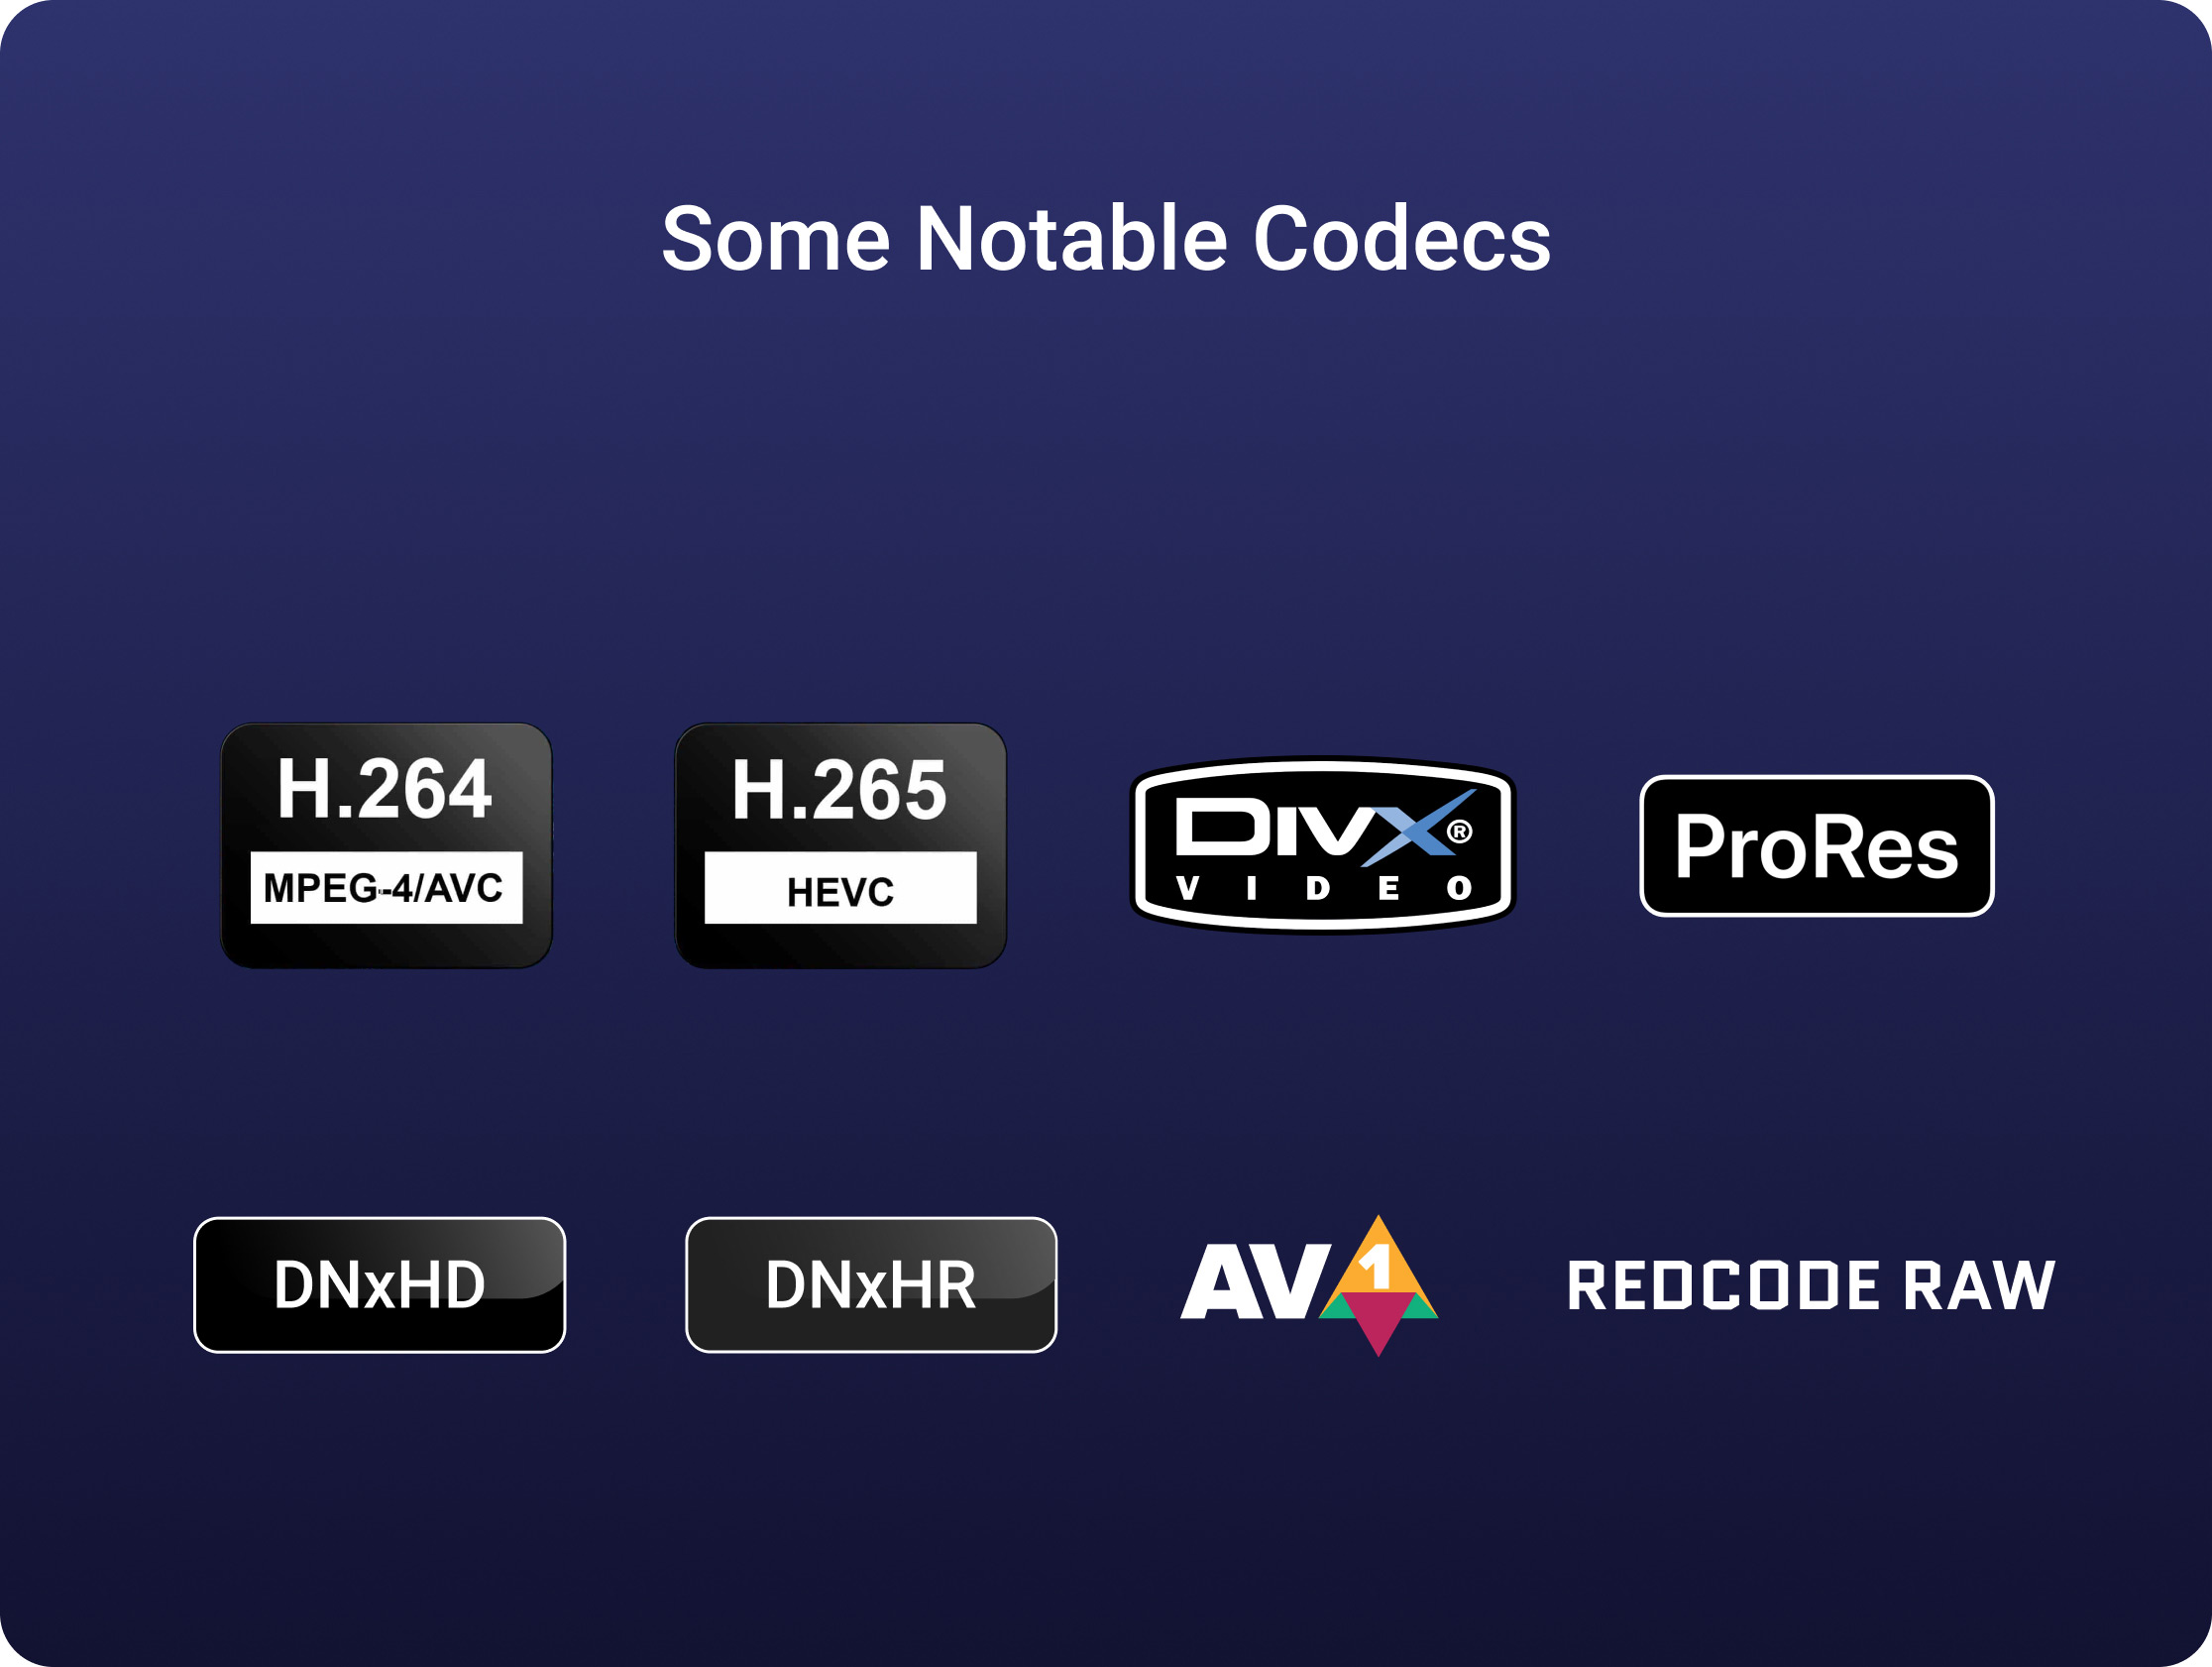
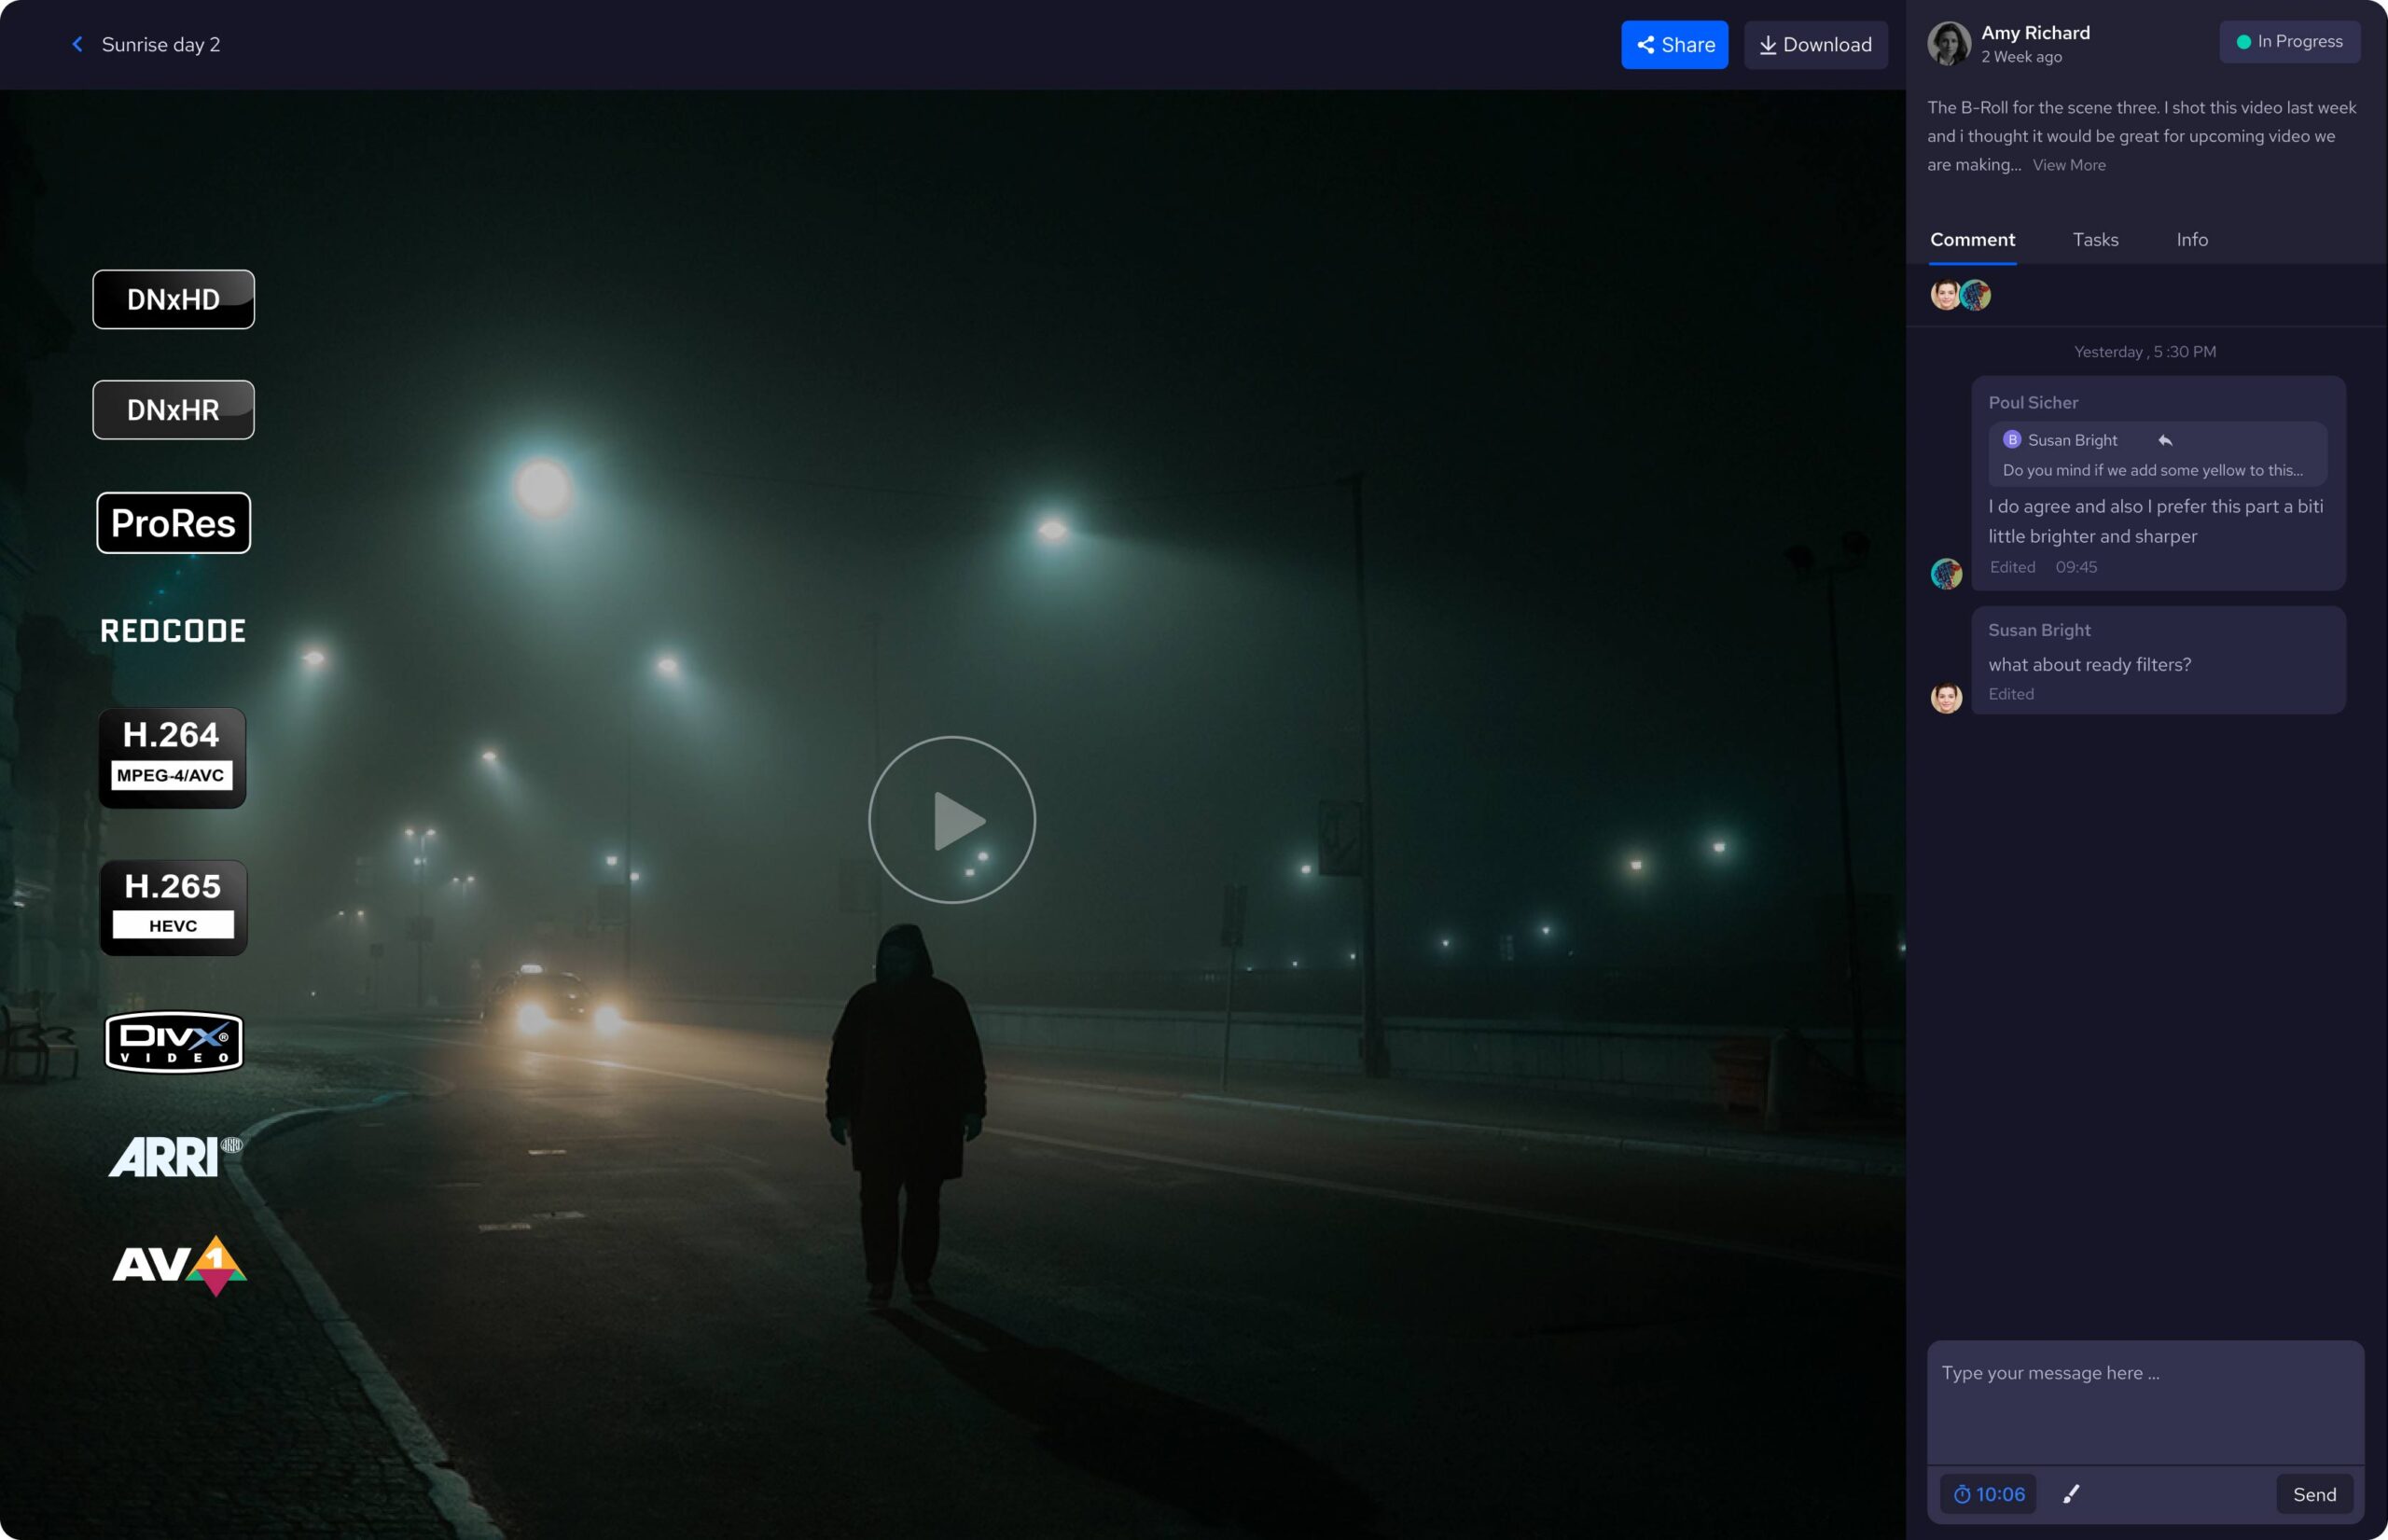
As for the codecs suitable for editing, two mainstream options that are used in almost all of the big movies are DNxHD/DNxHR by Avid and ProRes by Apple. But it doesn’t mean that DNxHD works only on Media Composer or that ProRes is better on Final Cut Pro X because today’s versions of all the top editing software can handle both families of codecs very smoothly. But the only difference is that creating ProRes on a PC is not as easy as you think, while DNx codecs are considered universal for video review and collaboration in post-production.
Color-Correction Codec
As I mentioned before, if the process of color correction is going to happen in the same editing software, then relinking from proxy files to the original files for doing so is going to work. And if you’ve permanently transcoded your files into new, high-quality ones, you don’t need to worry about color correction needs, as you can use the same files for this section.
But the problem of intermediate proxy editing and relinking back to camera files starts when the video is long and heavy or when you want to color correct in another software. Then you might have a jittery experience.
The solution for that is to “consolidate” your project after you relinked them to the original files and then transcode them into a high-quality codec that is suitable for color correction. What consolidation does for your project is that it cuts away the portion of footage you haven’t used in your cut, so it only keeps the used files and then copies them along with a copy of your project. And these files are much smaller than the whole camera file, so you can easily do whatever you want with them. But if you’re going to do the color correction and cutting at the same time, or there is a lot of back and forth between them, it’s much easier to transcode your files from the beginning to something high-quality to do the whole project with them.

VFX Codec
VFX, like color correction, is a step of film post-production that needs the highest quality possible files. Of course, if you want to add some moderate VFX in After Effects and you’re working in Premiere Pro, you can send the files with Dynamic Link and do the job. But for the big project VFX work, you need to send the files separately, as it goes from software to software and person to person in the process. This also means that the files should be ready to be compressed several times without losing quality, and that’s why the movie VFX workflow only uses lossless compression. So be generous, as the VFX team needs all the pixels and data possible to deliver the best of their job. It’s best to use 4:4:4 if you can, or choose top 4:2:2 codecs like ProRes 422 HQ or DNxHQX for the VFX section.
Export Codec
The export codec in the media and broadcasting business is determined in a certain way by the distributor partner, and they will always tell you exactly what codecs they want. But if the distribution channel is a social media platform, then you should aim for a high-quality codec to export because of one important fact.
Social media platforms like YouTube do not display the file you upload; instead, they transcode your files before displaying them. So you’re going to need a codec that is good enough to go through another transcode. So it’s better to find the standard bitrate suggested by that social media platform and then multiply by about 1.5x to 2x, and if you want to hear a specific codec recommendation, then I will say ProRes 422 will do it.
And if the scenario takes you to narrower places, like sending the files via email or embedding them directly on the website, then you should use a highly compressed h.264 or something like that to handle it. But it’s always better to have two separate files, each for its own purpose. After that, all you have to do is export a very high-quality version of the video to archive it for possible future uses, and your codec journey is over.
