Adding users and managing their
roles and access level
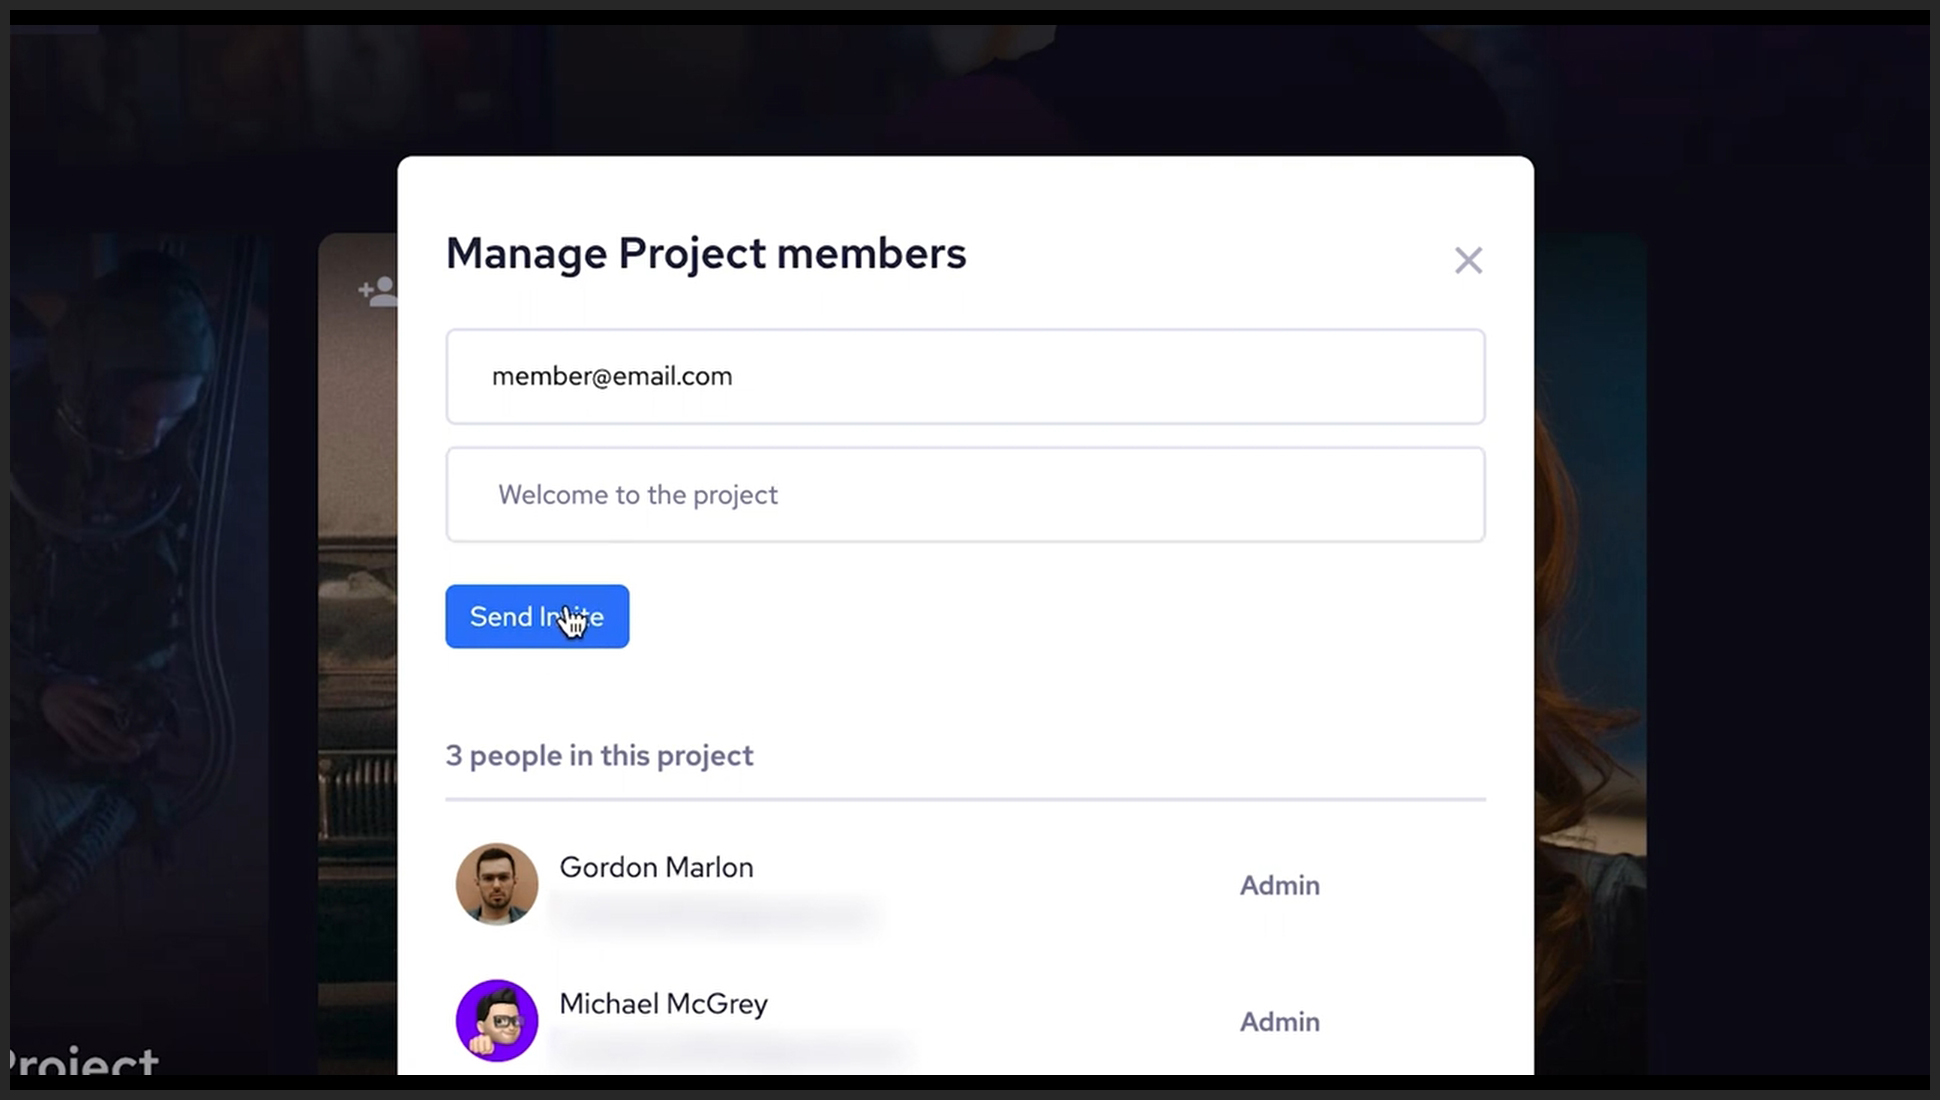
Adding New Members – You can add new members to each project either from the workspace and by clicking on the add member button in the top left corner of the project, or by clicking on the same button within the project, in the top right corner. Doing so will bring up a pop-up that will give you the option to manage your team members. To add someone new, you will enter their email address in the first section, and if you want to leave them a message, you will write it in the second section. The message will be shown to them in the email that they will receive. The newly added member and all the other members will be shown in the lower section of the pop-up.

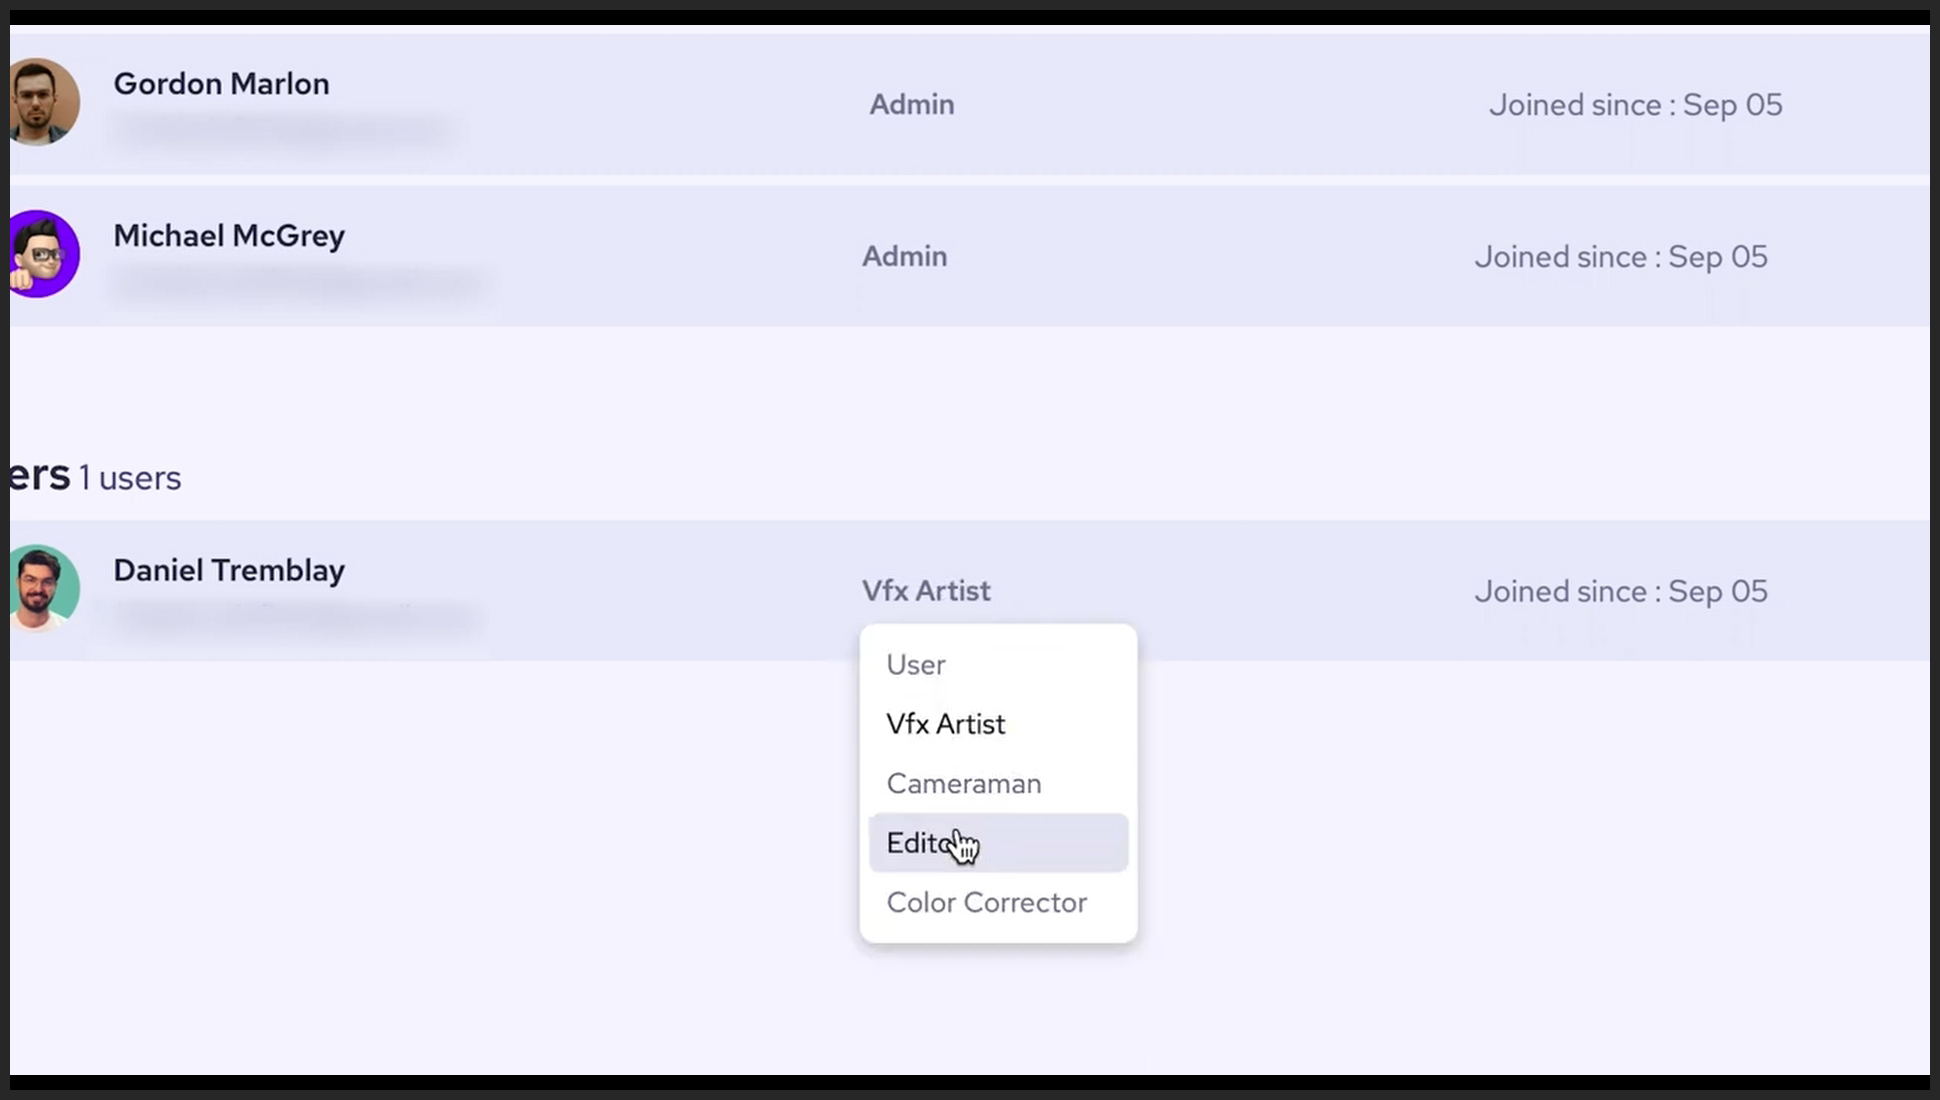
Assigning Roles – To assign the admin role to any team member, you need to do so from the left side panel, go to the “Dashboard”, and then the “Team” menu. By dragging and dropping team members between the “Admin” and “User”, you can easily set the access level. In addition to that, you can specify the role of the user, like if they are the VFX Artist or the editor.
