Creating and customizing
new projects
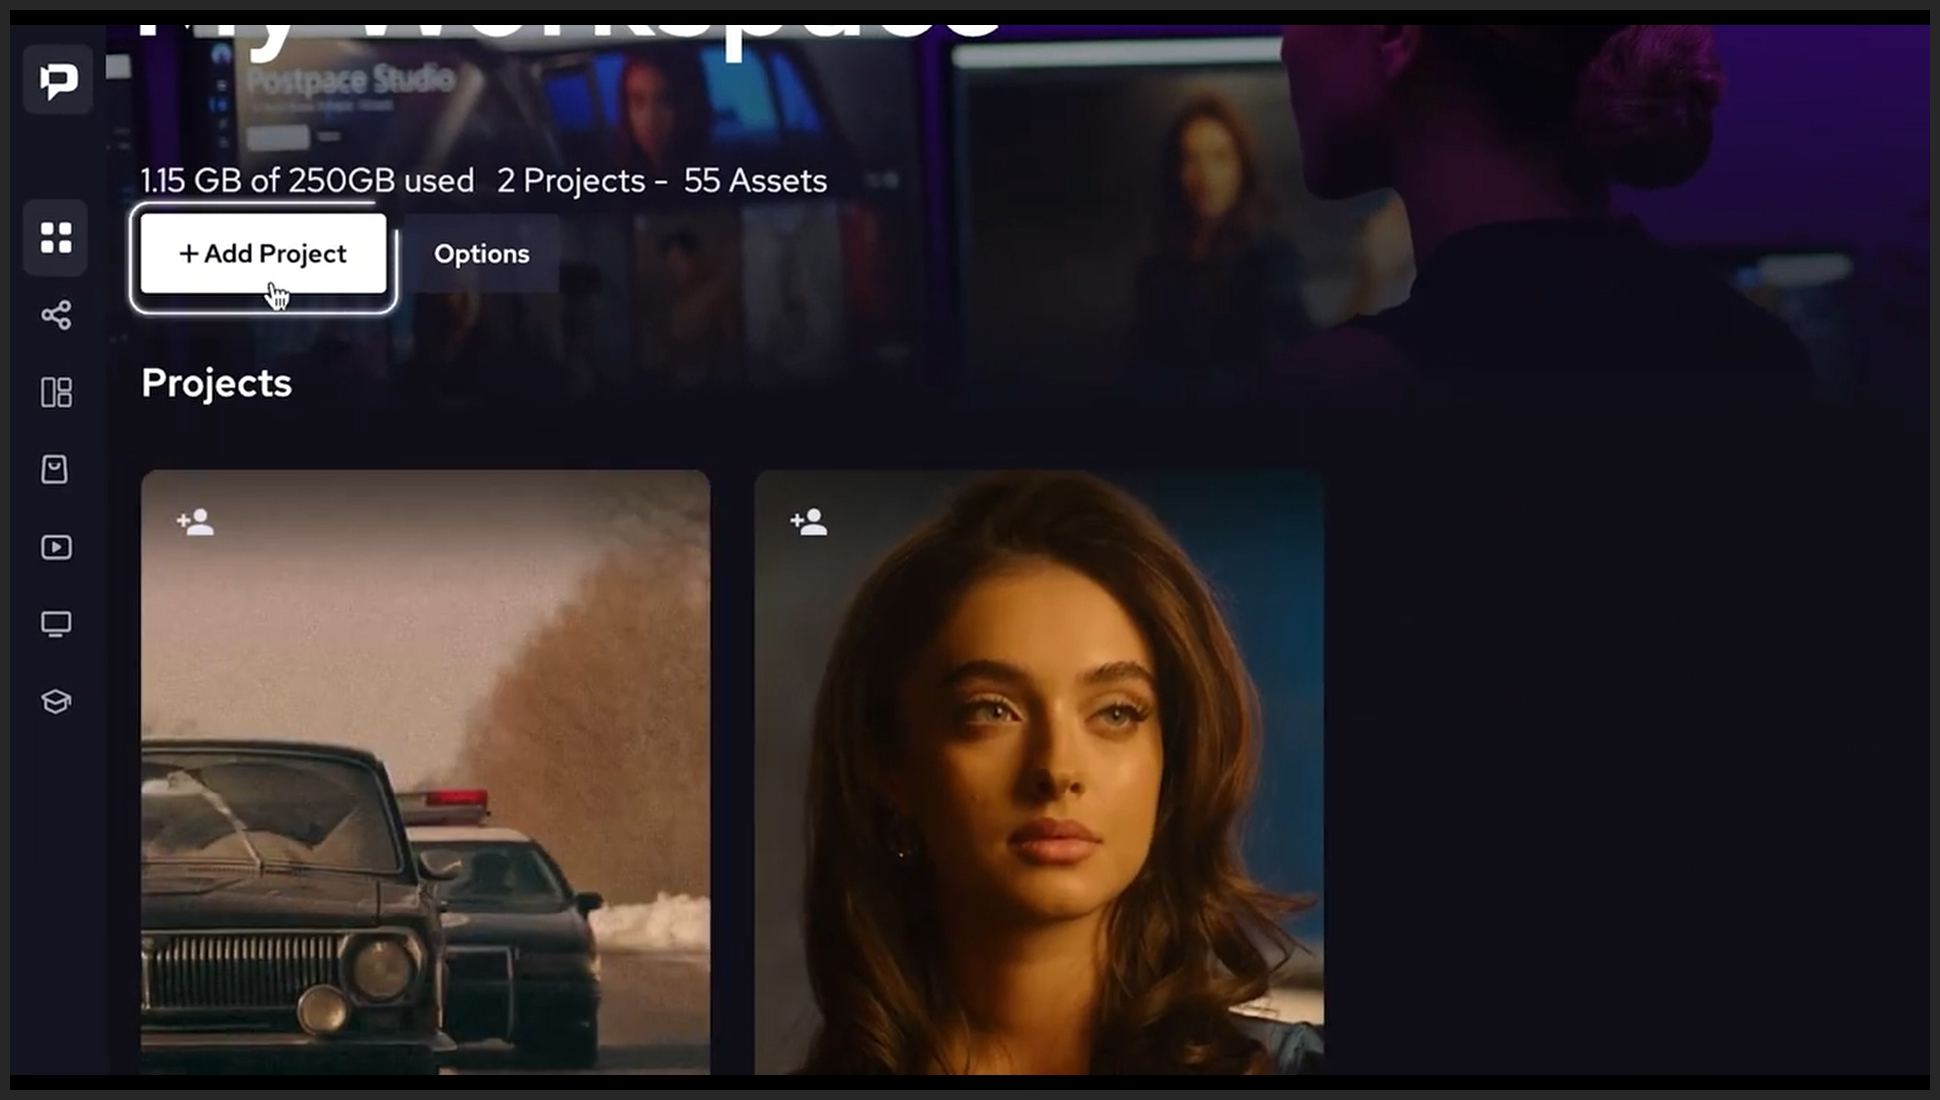
Create Project – In order to create a fresh project, the initial step is to locate and click on the designated “Add Project” button situated at the upper left corner of your workspace. By executing this action, you will be able to begin the process of setting up a new project and exploring its possibilities.

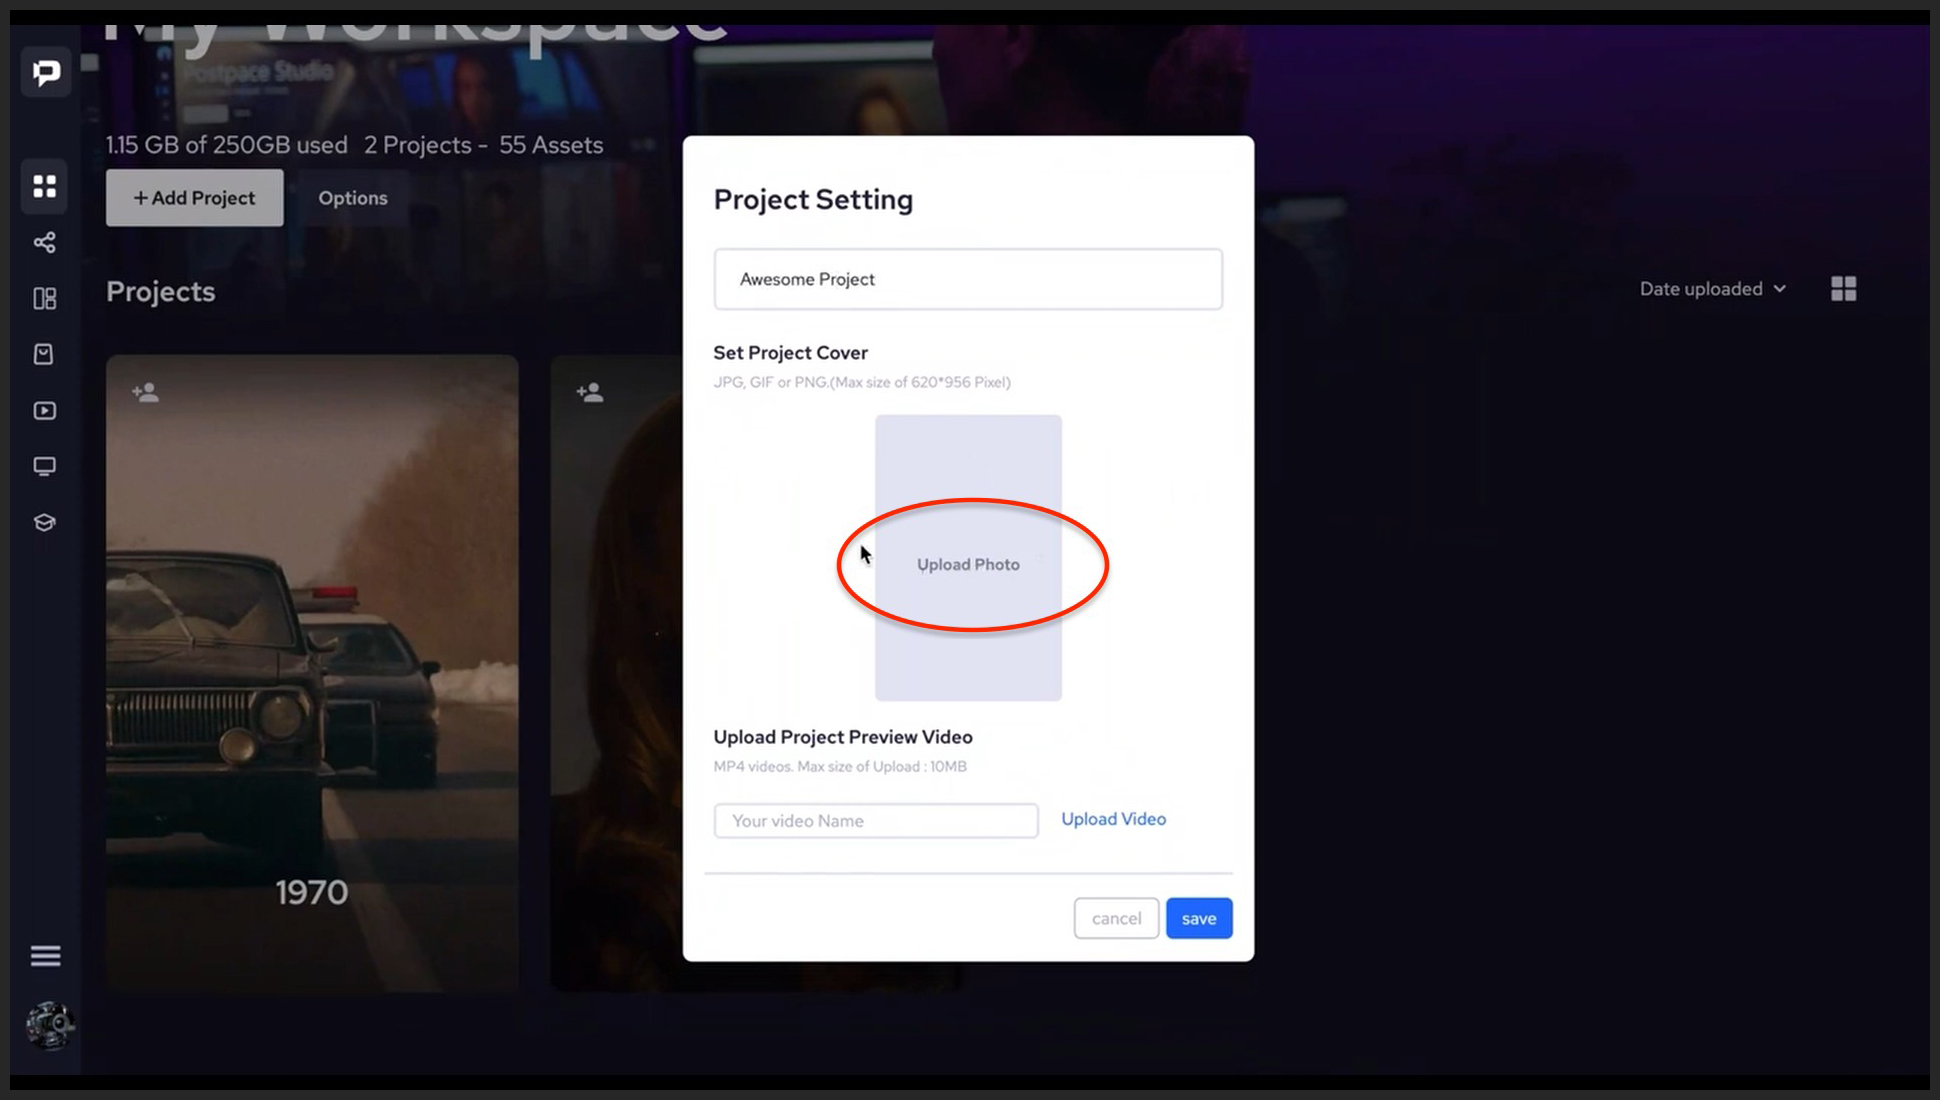
Customizing Thumbnail – From the pop-up, you can customize the look of the project as it appears in your workspace. First, you will choose a name for the project. The next section gives you the option to set a thumbnail for your project. You can click on the “Upload Photo” and upload any image file as long as it is a JPG, PNG, or GIF and its maximum resolution is 620×956. The upload settings that come up next will give you a canvas that will preview how the image will look after the upload. You can change the focus area of the image and then click apply.

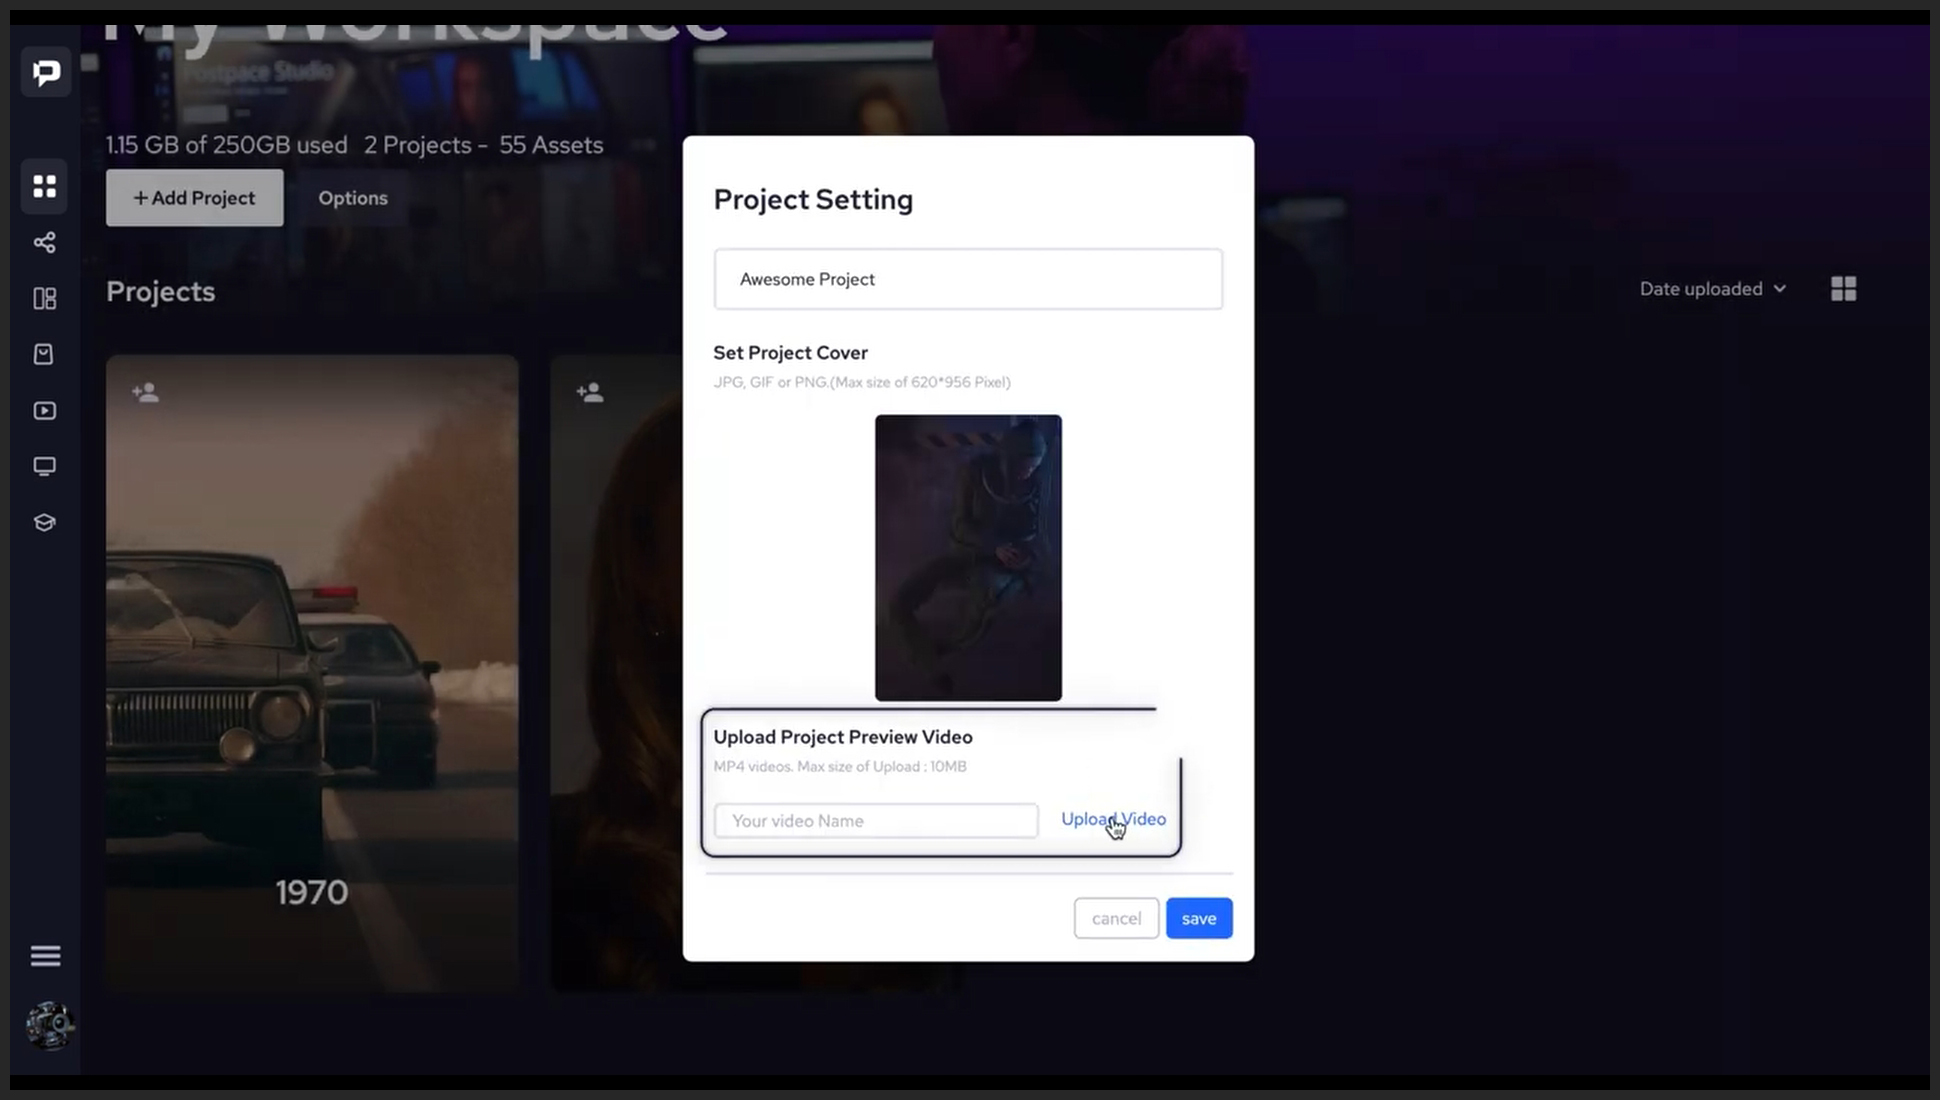
Adding Video Preview – Next, you can upload a video that will show up every time you hover over your project. This is great to have a preview of what is supposed to be inside the project. Just make sure that your video file is in MP4 format and that the maximum size is 10MB. Now all you need to do is click save and your project is created and ready to use.
